
Beginner Cricut Blade Set: What You Actually Use Daily
The short answer
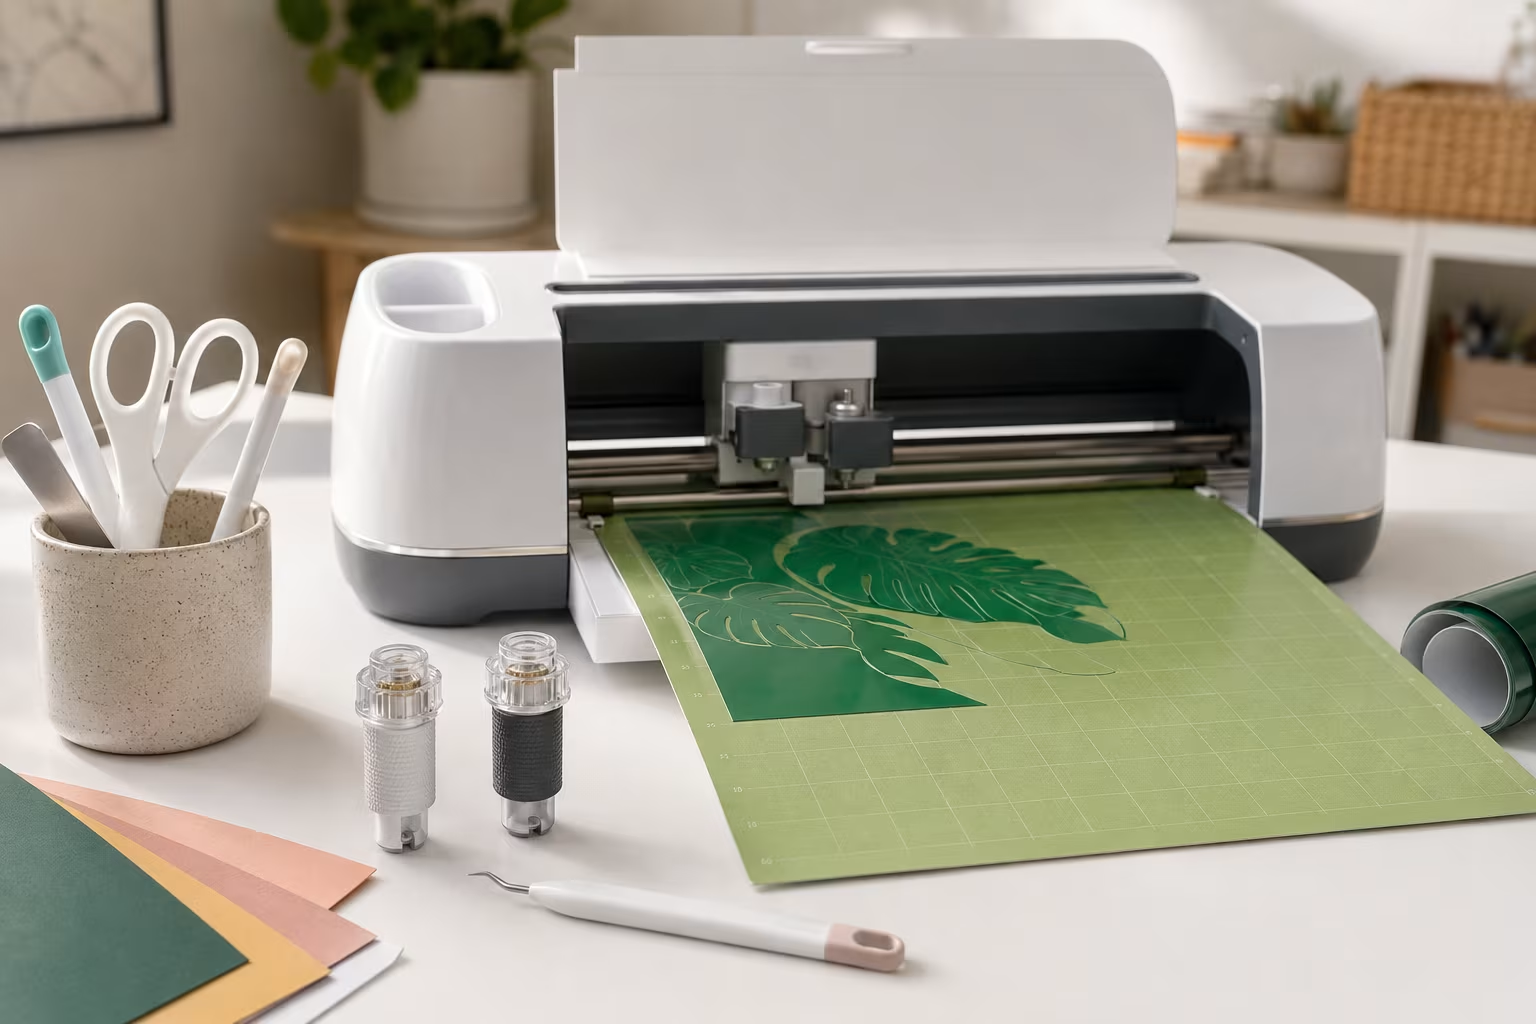
A beginner with a Cricut Maker or Explore needs only two blades to handle 90% of common projects: the Fine Point Blade for cardstock, vinyl, iron-on, and paper, and the Deep Cut Blade for thicker materials like chipboard, leather, and dense cardstock. Together these two blades cover almost all starter projects.
The Rotary Blade is the third blade worth owning early if your projects include fabric — the Maker's rotary cuts fabric cleanly without backing material, which is the feature that separates the Maker from the cheaper Explore line. The scoring tools (Scoring Stylus, Scoring Wheel) become useful once you start making cards, boxes, and folded items.
The other specialty blades (Knife Blade, Engraving Tip, Debossing Tip, Wavy Blade, Perforation Blade, Foil Transfer Tool) solve specific problems and earn their cost only when you have those specific problems. Buying them all upfront wastes money on blades you may never use.
What each blade does and when to use it
Fine Point Blade. The standard cutting blade that comes with every Cricut machine. Cuts cardstock, vinyl, iron-on (HTV), paper, sticker paper, light cork, and similar thin materials. Replacement blade housings are inexpensive; the blade itself dulls after extensive use and replacement is the right answer when cuts become ragged.
For 95% of crafters' first projects (vinyl decals, paper crafts, card making, simple iron-on transfers), the Fine Point Blade is all you need.
Deep Cut Blade. A steeper-angle blade with harder steel. Cuts thicker materials that the Fine Point cannot handle: chipboard, magnet sheet, stamp material, thick cardstock, foam sheets, some leathers, stiffened felt, and craft foam.
Beginners who plan to make any kind of structural craft (boxes, party decorations, kids' learning materials, layered cards with thick base) benefit from owning the Deep Cut Blade alongside the Fine Point.
Rotary Blade (Maker only). A small rolling blade powered by the Adaptive Tool System. Cuts fabric — true fabric, including chiffon, denim, felt, silk, and quilting cotton — without requiring fabric stabilizer or backing material.
This blade is the killer feature that justifies the Maker over the Explore for fabric crafters and quilters. If you do not work with fabric, this blade has no use and you can skip it.
Scoring Stylus / Scoring Wheel. Not technically blades — these create score lines for folding without cutting. The Scoring Stylus is the universal scoring tool (works in all machines); the Scoring Wheel is a Maker-only upgrade that scores faster and cleaner.
Useful for cards, envelopes, gift boxes, popup elements, and any folded paper craft. The Stylus is inexpensive and worth having as a default; the Wheel earns its higher cost only for heavy card-making or box-making projects.
Blades that are not worth buying first
Knife Blade (Maker only). Cuts thick materials up to 3/32 inch thick — basswood, balsa, matboard, leather. Useful for specific projects (model making, leather work, intricate wood ornaments) but slow and finicky. Beginners rarely need it; buy when a specific project requires it.
Engraving Tip (Maker only). Engraves designs into metal, leather, plastic, and acrylic. Specialty use; not needed for normal crafts.
Debossing Tip (Maker only). Creates pressed-in designs without cutting. Adds dimensional texture to cardstock and similar materials. Limited use beyond a specific aesthetic.
Wavy Blade. Cuts wavy lines instead of straight ones. Decorative effect for specific projects; not a workhorse blade.
Perforation Blade. Creates tear-away perforation lines. Specialized for tickets, raffle stubs, tear-out notebook pages. Niche.
Foil Transfer Tool. Transfers metallic foil onto paper or cardstock. Looks impressive on cards and invitations but requires specific foil materials and adds steps to projects.
For these specialty tools, the right buying approach is: wait until you have a specific project that needs the tool, then buy it. Buying them all upfront is the most common Cricut-starter overspend.
Replacement blades and lifespan
Blades dull with use. Signs that a blade needs replacement: cuts becoming ragged on materials that previously cut cleanly, the machine missing fine details that it captured before, blade dragging through materials rather than slicing.
Cricut replacement blades come in packs of two or five. Cost is moderate per replacement; the Fine Point in particular wears faster than other blades because it sees the most use.
To extend blade life cut only the materials the blade is rated for, keep the blade housing clean (small fabric or paper fibers accumulate and dull cuts), and use the appropriate cutting mat for each material.
A useful trick stick the blade into a foil ball (a small ball of aluminum foil) between projects. Pushing the blade tip into the foil cleans residue off the cutting edge and revives a slightly dull blade. Not a fix for truly dull blades, but extends life on lightly worn ones.
Cutting mats and their relationship to blades
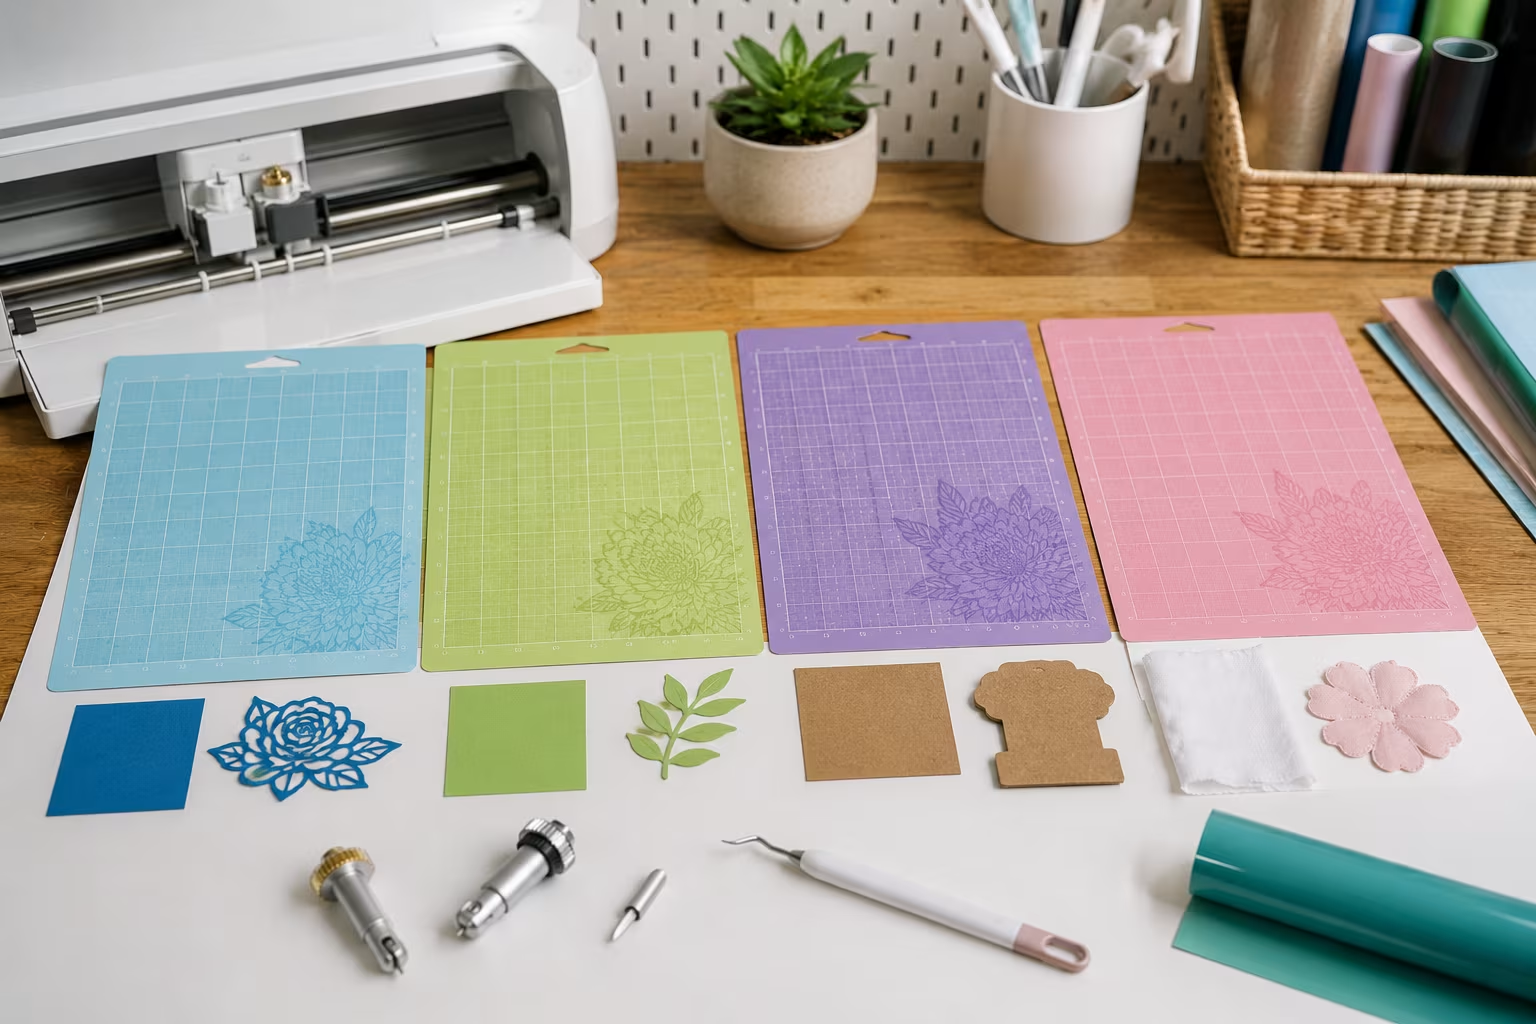
The cutting mat under the material matters as much as the blade. Cricut mats come in four grip strengths:
LightGrip (blue). For paper, cardstock, vellum, and lightweight materials.
StandardGrip (green). For medium-weight materials — most cardstock, vinyl, iron-on. The all-purpose default.
StrongGrip (purple). For heavy materials — chipboard, magnet, thick cardstock, leather.
FabricGrip (pink). For fabric and other materials that need a softer adhesive.
Using the wrong mat damages either the material (too sticky, tears on removal) or the blade (too slippery, drags rather than cuts cleanly). Match the mat to the material.
Mats wear out and lose grip over time. Replace when the mat no longer holds material in place during cutting. Light cleaning with a plastic scraper removes residue and extends mat life.
Blade housings versus blades
The blade itself is the small replaceable cutting edge. The housing is the larger plastic body that holds the blade and clips into the Cricut machine. Housings rarely need replacement; blades wear and need replacement regularly.
When buying replacement parts, check whether you need just the blade or a housing-and-blade combination. Cricut sells both. The blade-only refills are cheaper but require the existing housing; the housing-and-blade is needed for first-time setup or for replacing a damaged housing.
For travelers and crafters with multiple machines, keeping spare housings (loaded with blades) ready avoids the swap-out delay during projects.
Material settings and the blade-material relationship
Cricut Design Space includes pre-loaded settings for hundreds of materials. The setting determines cutting pressure, speed, and number of passes — all crucial for clean cuts.
The settings are tuned to specific blade types. Using a Fine Point Blade with the Deep Cut Blade setting may not cut through the material (insufficient pressure); using a Deep Cut Blade with the Fine Point setting can damage the blade (excessive force on the wrong tool).
Always confirm the blade in your machine matches the setting selected in Design Space. The software prompts you to insert the correct blade for a given material; following the prompt prevents most common cutting failures.
For materials not in the pre-loaded list (custom or unusual materials), use the closest pre-loaded match as a starting point and adjust based on test cuts. Always run test cuts on a small piece before committing to a full project.
A practical beginner starter kit
For someone buying a Cricut Maker for the first time and planning a mix of common projects:
- The Fine Point Blade (included with the machine).
- A Deep Cut Blade and housing as the first purchase.
- The Scoring Stylus for cards and folded paper crafts.
- StandardGrip and LightGrip cutting mats (two of each).
- A small selection of starter materials (assorted cardstock, removable vinyl, permanent vinyl, iron-on, transfer tape).
This kit covers card making, vinyl decals, basic paper crafts, simple iron-on shirts, and small folded items. The total cost is moderate after the machine itself.
Add the Rotary Blade if fabric is in the plan. Add specialty blades only when specific projects require them.
Storage and organization
Blades and housings live in small spaces. Keep them organized in a dedicated storage container (the Cricut tool storage cup, a small parts organizer, or any small box with compartments). Loose blades in a drawer get damaged and lose tips.
Label blade housings clearly. Once you own three or four different blade types, telling them apart at a glance saves time. A small label or coloured tape on each housing identifies it.
Replacement blade packages stack well in a craft drawer. Keep one or two backup blades on hand at all times — running out of blades mid-project is more annoying than the cost of keeping spares.
Common blade mistakes
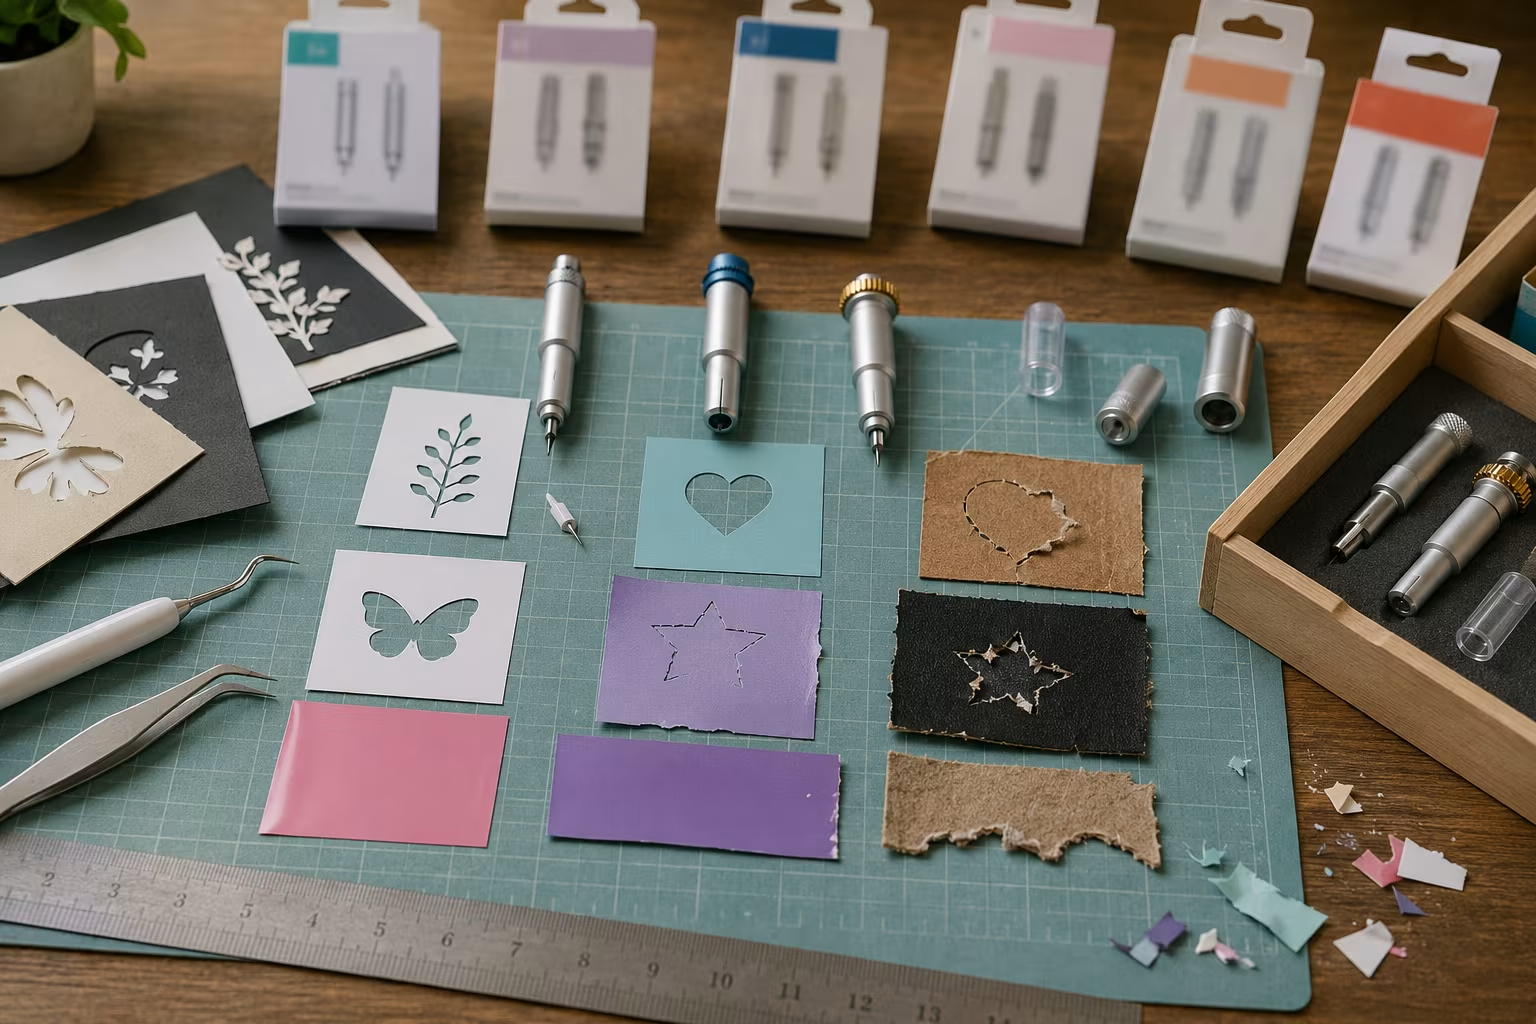
Using the same blade for everything because it works "well enough." A blade designed for the wrong material cuts poorly and dulls faster. Match the blade to the material.
Forcing dull blades. A dull blade can still cut some materials with poor results, but the machine works harder and more material gets wasted to ragged cuts. Replace dull blades promptly.
Buying every blade Cricut sells before starting. The specialty blades have specific uses; without the project that requires them, they sit in a drawer unused.
Skipping test cuts on new materials. The pre-loaded settings work for most cases but new or unusual materials can need adjustment. A small test cut catches problems before the full project is ruined.
How blades wear and what dull cuts look like
Blade wear follows a pattern. Fresh blades cut through materials cleanly in one pass with sharp edges and small details preserved. As the blade wears, the cuts develop slight ragged edges, fine details become slightly fuzzy, and harder materials require multiple passes to cut through.
The progression from fresh to dull is gradual; the moment when a blade has "gone dull" is judgment.
Practical signs to replace a blade:
Vinyl that does not weed cleanly. The cut depth is slightly too shallow in places, and the design pieces stay connected to the surrounding vinyl in spots where they should release.
Cardstock with ragged edges on curves. The smooth curves develop micro-jagged edges visible under good light.
Iron-on that tears during transfer instead of releasing cleanly. The cuts have not fully separated the design from the carrier sheet.
Multiple cut passes required for materials that previously cut in one pass. The blade no longer applies enough cutting force per pass.
Replacing a blade at the first sign of wear is cheaper than wasting materials with ragged cuts. The blade cost is small relative to the materials used.
Cleaning blades and housings
Blades accumulate residue from cut materials. Vinyl adhesive sticks to the blade; cardstock dust collects in the housing; fabric fibers wrap around rotary blades.
Clean blades periodically:
Fine Point and Deep Cut stab the blade tip into a foil ball (a small ball of crumpled aluminum foil) several times. The foil's micro-edges scrape residue off the cutting edge.
Rotary Blade carefully wipe the blade with a soft cloth and a small amount of isopropyl alcohol. Watch the rotation; the blade is sharp.
Housings open the housing and use a small soft brush to remove accumulated dust. Avoid touching the blade itself with anything that could damage the edge.
Clean monthly during active use, less often during light use.
Material-specific tips that save blades
Each material has cutting techniques that extend blade life.
Vinyl use the standard mat (StandardGrip green). The mat grip is the right balance for vinyl's slight stretchiness.
Cardstock use a fresh mat with strong grip. Cardstock requires firm hold to cut cleanly.
Fabric use the FabricGrip pink mat. The softer adhesive holds fabric without distorting it.
Iron-on mirror the design (so it cuts correctly), cut carrier-side down on a StandardGrip mat. The carrier sheet protects the blade from extra wear.
Specialty materials (cork, leather, balsa): use the StrongGrip mat (purple) for the firmest hold during the multiple passes typically needed.
Following the material-specific guidance reduces blade wear and improves cut quality simultaneously.
A starter shopping list for the first month
For a beginner buying a Cricut Maker:
- The included Fine Point Blade and housing
- A Deep Cut Blade and housing (first add-on)
- A Scoring Stylus (cards and folded paper)
- Two StandardGrip mats (rotate them to extend mat life)
- One LightGrip mat (paper work)
- A small bundle of starter materials (assorted cardstock pack, white and black permanent vinyl, a few sheets of iron-on, transfer tape)
This list keeps the initial spend manageable while covering the materials needed for early projects across multiple categories. Add specialty blades and materials as actual projects require them.
Which blade, in one row each:
| Blade | Covers | Note |
|---|---|---|
| Fine Point | ~95% of first projects | vinyl, paper, cards, iron-on |
| Deep Point / second blade | the rest of the common 90% | — |
| Knife blade | up to 3/32-in basswood, balsa, matboard, leather | Maker only — buy when a project demands it |
Related Posts
Caulk Types Compared: Silicone vs Latex vs Hybrid
Caulk choice depends on the joint's water exposure, movement, paintability, and life expectancy....

Cordless Battery Platform Lock-In: How to Pick a Brand
Every cordless brand wants you locked in. The lock-in is real and one-direction. The brand...
Drill Bit Sets: Twist, Brad-Point, and Forstner Real-Use Map
Most home shops own three drill bits they actually use and twenty they bought once and forgot....
Painter's Tape for Crisp Lines on Textured Wall Surfaces
Standard blue tape bleeds on textured walls. The specialty tapes, caulk-edge-seal step, and...
Comments
No comments yet. Be the first to share your thoughts!