
Workbench Height Without Hurting Your Back After Two Hours
The short answer
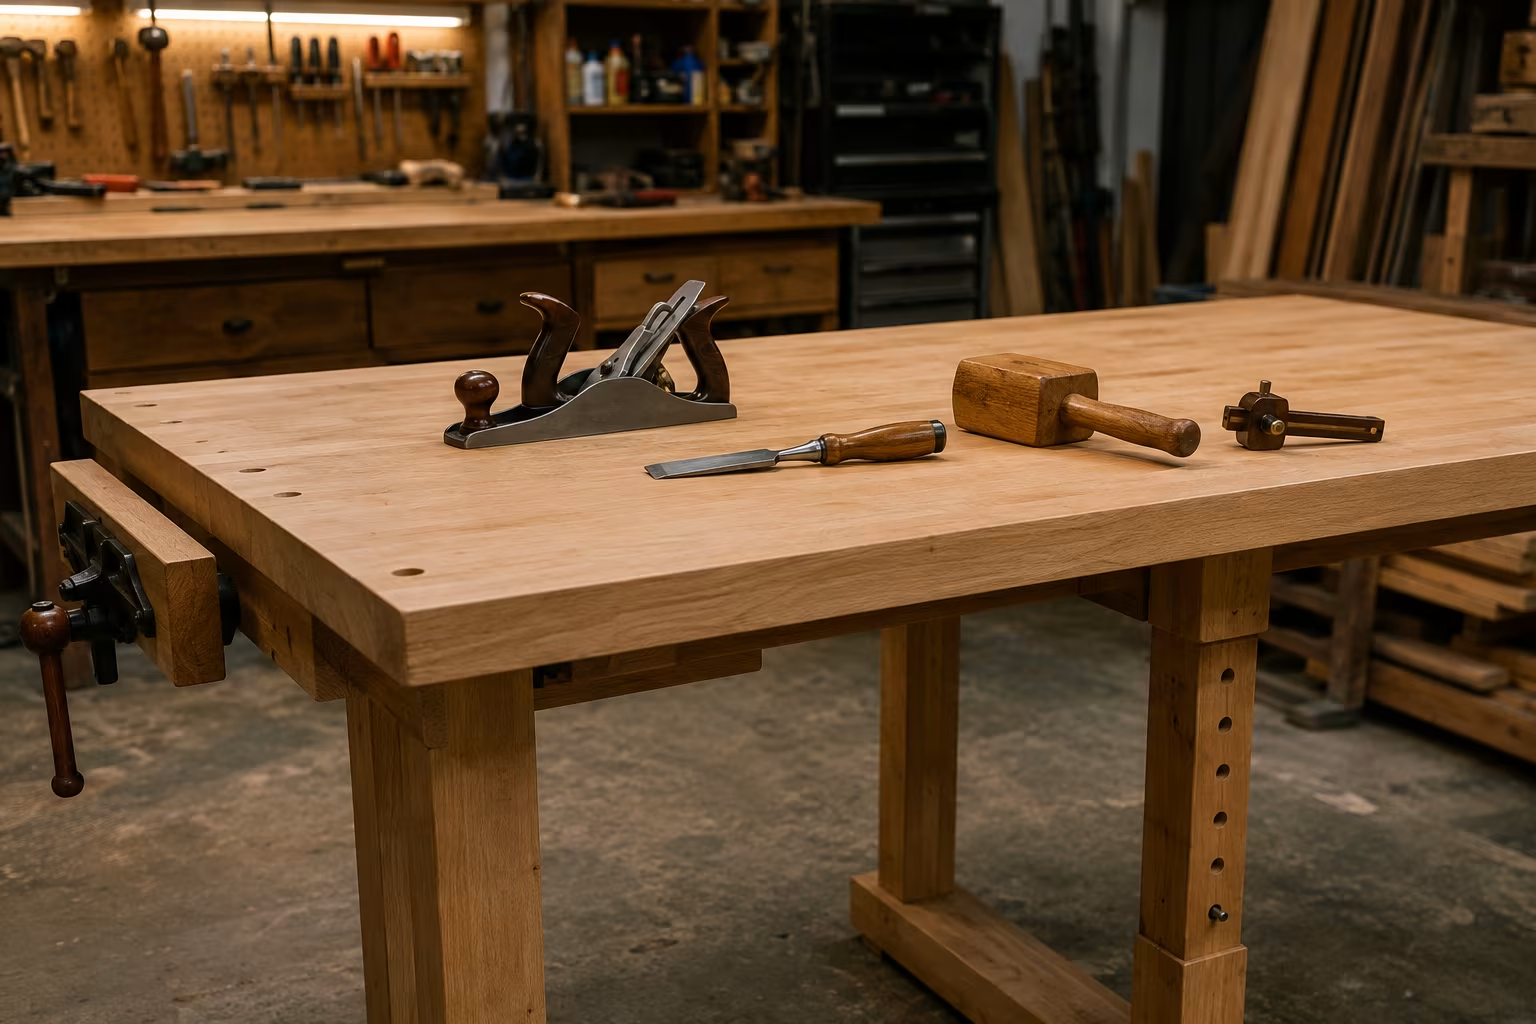
The right workbench height starts at your elbow — measure from the floor to the point of your elbow when you stand straight with the upper arm hanging at your side and the forearm bent to 90 degrees. For general carpentry, joinery, and most assembly work, a bench at that height (or slightly below, by an inch or two) keeps the spine neutral and the shoulders relaxed over long sessions.
For precision work (electronics, fine joinery, intricate assembly), raise the bench 2-4 inches above elbow height so the work sits closer to the eyes and the head stays upright.
For heavy work with two-handed force (planing, chopping mortises, beating metal), lower the bench 2-4 inches below elbow height so you can lean weight into the work without straining the lower back.
A bench set wrong for the work hurts in three to four hours. A bench set correctly lets you work all day. The difference is measured in degrees of back angle and inches of height.
The elbow measurement method
Stand straight on the floor where you will use the bench. Wear normal shop shoes (not bare feet, which throws off the measurement by an inch). Let the upper arms hang at your sides naturally. Bend the forearms to 90 degrees so the hands are out in front of you horizontally.
The distance from the floor to the point of your elbow is the starting reference height. For most adults this is 38-44 inches; for shorter or taller workers, adjust accordingly.
This is a starting height, not the final answer. The right height depends on the type of work; the elbow measurement is the centre of the range from which you adjust.
For shop workers who are not the bench-builder (a shared shop, a rental space), the bench height suits whoever set it up. Adjustability is the answer to differing user heights — see below.
Why elbow height matters
The elbow-height bench keeps the spine neutral during work. When the work surface is at or near elbow height, your forearms rest naturally on the work without forcing the shoulders up (which strains the neck) or the lower back to bend forward (which strains the lumbar spine).
A bench too high forces the shoulders up. The arms work above their natural position, the trapezius muscles tense to support the lifted shoulders, and tension accumulates in the neck and upper back over a session.
A bench too low forces the back to bend forward. The lumbar spine takes weight that should be supported by the legs and core, and tension accumulates in the lower back. After two hours of bending, the back protests.
The elbow-height bench is the sweet spot where neither shoulders nor lower back take excess strain. The session can run for hours without accumulated pain.
Task-specific adjustments
Not all bench work is the same. Different tasks favor different heights.
Precision work (electronics, watchmaking, small joinery, fine assembly): 2-4 inches above elbow height. Bringing the work closer to the eyes reduces neck strain from looking down at a low surface. Some precision workers use a tilted work surface (a small angled jeweler's bench, for example) so the work face is even closer to the eyes.
General carpentry and assembly (cutting, drilling, sanding, gluing): At elbow height, give or take an inch. The all-purpose default for general shop work.
Heavy two-handed work (planing wood, chopping mortises by hand, dressing edges with a drawknife, beating metal): 2-4 inches below elbow height. The lower work surface lets the upper body lean weight into the task without the back rounding. The work-with-weight principle.
Standing planing in particular: workshop literature traditionally specifies a planing bench at "knee or hip height" depending on the user. This is dramatically lower than general bench height. Specialized planing benches exist for serious hand-tool woodworkers; for occasional planing, working on a lower temporary surface (a sawhorse with a board across it) accomplishes the same goal.
Cabinetmaking and case work (assembling boxes, drawers, cabinets): Slightly below elbow height — about 36-38 inches for most workers. The slight reduction lets you see into the interior of the work and work comfortably on the top edges.
Fixing a fixed-height bench
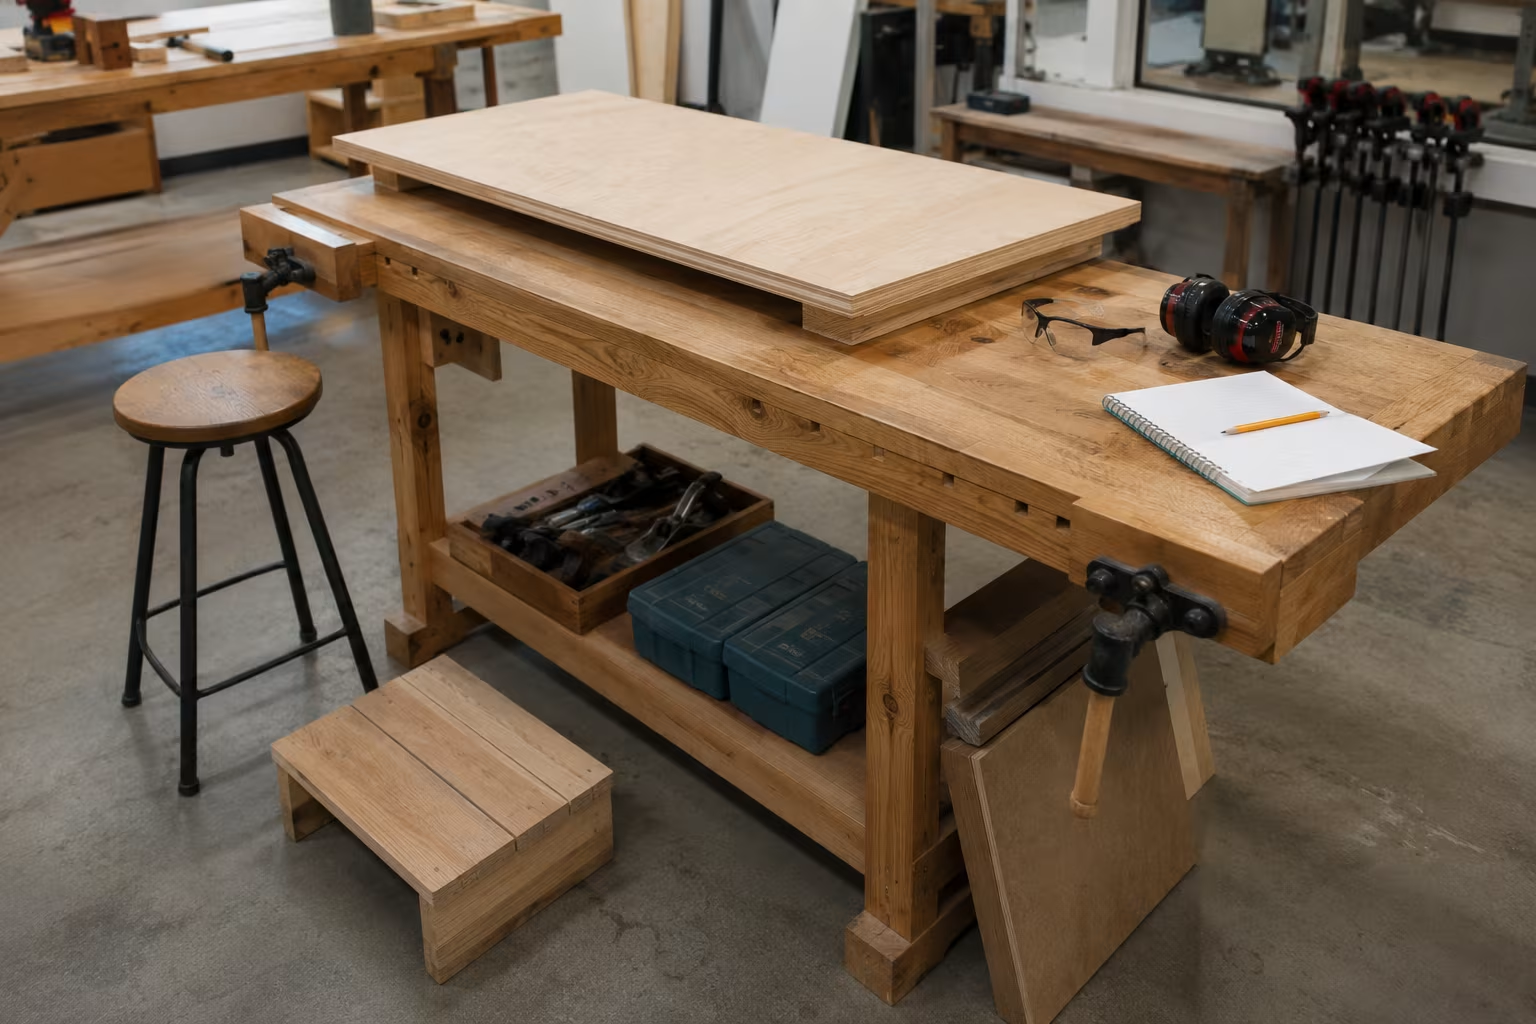
If you already own a bench at the wrong height, four fixes work without buying a new bench.
Add a riser. A 2-4 inch riser (a thick piece of plywood, a low platform) sits on top of the bench and raises the work surface to the right height. Removable when the bench is needed at its original height.
Use a stool or elevated platform under your feet. Standing on a 4-inch wooden platform raises your effective elbow height to match a higher bench. Less elegant than raising the bench but works in a pinch.
Add an auxiliary low bench. For heavy work that wants a lower surface, a separate low workbench (a planing bench, a sawhorse-and-board setup) handles those tasks while the main bench stays at general-purpose height.
Build adjustable legs. Some bench designs use adjustable legs (threaded leg ends, telescoping designs, or simple shimming) to vary height. A bench with 4-6 inches of height range covers most tasks without changing benches.
The right choice depends on shop space and how often the height needs to change. A risers system is the cheapest; adjustable legs require building or buying the right bench.
Building an adjustable bench from scratch
For workers building a new bench, designing for adjustability pays back. The two most common approaches:
Telescoping legs with pins. Each leg consists of an outer tube and an inner tube, with pin holes drilled at one-inch intervals. Pins hold the legs at the chosen height. Adjustment takes a minute per leg. Strong and reliable.
Threaded leg ends. Each leg ends in a threaded foot that screws up or down. Fine adjustment for level on uneven floors. Less range than telescoping; better for small adjustments.
Stacked layer top. The top consists of multiple 2- or 3-inch layers (plywood or solid wood) that can be added or removed. Each layer changes the bench's working height by its thickness. Slow to adjust; gives precise control.
For most home workshops, telescoping legs with a one-inch pin spacing give the right balance of range and adjustment speed.
Floor surface and the bench's effective height
The floor you stand on changes the effective bench height by the floor surface thickness.
A concrete floor (typical garage) gives a baseline height equal to the bench legs. Standing on the concrete, the elbow measurement applies directly.
Anti-fatigue mats add 1/2 to 1 inch of floor height. The mat raises the worker, effectively lowering the bench by the mat's thickness. Worth considering when adjusting bench height in a shop where mats are used.
Wood floors and finished basement floors are usually within an inch of concrete. Negligible adjustment.
For a shop on a raised platform or a deck, the platform thickness changes the worker's standing height. The bench height should account for the platform.
Sitting versus standing benches
The discussion above assumes a standing bench. Some shop work (electronics assembly, fine craft, sewing) happens sitting down.
For sitting work, the bench should be at chair-armrest height — when you sit with the chair's armrests at a comfortable resting position for your forearms, the bench top matches. This is typically 28-30 inches from the floor; lower than a standing bench.
A bench that switches between sitting and standing modes requires either two benches or a fully adjustable height system. Most shops with mixed work have two: a tall standing bench for shop tasks and a lower work table for sit-down precision work.
For occasional sit-down work at a standing bench, a high stool (drafting-chair style, with a footrest) brings the worker up to the bench. Less comfortable than a properly-sized seated workspace but workable for short sessions.
Material thickness and effective work height
The actual work surface height is the bench height plus the thickness of whatever you are working on. A 2-inch thick block of wood on a 36-inch bench sits at 38 inches working height.
For thin work (sheet goods, paper, small parts), the bench height matches the work height closely.
For thick work (large timbers, big assemblies), the work top sits well above the bench. Compensate by either using a lower bench for thick work or by including the work thickness in your height planning.
This matters more than people realize. A bench set perfectly for cutting plywood may be too high for trimming 4x4 posts — the post's thickness pushes the cut line above comfortable elbow height.
Posture habits that complement bench height
Even at the right height, posture matters during long sessions.
Keep the work directly in front of you. Reaching to the side rotates the spine; reaching forward rounds the shoulders. Move the work, not yourself.
Use both hands when possible. Distributing tool weight across both hands keeps the body symmetric. One-handed work over hours creates asymmetric muscle fatigue.
Take small breaks every 30-60 minutes. Stand straight, roll the shoulders, walk away from the bench for a minute. Recovery prevents accumulated tension.
Wear good shop shoes with cushioned soles. The standing surface communicates through the soles; bare feet or thin shoes amplify fatigue.
Common bench height mistakes
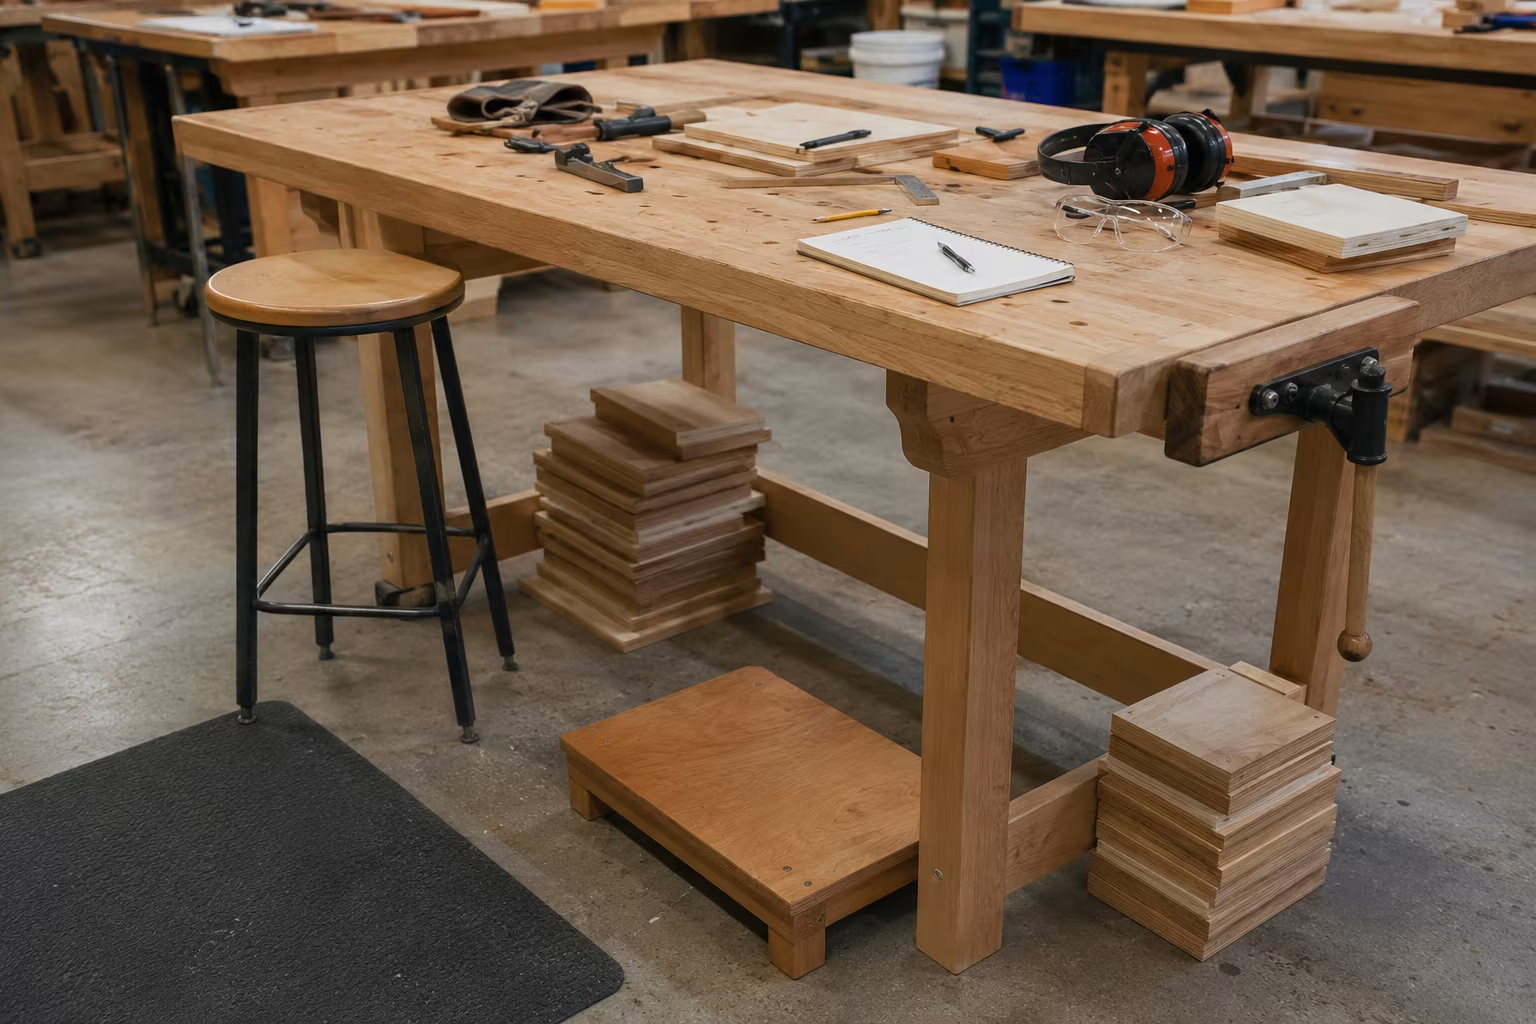
Buying a bench at the standard 36-inch height without adjusting for personal elbow. A 36-inch bench is too low for tall workers and too high for short ones.
Setting bench height once and never changing it. Different tasks want different heights; rigidity here means some tasks always hurt.
Ignoring pain as it accumulates. Three hours of mild lower-back tension turns into chronic injury over years. Pay attention to early signals.
Skipping the test sit-stand cycle when buying a used bench. Before committing to a bench, simulate the work you will do at it for a few minutes. The bench that looks right at first glance may be wrong for your tasks.
Anti-fatigue mats and standing comfort
A bench at the right height is necessary but not sufficient for long-session comfort. The floor surface under your feet matters almost as much.
Concrete shop floors are hard. Standing on concrete for hours generates fatigue in the calves, the knees, and eventually the lower back. The fatigue accumulates faster than at-bench muscle tension.
Anti-fatigue mats (rubber or foam shop mats, typically 1/2 to 3/4 inch thick) cushion the floor and reduce standing fatigue substantially. The cost is modest; the benefit shows up in being able to work longer sessions without joint complaints.
The mat changes the effective bench height slightly — a 3/4-inch mat raises the worker by that amount, effectively making the bench 3/4 inch lower. If you have set the bench height precisely, account for the mat thickness in the measurement.
Move the mat to the work area you are actually using. A mat in one corner of the shop only helps when you stand on it; a movable mat that follows you between stations is more useful.
Tool placement and reach
Beyond bench height, where you place the tools and materials affects ergonomics over a session.
Keep frequently-used tools within easy reach. The natural reach zone is about 18 inches from your sternum to the work, on either side. Tools beyond this zone require leaning or stretching, both of which strain the back.
Position the work directly in front of you, not off-center. Working off to one side rotates the spine through the session and creates asymmetric fatigue.
For tasks requiring two tools alternately (a pencil and a chisel, a marking knife and a square), place both within the natural reach zone on opposite sides. Hand switching is comfortable; lean-and-reach is not.
The vertical placement matters too. Tools stored at chest height are easiest to grab; tools stored below knee height or above shoulder height require bending or reaching and accumulate strain.
Light, vision, and the height question
Older shop workers often discover that the bench height that suited them at 30 no longer works at 50. The cause is vision rather than ergonomics — as near-vision degrades with age, work that was visible at elbow height becomes uncomfortably close, and a slightly higher bench (bringing the work closer to the eyes) helps.
Reading glasses or magnifiers compensate for some of this, but raising the bench height by 1-2 inches in middle age is often a simpler adjustment.
Younger workers with sharp near vision can keep the bench at the standard elbow height and focus on the work easily. The need to raise as vision changes is a real effect.
A movable magnifier lamp or a head-mounted magnifier (a watchmaker's loupe, a binocular magnifier) extends the productive working years without major bench changes for some types of work.
Building good posture habits from day one
The habits set in the first months at a workbench tend to stick. Building good habits early prevents chronic injuries later.
Stand straight at the bench. Roll the shoulders back, lift the chest, keep the chin level. Habitual slouching becomes a permanent posture over years.
Use the tool's body weight, not your arm's force. A heavy hammer falls onto the chisel with gravity; you do not need to push it. A heavy plane glides across the work with its own weight; you do not need to lean into it.
Breathe regularly. Holding the breath during precision work tenses muscles and accumulates fatigue. Slow steady breathing keeps the body relaxed.
Take micro-breaks every 30-60 minutes. Stand straight, roll the shoulders, walk away from the bench for a minute or two. The break refreshes both the body and the concentration.
The elbow method:
| Work type | Bench height | Why |
|---|---|---|
| General work | at elbow height | forearms level at 90° |
| Precision (electronics, fine joinery) | +2–4 inches | work sits closer to the eyes |
| Heavy force (planing, mortising) | −2–4 inches | body weight over the work |
| Typical adult range | 38–44 inches | measure your own elbow, not a chart |
Related Posts
Workshop Air Compressor Sizing: CFM and SCFM
Air compressor matched to your tools means smooth work; too small means constant waiting. CFM...

Workshop Dehumidifier Sizing for Tool Rust Prevention
Tools rust silently when shop humidity sits over 60%. The pint capacity that matches your shop...
Bench Vise Sizing and Mounting for First-Time Buyers
Bench vises bolted to scrap plywood pull right out. The right size for the work, the right...
Soundproofing a Basement Workshop on a Renter's Budget
Basement shop noise traveling up to the family room is how you lose workshop privileges. The...
Comments
No comments yet. Be the first to share your thoughts!