The Best Air-Dry Clay Techniques for Making Textured Wall Art
The Best Air-dry Clay Techniques for Making Textured Wall Art
You know that feeling when you're scrolling through social media, and you see someone's perfectly curated wall art? It's all organic textures, soft colors, and looks like it cost a fortune. My first thought is always, "Ugh, I wish I could make something like that." Then, the second thought usually is, "How much is that going to cost me?"
Well, I've got good news. What if I told you that gorgeous, textured wall art doesn't need to break the bank or require a kiln? We're talking about air-dry clay, my friends! It's super accessible, pretty forgiving, and the perfect medium for adding some serious dimension to your walls.
Today, we're going to dive into my favorite techniques for transforming a simple block of air-dry clay into something truly special. We'll cover everything from prepping your clay to drying it right, and trust me, we'll talk about the mistakes I've made so you don't have to.
Why This Actually Matters
Let's be real for a second. Decorating a home can get expensive, fast. I remember staring at a blank wall in my living room for months, wanting something unique but not wanting to drop hundreds of dollars on a piece of art I might not even love in a year. Sound familiar?
That's where air-dry clay swoops in like a crafting superhero. It's inexpensive – I often find big tubs for under $15 at my local craft store. You don't need any fancy equipment; no kiln, no special firing. This means you can experiment, create, and even mess up a few times without feeling like you've wasted a huge investment.
Plus, there's something incredibly satisfying about looking at a piece on your wall and knowing you made it. It's a little piece of your own creativity, bringing warmth and personality to your space. I've got a piece above my desk right now, a simple wave pattern I made on my third attempt, and it still makes me smile when I catch a glimpse of it. 👋
Getting Started with Air-dry Clay
Okay, so what even is air-dry clay? Basically, it's a type of modeling clay that hardens when exposed to air, no baking required. It's super versatile and comes in different colors, though I usually stick with white or terracotta since I plan to paint it anyway.
It's forgiving for beginners because you can often re-wet and rework it if you make a mistake, especially if it hasn't completely dried yet. This means less frustration and more fun, which is always my goal when I start a new project.
What You'll Need to Gather
Before we get our hands messy, let's make sure you have all the essentials. You probably already have a lot of this stuff around your house, which is another win for budget-friendly crafting.
- Air-Dry Clay: Obviously! I recommend a good quality brand that doesn't crack too easily. I usually grab Crayola or Das.
- Rolling Pin: A dedicated clay roller is great, but a kitchen rolling pin or even a smooth, sturdy bottle works perfectly. We need to get that clay nice and even.
- Cutting Tools: A butter knife, a plastic clay tool, or even a craft knife (use with caution!) will help you cut your desired shapes. Cookie cutters are also super fun for creating uniform pieces.
- Texture Tools: This is where the magic happens! Think old toothbrushes, combs, lace, leaves, stamps, textured fabric, even pasta or crumpled aluminum foil. Anything with an interesting pattern can create texture.
- Water: Keep a small bowl of water nearby. It helps smooth cracks, join pieces, and keep your clay pliable.
- Protective Surface: A plastic placemat, a piece of parchment paper, or even an old cutting board will protect your table and prevent the clay from sticking.
- Sanding Sponge/Fine-Grit Sandpaper: For smoothing edges after drying, totally optional but nice for a polished look.
- Paint and Sealer: Acrylic paints work wonderfully, and a matte or gloss sealant will protect your finished piece.
Prepping Your Canvas (or Clay!)
You can't just unwrap the clay and start pressing things into it, unfortunately. There's a little bit of prep work to do first to make sure your base is strong and even. This step might seem a bit boring, but trust me, it prevents a lot of headaches later on.
Think of it like laying a good foundation for a house. If your clay base isn't right, the whole project can fall apart, literally. I've had pieces crack because I rushed this part, and it's super disappointing.
Getting Your Clay Ready
This is where we turn that lump of clay into a beautiful, smooth canvas ready for texture.
Step 1: Condition the Clay
First things first, take a chunk of clay and knead it a bit. It helps to warm it up, make it more pliable, and get rid of any air bubbles that might be hiding inside. Just squish and fold it for a minute or two until it feels smooth and easy to work with.
If your clay feels a little dry or crumbly, just add a tiny bit of water to your hands and knead it in. Don't add too much, though, or it'll get sticky and hard to manage.
Step 2: Roll It out Evenly
Place your conditioned clay on your protective surface. Now, grab that rolling pin and start rolling. The key here is evenness. You want a consistent thickness across your entire piece. I usually aim for about 1/4 to 1/2 inch thick, depending on how robust I want the final art to be.
If it's too thin, it'll be fragile and more prone to cracking as it dries. Too thick, and it'll take ages to dry and might still crack unevenly. Flip the clay occasionally as you roll to prevent it from sticking and to ensure an even thickness.
Step 3: Cut Your Base Shape
Once you've got your desired thickness, it's time to decide on the shape of your wall art. Do you want a perfect circle? A square? An organic, freeform shape? Use your cutting tools to carefully cut out your chosen form.
You can use a template you've drawn on paper, or freehand it for a more rustic look. Gently smooth the edges with your finger, perhaps dipped in a little water, to remove any sharp or ragged bits. This also helps prevent cracking along the edges during drying.
The Fun Part: Adding Texture
Alright, this is where your creativity really gets to shine! Textured wall art is all about creating visual interest and depth, and air-dry clay is fantastic for capturing intricate details. Don't be afraid to experiment here; some of my best "discoveries" have come from just trying something random.
I once used an old crochet doily I found at a thrift store, and the imprint it left was absolutely stunning. You never know what will work until you try it, so gather some potential texture makers and let's get to it.
Simple Texture Techniques to Try
Here are a few of my go-to methods for making that plain clay base pop.
Step 1: Pressing Found Objects
This is probably the easiest and most satisfying way to add texture. Literally, find something with an interesting pattern and press it into the surface of your rolled-out clay. Think leaves, lace, stamps, textured fabric, even rough-grained wood.
I've used old keys, a crochet coaster, and even the bottom of a basket to create cool patterns. Gently but firmly press the object into the clay, then carefully peel it away to reveal the imprint. Make sure your clay is still slightly soft for the best impression. You can cover the whole surface or just a portion for a more minimalist look.
Step 2: Sculpting and Scoring
If you want more control, or a completely custom texture, your hands and simple tools are your best friends. Use a toothpick, a plastic modeling tool, or even a fork to draw lines, make dots, or create swirling patterns directly into the clay.
You can create cross-hatching, stippling, or carve out organic wave-like designs. For a raised effect, you can gently push up the clay from underneath or use small balls of clay to build up specific areas. Don't press too hard, or you might go all the way through your base.
Step 3: Layering and Appliqué
Want a truly 3D effect? Try layering! Roll out small, thin pieces of clay and cut them into shapes – circles, half-moons, leaves – whatever fits your design. Then, use a little water (called "slip" in traditional pottery, but for air-dry clay, just plain water is fine) to attach these pieces onto your main base.
Score both surfaces where they'll join, add a tiny bit of water, and then gently press them together. This creates a really dynamic, sculptural feel. I once made a piece with overlapping petal shapes, and it looked like a blooming flower.
Step 4: Dabbing and Dragging
For a more abstract or organic texture, grab a sponge, a stiff brush, or even a crumpled piece of paper. Lightly dab the material onto the clay surface to create a random, mottled texture. A natural sea sponge works great for this.
You can also drag a tool, like a comb or a textured scraper, across the surface to create repetitive lines or grooves. This technique is fantastic for mimicking natural stone or bark textures. Just remember to clean your tools often so you don't drag clay clumps around.
Step 5: Using Textile Imprints
Another fantastic technique is to use textiles. Find an old piece of lace, a coarsely woven fabric like burlap, or even a knitted sweater. Lay it flat on your rolled-out clay and gently press it with your rolling pin or hand.
The fibers will leave a beautiful, intricate pattern on the clay. Carefully peel the fabric away to reveal the detailed imprint. This is perfect for creating soft, delicate, or rustic patterns depending on the textile you choose. I've gotten some incredible results with old tablecloths from the thrift store.
Drying and Finishing Your Masterpiece
You've done the hard part – creating that beautiful textured design! Now comes the patience game: drying. This stage is crucial and often where projects can go wrong if rushed. Trust me, I've had many a piece crack because I was impatient.
After drying, we'll get into making it pretty with paint and protecting it so it lasts. It's like putting the perfect frame on your art, even if the art itself is unframed.
Bringing It All Together
Here's how to ensure your textured art dries beautifully and stands the test of time.
Step 1: Drying Patience
This is the most important step after creating your texture. Air-dry clay needs to dry slowly and evenly to prevent cracking. Place your finished piece on a flat, non-porous surface, like a piece of parchment paper on a board, in an area with good air circulation.
Avoid direct sunlight or extreme heat sources, as these can dry the outside too quickly while the inside is still wet, leading to cracks. Flip your piece periodically (after a day or so, gently) to ensure both sides get air. Depending on thickness and humidity, drying can take anywhere from 24 hours to several days, sometimes even a week for very thick pieces.
Step 2: Sanding and Priming (optional)
Once your clay is completely dry (it should feel light and solid, and appear a uniform color throughout), you can gently sand any rough edges or bumps with a fine-grit sanding sponge or sandpaper. This creates a smoother, more professional finish.
If you plan to paint, especially if you want vibrant colors, you might consider applying a thin coat of white gesso or primer first. This provides a uniform base for your paint and can make your colors pop more. I usually skip this step for a more rustic look, but it's great for intricate designs.
Step 3: Painting and Sealing
Now for the fun artistic bit! Use acrylic paints to color your textured art. You can go monochrome for a minimalist look, use multiple colors to highlight different textures, or even dry-brush a contrasting color over raised areas to make them stand out. I love using earthy tones, creams, and grays for that expensive-looking vibe.
Once your paint is completely dry, apply a sealant. A clear matte or gloss varnish will protect your piece from moisture, dust, and fading, and it'll make it more durable. I usually apply two thin coats, letting each coat dry fully in between.
Step 4: Mounting Your Art
How you mount your art depends on its size and weight. For smaller, lighter pieces, you can often use command strips or a strong adhesive like E6000 glue to attach a picture hanger to the back. For larger or heavier pieces, you might embed a wire hanger into the clay before it dries (just make sure it's secure).
Alternatively, you can frame your textured piece in a shadow box, or simply lean it on a shelf for a casual display. I've even seen people create magnetic backs for smaller pieces, which is clever for fridge art!
Making It Stick / Common Mistakes
It's easy to get excited and rush through steps, especially when you're just starting out. I've been there, trust me. My first air-dry clay attempt ended up looking like a cracked dessert plate because I dried it in direct sun. Learning from these little missteps is just part of the creative process.
Here are some of the most common pitfalls people encounter with air-dry clay and how to avoid them, so your textured wall art actually works.
The biggest breakthroughs often come not from avoiding mistakes, but from figuring out how to fix them. Embrace the learning.
Mistake 1: Uneven Thickness Leading to Cracks
The problem: If your clay isn't rolled to a consistent thickness, thinner areas will dry faster than thicker ones. This differential drying creates stress, and pop! — you get cracks. I've watched entire pieces split right down the middle because I got lazy with my rolling pin.
The fix: Take your time rolling! Use guides, like two pieces of wood or rulers of the same thickness on either side of your clay, to ensure an even surface. Flip your clay frequently while rolling to help it thin out uniformly.
Mistake 2: Rushing the Drying Process
The problem: We all want instant gratification, right? But putting your clay near a heater, in direct sunlight, or in an oven will dry the surface too quickly, sealing in moisture underneath. This trapped moisture eventually tries to escape, causing the dreaded cracks and warping.
The fix: Patience, patience, patience! Find a cool, dry spot with good air circulation. A wire rack helps air reach all sides. Flipping your piece every 12-24 hours also helps ensure even drying. Embrace the waiting; it’s part of the process.
Mistake 3: Not Sealing the Finished Piece
The problem: Air-dry clay, once dry, can still be susceptible to moisture and dust. Unsealed pieces can absorb humidity from the air, potentially softening or weakening over time, and they'll get dirty easily.
The fix: Always, always seal your finished and painted pieces. A good quality acrylic varnish (matte, satin, or gloss) will protect your hard work. Apply in thin, even coats and let each coat dry fully before adding the next. This creates a barrier that adds durability.
Mistake 4: Overworking the Clay
The problem: Handling the clay too much can introduce tiny air bubbles, which can expand and cause cracks during drying. It also makes the clay dry out faster and become crumbly, losing its pliability.
The fix: Condition your clay just enough to make it pliable, then get to your design work. If you find yourself fiddling for too long, take a break. If the clay starts to dry out while you're working, mist it lightly with water or cover it with plastic wrap for a few minutes.
Mistake 5: Attaching Too Many Wet Pieces
The problem: When layering clay, sometimes people just press wet piece onto wet piece without proper adhesion. As the pieces dry, they shrink slightly. If not properly adhered, these layers can separate or curl away.
The fix: For strong bonds, always "score and slip" – scratch cross-hatch lines onto both surfaces where they'll join, then apply a tiny bit of water (your "slip"). Press firmly and blend the edges together. This creates a stronger, more lasting connection.
Frequently Asked Questions
Can I Use Regular Acrylic Paint on Air-dry Clay?
Absolutely, yes! Acrylic paint is my go-to for air-dry clay projects. It adheres really well, comes in a huge range of colors, and dries relatively quickly. Just make sure your clay is completely dry before you start painting for the best results.
Why does My Air-dry Clay Keep Cracking?
Most cracking issues come down to uneven drying or uneven thickness. If the outside dries faster than the inside, or thin spots dry before thick spots, stress forms and the clay cracks. Make sure your piece is consistently thick and dries slowly in an even, room-temperature environment away from direct heat or drafts.
How do I Make My Air-dry Clay Wall Art Durable?
The best way to make your air-dry clay durable is to ensure it dries thoroughly, is sealed properly with a good quality varnish, and is kept away from direct moisture. While it won't be as tough as fired ceramic, a well-dried and sealed piece can last for years indoors.
What's the Best Way to Attach Air-dry Clay Art to a Wall?
For lighter pieces, strong double-sided mounting tape or Command strips work wonderfully. For heavier pieces, I'd suggest embedding a wire hanger or a picture hook into the back of the clay while it's still wet, making sure it's really secured in there, then letting it dry. You can also glue a saw-tooth hanger to the back of a completely dry piece using E6000 glue.
Is Air-dry Clay Good for Complete Beginners?
Definitely! Air-dry clay is one of the most beginner-friendly mediums out there. You don't need special tools, a dedicated space, or expensive equipment. It's very forgiving, and you can learn a lot through simple trial and error. Just manage your expectations and enjoy the process, even the "failed" attempts!
How Long does Air-dry Clay Take to Dry?
The drying time really varies, but generally, a piece that's about 1/4 to 1/2 inch thick will take anywhere from 24 to 72 hours to fully dry. Thicker pieces can take up to a week. Humidity and room temperature play a big role too. You'll know it's dry when it feels light, solid, and is a uniform color all the way through.
The Bottom Line
Creating textured wall art with air-dry clay is such a rewarding project, and it truly doesn't have to be intimidating. The most important thing is to just start. Don't worry about perfection, especially on your first try.
Grab some clay, look around your house for interesting textures, and have some fun with it. You might just surprise yourself with what you can create. I know I did! So go on, give your walls some personality. You've got this. ❤️
Related Posts
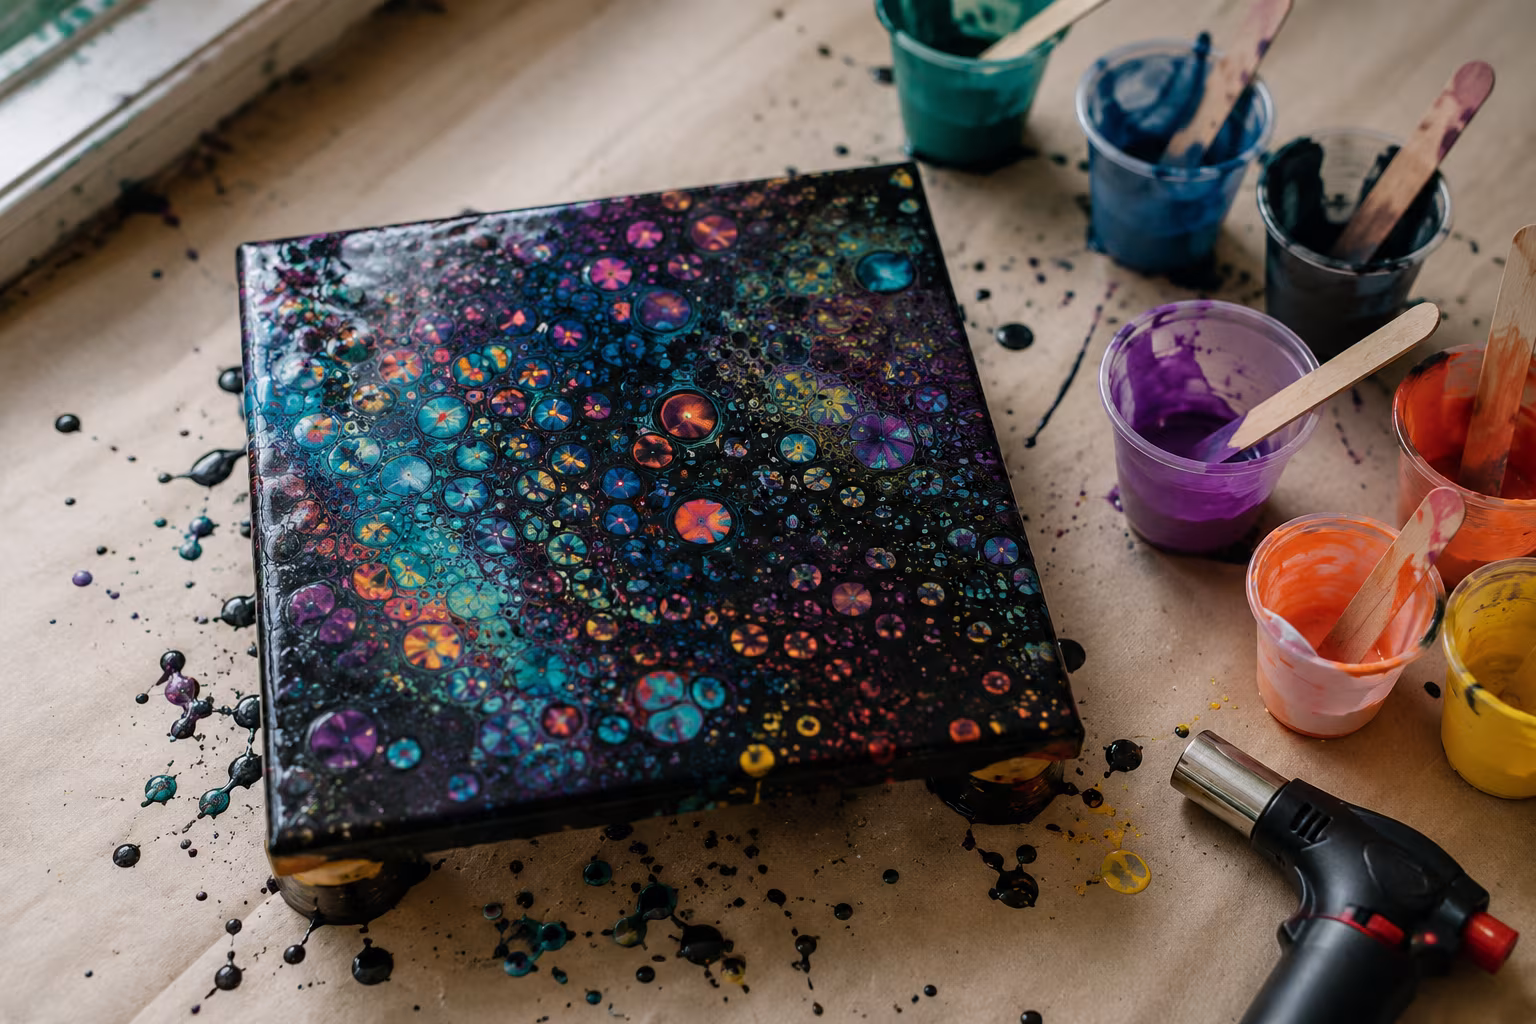
Acrylic Pouring Cells: Why They Form and How to Control
Cells in acrylic pouring come from density and surface tension differences. Understand the chemis...
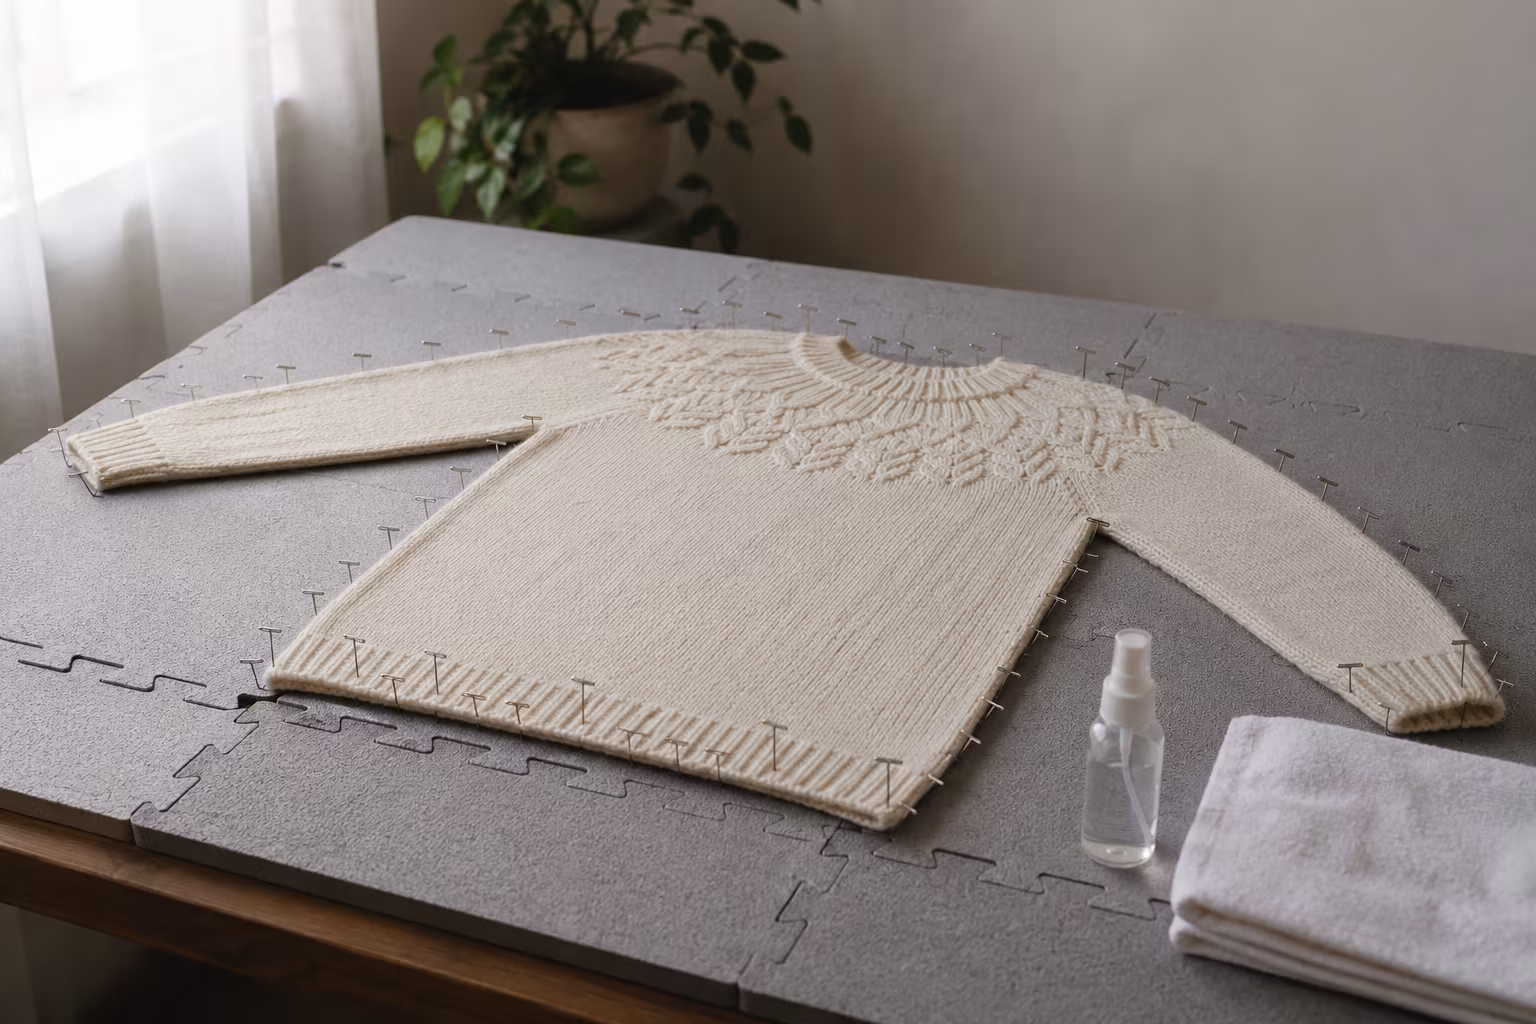
How to Block a Knitted Wool Sweater Without Felting
The blocking routine that opens stitches and sets the shape without turning your wool sweater int...
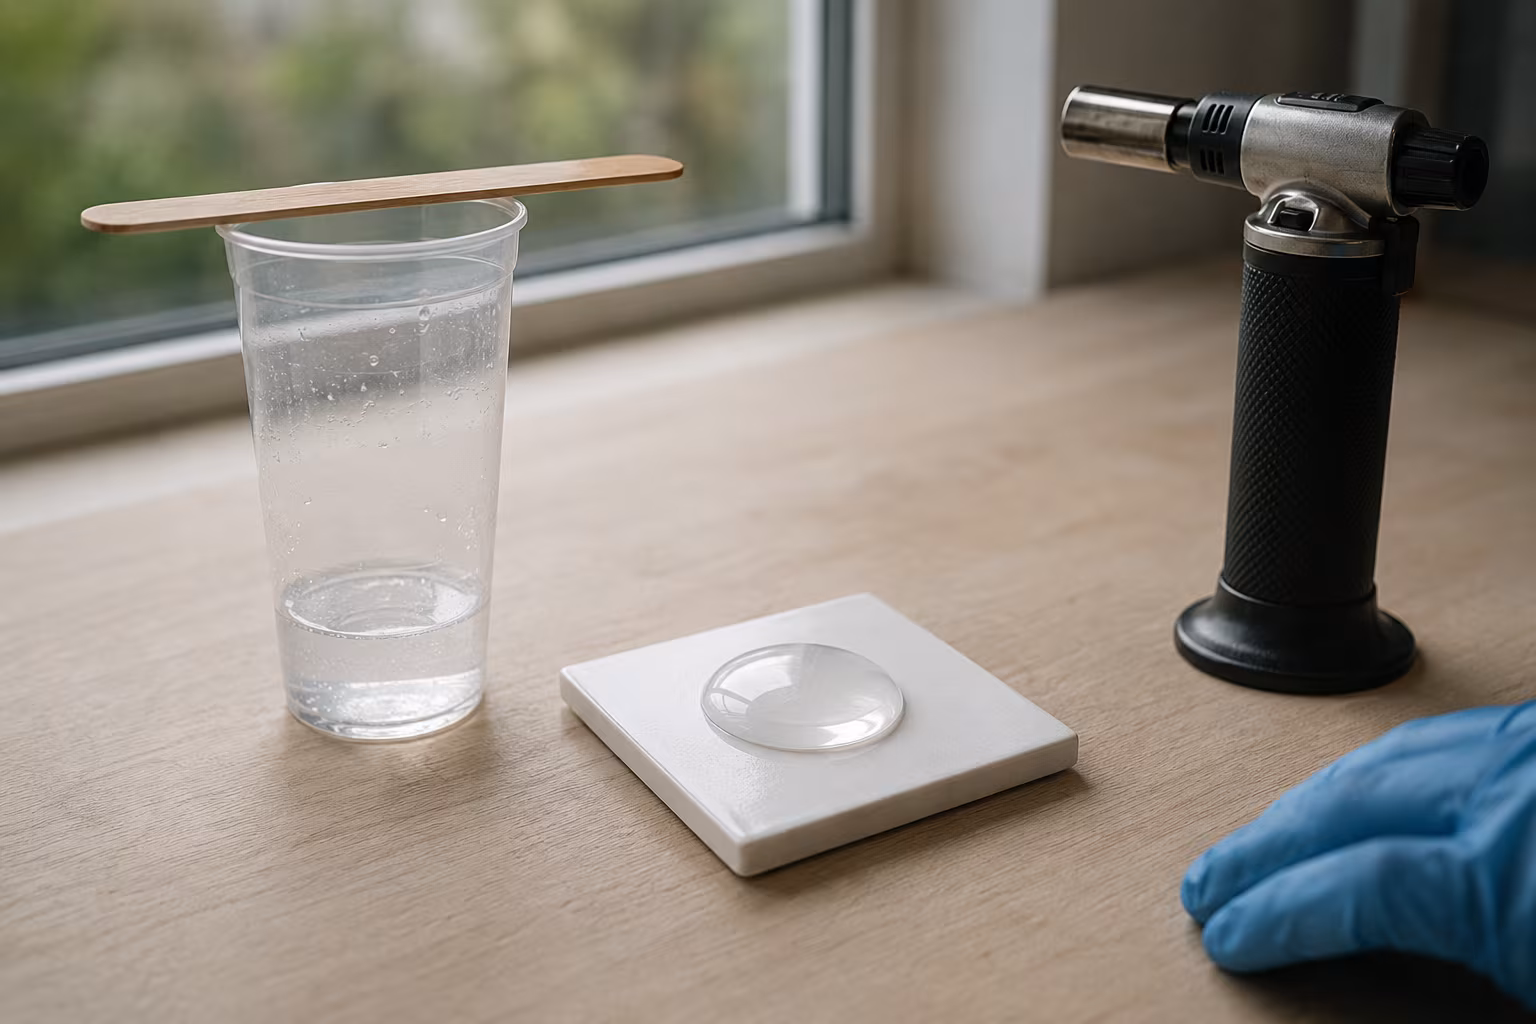
Resin Doming Without Bubbles: A Calm, Reliable Method
A repeatable doming routine that keeps bubbles out and the dome tidy — pour technique, heat metho...
Why Quilling Earrings Are the Most Profitable Craft to Sell Online
Thinking about starting a craft business? You might be surprised to learn that delicate, colorful...