Why Sashiko Embroidery is the Most Calming Way to Repair Denim

Why Sashiko Embroidery is the Most Calming Way to Repair Denim
Hey there, craft friends! 👋 Let's be real for a second. How many of you have a favorite pair of jeans? You know, the ones that fit just right, that have seen you through countless adventures? Mine have a story for every faded patch, every worn-out knee.
But then, inevitably, that dreaded rip appears. Or a thin spot that's just begging to become a hole. You love them too much to toss, but just patching them feels… temporary, right?
Today, I want to talk about Sashiko embroidery. It's not just a repair technique; it's a mindful practice that turns those worn spots into something beautiful. And honestly, it's been a game-changer for my worn-out denim and my brain.
Why This Actually Matters
We're all trying to be a little more mindful, a little less wasteful, right? Sashiko fits right into that. Instead of throwing away clothes or buying new, you're giving them a whole new life.
Think about it: that favorite jacket with a torn elbow doesn't have to be relegated to the "just for gardening" pile. With a little Sashiko, it can become a unique, statement piece, telling a new part of its story.
I found a perfect pair of vintage Levi's at a thrift store last year for $18. They fit like a dream, but the back pocket had a pretty big tear. Instead of just stitching it up invisibly, I decided to embrace the visible mending trend. It took me a couple of hours, and now it's probably my favorite detail on those jeans.
Beyond the sustainability aspect, there's the calm that comes with it. In a world that often feels like it's moving at warp speed, taking an hour to focus on simple, repetitive stitches? It's like a mini-meditation session. You know that feeling when you're totally absorbed in a project and the rest of the world just fades away? Sashiko delivers that.
The Basics of Sashiko
So, what exactly is Sashiko? It's a traditional Japanese embroidery technique that literally translates to "little stabs." For centuries, it was used to reinforce points of wear or to mend tears with patches, often by stitching several layers of fabric together to make work clothes more durable and warm.
It's characterized by its distinctive running stitch patterns, usually done with white cotton thread on indigo fabric. The beauty of Sashiko comes from its simplicity and the rhythm of the stitches.
The Humble Origins
Historically, Sashiko wasn't just decorative. It was born out of necessity in rural Japan. Farmers and fishermen needed sturdy clothing that could withstand tough conditions, and they couldn't afford to constantly buy new garments.
By layering scraps of old fabric and reinforcing them with Sashiko stitches, they made their clothes last longer and even created unique, beautiful textiles. It's a craft that truly embodies the "make do and mend" spirit.
- Function First - Sashiko was originally about strengthening fabric, not just decorating it. The tight, even stitches made textiles more durable and sometimes warmer.
- Running Stitch - The core of Sashiko is a simple running stitch. You don't need fancy knots or complex techniques, just a steady hand and an eye for even spacing.
- Visible Mending - Unlike invisible repairs, Sashiko celebrates the mended area. It turns a flaw into a feature, adding character and history to your garment.
How to Actually do It
Starting any new craft can feel a bit daunting, right? I've been there, staring at a project, wondering if I'm even holding the needle correctly. But Sashiko is incredibly forgiving, and you really don't need a ton of fancy tools to get going.
Let's walk through how to add some beautiful, calming Sashiko to your denim. It's easier than you might think!
Step 1: Gather Your Tools
You don't need much, which is one of the things I love about Sashiko. You'll want a good, sharp Sashiko needle – they're longer than regular embroidery needles, which helps you load multiple stitches at once. If you can't find one, a sturdy embroidery needle works, too.
Next, grab some Sashiko thread. It's a bit thicker and softer than standard embroidery floss, and it gives that classic Sashiko look. I usually go for white or natural cream for denim, but don't be afraid to experiment with color!
You'll also need a thimble (your finger will thank you), fabric scissors, and possibly a fabric marker or tailor's chalk if you want to draw your pattern first. And, of course, your denim item!
Step 2: Prepare Your Denim (and Patch if Needed)
If you have a hole, you'll want to patch it from the inside first. Grab a piece of denim or sturdy cotton fabric that's a bit bigger than your hole. I often cut up old jeans for patches – super thrifty!
Pin or baste the patch on the inside, making sure it lays flat. For just a thin spot, you can skip the patch, but it's good practice to reinforce if you're worried about further tearing. Don't stress too much about the patch fabric's color; it won't be super visible.
Step 3: Mark Your Pattern (optional but Recommended)
This step is where you decide on your design. Sashiko patterns can be anything from simple parallel lines to intricate geometric designs. For beginners, I recommend starting with straight lines or simple cross-hatching.
Use your fabric marker or tailor's chalk to lightly draw your pattern directly onto the denim. Remember, these marks will either wash out or fade. Don't press too hard. If you're feeling adventurous, you can freehand it, but a little guide can make your stitches much more even.
Step 4: Thread Your Needle and Knot It
Cut a length of Sashiko thread – maybe an arm's length. Too long and it gets tangled; too short and you're rethreading constantly. I usually use a single strand.
Thread your needle, then make a simple knot at the end of your thread. Nothing fancy, just a secure knot. You'll start stitching from the inside of your garment to hide the knot.
Step 5: Start Stitching – the Running Stitch!
Push your needle up from the inside of your denim, through your fabric and patch (if you have one), bringing the knot to rest against the inside. This hides it neatly.
Now for the magic part: the running stitch. Instead of pushing the needle all the way through for each stitch, you "load" several stitches onto your needle at once. Push the needle down through the fabric, then up again a short distance away, then down again, and so on.
Try to keep your stitches and the gaps between them roughly the same size. This consistency is what gives Sashiko its distinctive look. You'll feel a rhythm quickly. It's almost meditative, honestly.
Step 6: Pulling Through and Tension
Once you've loaded a few stitches onto your needle (maybe 3-5, depending on needle length and fabric thickness), pull the needle all the way through. Gently pull the thread through, making sure not to pull too tight and pucker the fabric.
You want the stitches to lay flat and even. This is where the thimble comes in handy – use it to help push the needle through the layers of fabric, especially denim.
Step 7: Finishing Your Stitching
When you get to the end of your pattern line, or your thread is running short, secure your thread on the inside. Make a small knot on the inside of the fabric, perhaps catching a few threads from a previous stitch or a bit of the patch.
You can make a few tiny stitches in the same spot, or even run the needle under a few stitches to hide the tail. Trim the excess thread close to the knot. And don't worry if your first knots aren't perfect; mine certainly weren't.
Step 8: Admire Your Work (and Don't Compare!)
Peel back your denim and take a look. You did it! Your first Sashiko repair. It might not be perfectly even, or your lines might wobble a bit, but that's part of the charm.
Every hand-stitched piece has its own unique character. Don't compare yours to the perfectly photographed examples you see online. This is your creation, a story woven into your favorite jeans.
Making It Stick / Common Mistakes
Okay, so you've done your first few stitches. Maybe you're feeling good, or maybe you're thinking, "Why does mine look wonky?" That's totally normal. Sashiko, like any craft, has a few common snags that can trip you up.
I know I’ve wrestled with my fair share of tangled threads and puckered fabric. Let's talk about how to avoid some of those frustrations and make your Sashiko journey smoother.
Mistake 1: Pulling Stitches Too Tight
This is probably the most common one. When you pull your thread too taut, the fabric will pucker and wrinkle. It's tempting to pull tight for security, but Sashiko relies on an even, relaxed tension.
Instead, pull gently, just enough so the thread lies flat against the fabric. You want the denim to maintain its natural drape, not become stiff or gathered. If you see puckering, gently loosen the thread from the back if you can, or start a new section.
Mistake 2: Uneven Stitch Lengths and Gaps
It takes practice to get those perfectly consistent little stabs. Early on, you might find some stitches are long, others tiny, and the spaces between them are all over the place. This is part of learning!
Try to consciously focus on making each stitch and gap roughly the same length. Some people find it helpful to count, or even mark tiny dots where each stitch should start and end. It gets easier with repetition, I promise.
Mistake 3: Overthinking Patterns
While some Sashiko patterns are intricate, you don't need to start there. Don't feel like you have to master a complex design on your first try. That can be overwhelming.
Start with simple straight lines, grids, or gentle curves. These basic patterns are beautiful in their own right and help you build muscle memory for the stitch itself. You can always level up to more complex designs later.
Mistate 4: Using the Wrong Materials
While you can use regular embroidery floss, Sashiko thread really does make a difference. Its slightly thicker, softer texture fills the stitches better and gives that authentic look.
Same goes for needles; the longer Sashiko needles allow for more efficient loading of stitches. If you're struggling with tangled thread or tough denim, check your supplies. Sometimes, a simple tool upgrade makes all the difference.
Mistake 5: Expecting Perfection
This isn't machine embroidery! The charm of Sashiko, especially visible mending, is its handmade quality. There will be small imperfections, slight variations, and unique quirks.
The beauty of handmade isn't in its flawlessness, but in the story of the hands that made it.
Embrace the irregularities. They are what make your mended item truly one-of-a-kind. I’ve learned that the "failures" often lead to the most interesting parts of a project.
Frequently Asked Questions
Is Sashiko Only for Denim?
Absolutely not! While it's fantastic for denim, Sashiko can be used on almost any sturdy woven fabric. Think canvas bags, linen shirts, cotton jackets, or even home decor like pillow covers. I've even seen some beautiful Sashiko on wool.
What if I Can't Draw Patterns?
Don't sweat it! You don't need to be an artist. Many Sashiko patterns are geometric and repetitive, like grids or simple wavy lines. You can buy pre-printed Sashiko fabric with designs that wash away, or use stencils, rulers, and tailor's chalk to create your own simple guides.
How Durable is Sashiko Repair?
It's incredibly durable! That's the whole point, historically. By adding layers of stitching, you're reinforcing the weak areas and creating a strong, stable repair that often outlasts the original fabric. It makes your garment last much, much longer.
Can I Use Regular Embroidery Thread?
You can, but the results will look a bit different. Regular embroidery floss is often mercerized, making it shinier and sometimes not as thick as traditional Sashiko thread. If you use floss, you might need to use multiple strands together to get a similar effect.
How Long does a Typical Repair Take?
This really depends on the size of the area you're mending and the complexity of your pattern. A small patch on a knee might take me 1-2 hours of focused stitching. A larger, more intricate design could be several hours, broken up over a few days. It's a marathon, not a sprint!
What if I Mess up a Stitch?
It happens to the best of us! If you notice a stitch is too long, too tight, or just in the wrong place, it's totally okay to unpick it. Use a seam ripper or small scissors to carefully snip the offending stitch, then pull the thread out. Don't be afraid to redo sections until you're happy. It's part of the process.
The Bottom Line
Sashiko embroidery is more than just a way to fix your clothes. It's a chance to slow down, be creative, and extend the life of items you love. You're not just mending; you're adding character, history, and a touch of your own personality to your favorite denim.
So, grab a needle, find that pair of jeans that needs a little love, and give it a try. Start with a simple running stitch. You've got this. Happy stitching! ❤️
Related Posts
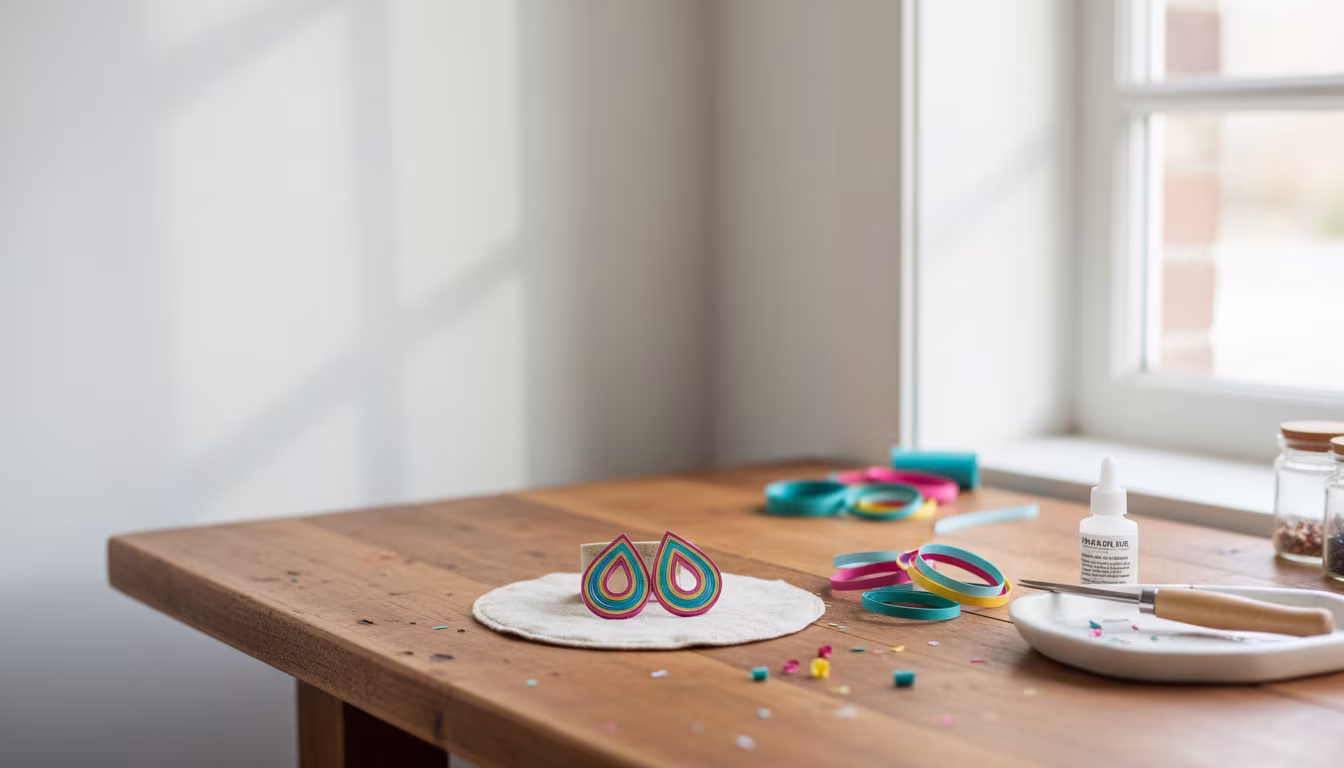
Why Quilling Earrings Are the Most Profitable Craft to Sell Online
Thinking about starting a craft business? You might be surprised to learn that delicate, colorful...

How to Build a Tabletop Kiln for Small Ceramic Projects
Dreaming of firing your own small ceramic creations at home? This beginner-friendly guide shows y...
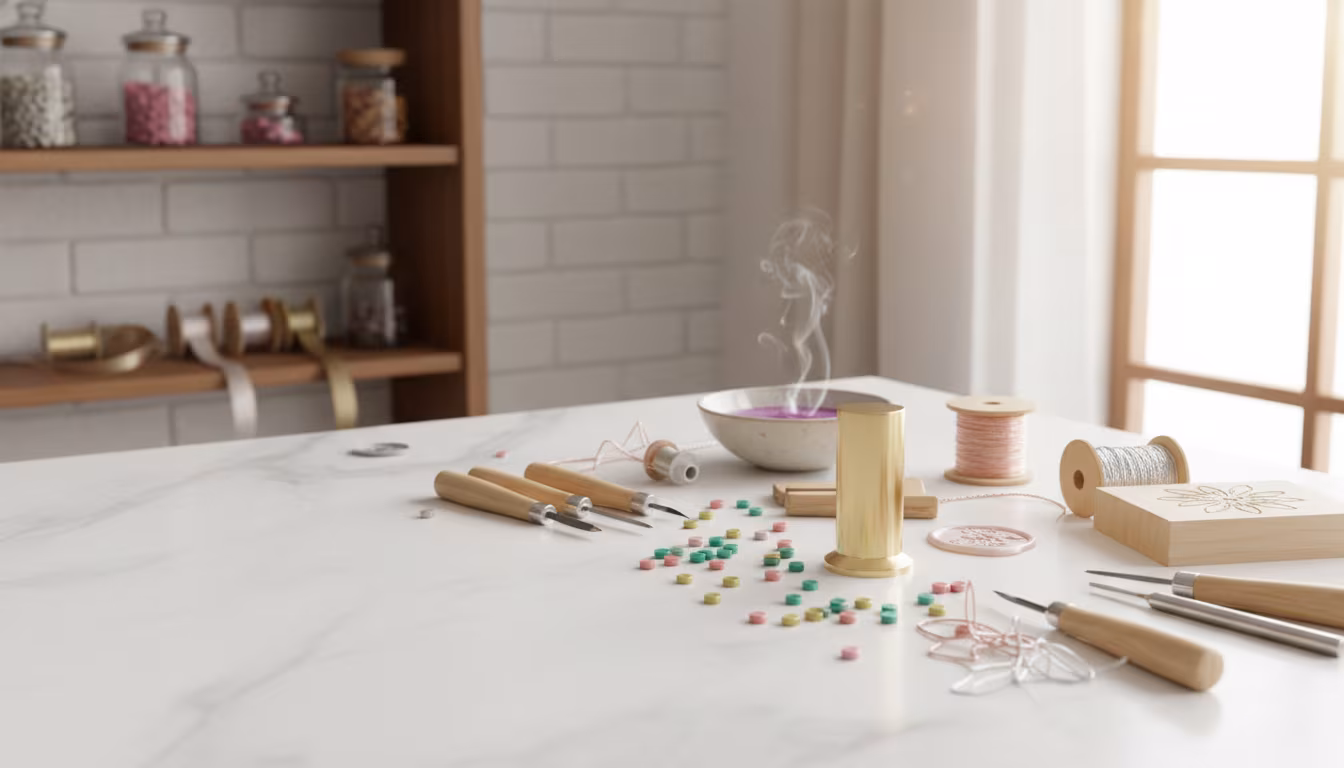
How to Make Custom Wax Seal Stamps for Wedding Invitations
Dreaming of a truly unique touch for your wedding invitations? Craft your own custom wax seal sta...
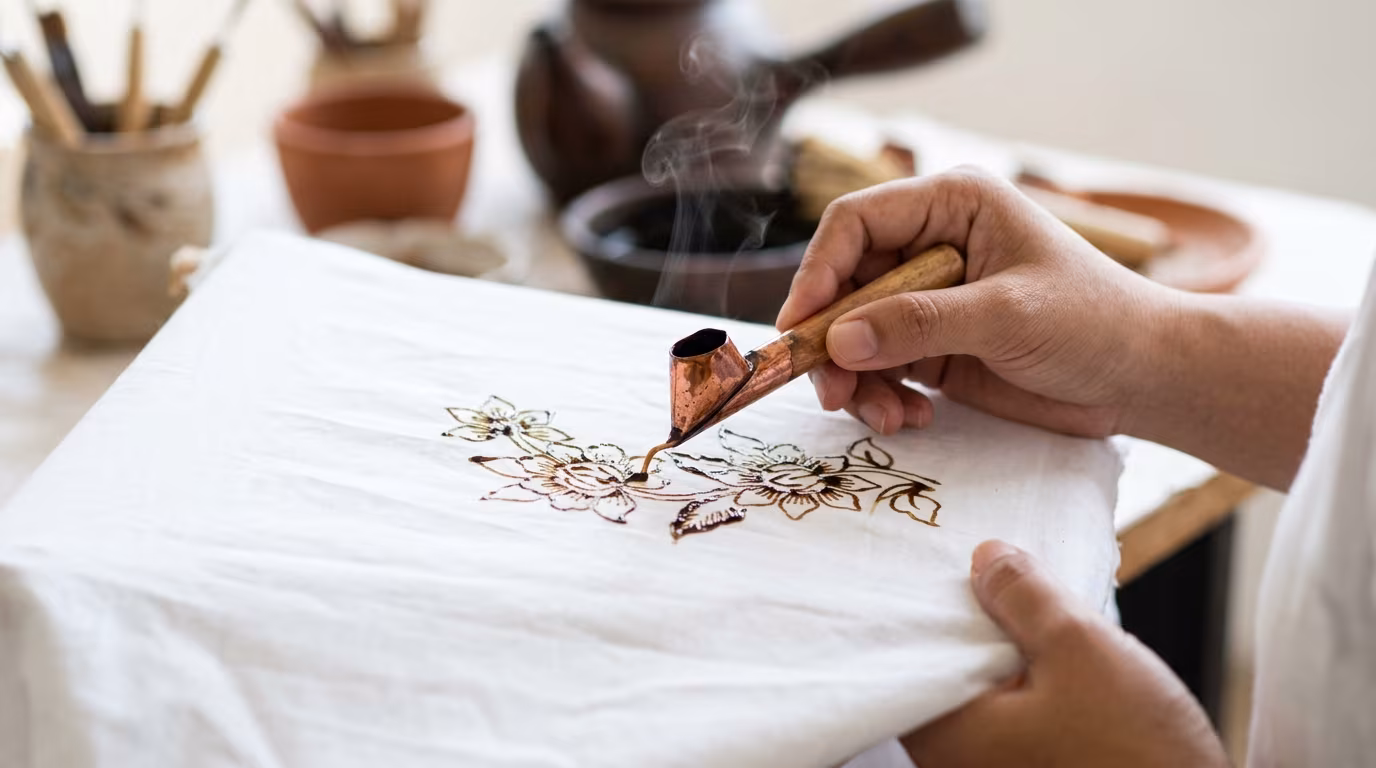
Why Batik Dyeing Creates the Most Unique Patterns on Cotton
Ever wondered how those intricate, one-of-a-kind designs appear on batik fabric? It's all in the ...