
Small-Yard Composting Without Smell or Pests Attracting
The short answer
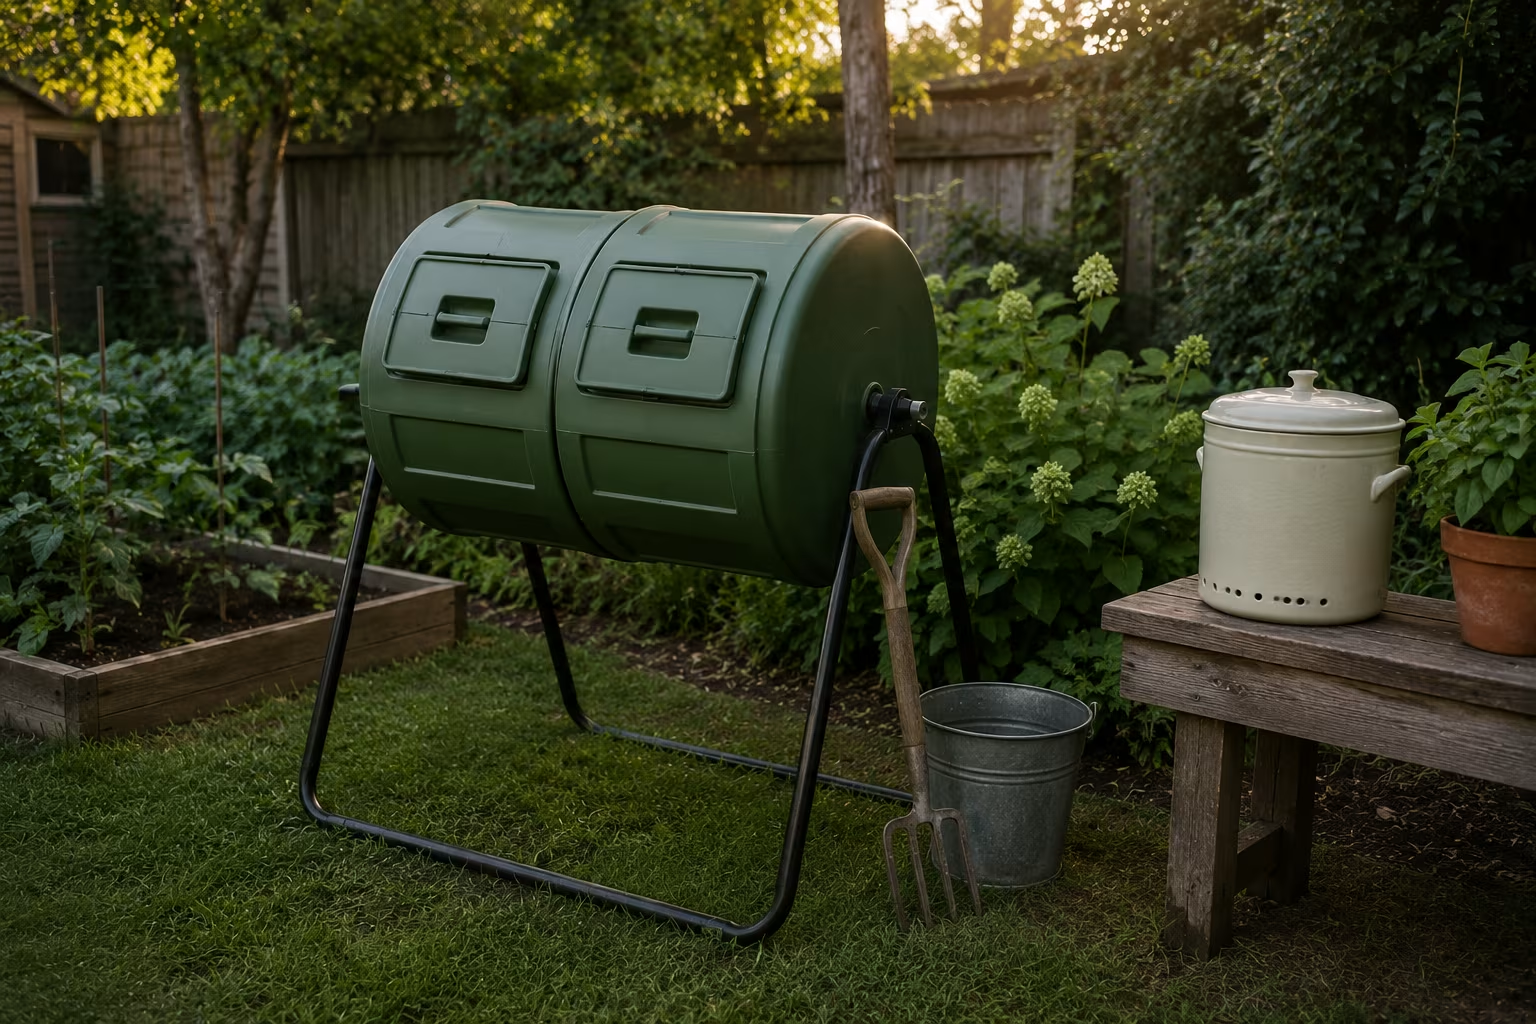
A sealed tumbler composter (15-25 gallon capacity) handles kitchen scrap composting for a typical small household without the smell or pest problems that plague open piles. The enclosed design keeps rodents and raccoons out, the elevation off the ground stops them from digging up, and the rotation aerates the compost faster than open piles aerate themselves.
The smell and pest issues that worry urban composters mostly come from open piles or from improperly balanced compost. With a tumbler and a correct ratio of carbon-rich browns (dry leaves, cardboard, newspaper) to nitrogen-rich greens (kitchen scraps, fresh grass clippings), composting produces no detectable odour and offers no entry for pests.
For a one or two-person household, a 15-25 gallon tumbler is the right size. Larger households benefit from a 35-65 gallon unit or two smaller tumblers (one filling while the other cures). Pick the size that matches your actual food waste output; oversized tumblers take too long to fill and the compost cycle stalls.
What goes in and what stays out
The single most important variable for smell-free composting is the carbon-to-nitrogen ratio. Aim for roughly 2-3 parts browns (carbon) to 1 part greens (nitrogen) by volume.
Browns (high carbon, breaks down slowly):
- Dry leaves (the easiest brown to accumulate; collect in fall and store)
- Cardboard, torn into small pieces (cereal boxes, packaging)
- Newspaper, torn (not glossy inserts)
- Sawdust from untreated wood
- Dried grass clippings
- Straw and hay
- Coffee filters (compost with grounds)
Greens (high nitrogen, breaks down quickly):
- Fruit and vegetable peels and trimmings
- Coffee grounds (with filter)
- Tea bags (paper only, no synthetic mesh)
- Fresh grass clippings (use sparingly to avoid matting)
- Crushed eggshells
- Plant trimmings from the garden
Never add (causes smell, attracts pests, or fails to compost):
- Meat, fish, bones (attracts rodents, raccoons, neighborhood dogs)
- Dairy products (milk, cheese, yogurt) — same pest issue
- Fats and oils (slow decomposition, attracts pests, creates anaerobic conditions)
- Cooked food in general (the cooking fats and sauces cause problems)
- Pet waste (dog, cat) — pathogen risk in compost destined for vegetables
- Diseased plants (spreads disease)
- Weeds with mature seeds (compost may not heat enough to kill seeds)
- Treated or painted wood
- Charcoal ash (alters pH dramatically)
The vegetarian rule (no meat, no dairy, no fats) is the single biggest pest-prevention practice. A compost system following this rule attracts almost no animal interest because the contents do not smell like food to predators or scavengers.
Tumbler design and how it works
A tumbler is a sealed barrel-shaped composter mounted on a frame that allows the barrel to rotate. The rotation tumbles the contents inside, mixing fresh additions into the existing compost and aerating the mixture without manual turning with a pitchfork.
The aeration is the key difference from an open pile. Microorganisms that break down compost need oxygen. Open piles compact under their own weight and develop anaerobic zones in the middle where the smell of rotting (rather than composting) develops. Tumblers introduce fresh oxygen with each turn, keeping the entire mass aerobic.
Aerobic composting produces a slightly earthy smell — similar to garden soil after rain. Anaerobic composting (the failure mode) produces the strong unpleasant smell associated with rotting food. The smell distinction tells you immediately whether the compost is working correctly.
Tumblers also keep heat in. Active composting generates heat — a well-balanced compost interior can reach 130-150°F (55-65°C) during the most active phase. The enclosed tumbler retains this heat better than open piles, accelerating the breakdown and killing many weed seeds and pathogens.
Selecting the right tumbler
Several design choices affect tumbler performance.
Single-chamber versus dual-chamber. Single-chamber holds all compost together; dual-chamber lets you fill one side while the other cures. Dual-chamber is more convenient for continuous composting but more expensive.
Capacity. 15-25 gallons for one or two people producing typical kitchen waste. 35-50 gallons for larger households or active gardeners. Oversized tumblers fill slowly; the partial contents do not heat up enough for active composting, and the cycle stalls.
Construction material. Heavy-duty plastic is the standard. Look for UV-stabilized polymers that resist sun degradation. Metal frames should be rust-resistant; powder-coated steel is durable.
Aeration features. Internal mixing fins that help break apart compost during rotation. External vents for additional oxygen. These features improve composting speed.
Sealing. The lid and any seams should seal tightly to keep pests out. Test by closing and trying to wedge a fingernail under the lid; a good seal resists.
Mounting/elevation. Tumblers should be off the ground for both pest control (rodents cannot dig up) and ergonomic access. Most consumer tumblers come with their own elevated frames.
Quality consumer tumbler brands include Lifetime, FCMP Outdoor, Yimby, and Joraform. The price range varies; spending more typically buys longer-lasting plastic, better bearings, and dual-chamber convenience.
The fill-and-cure cycle
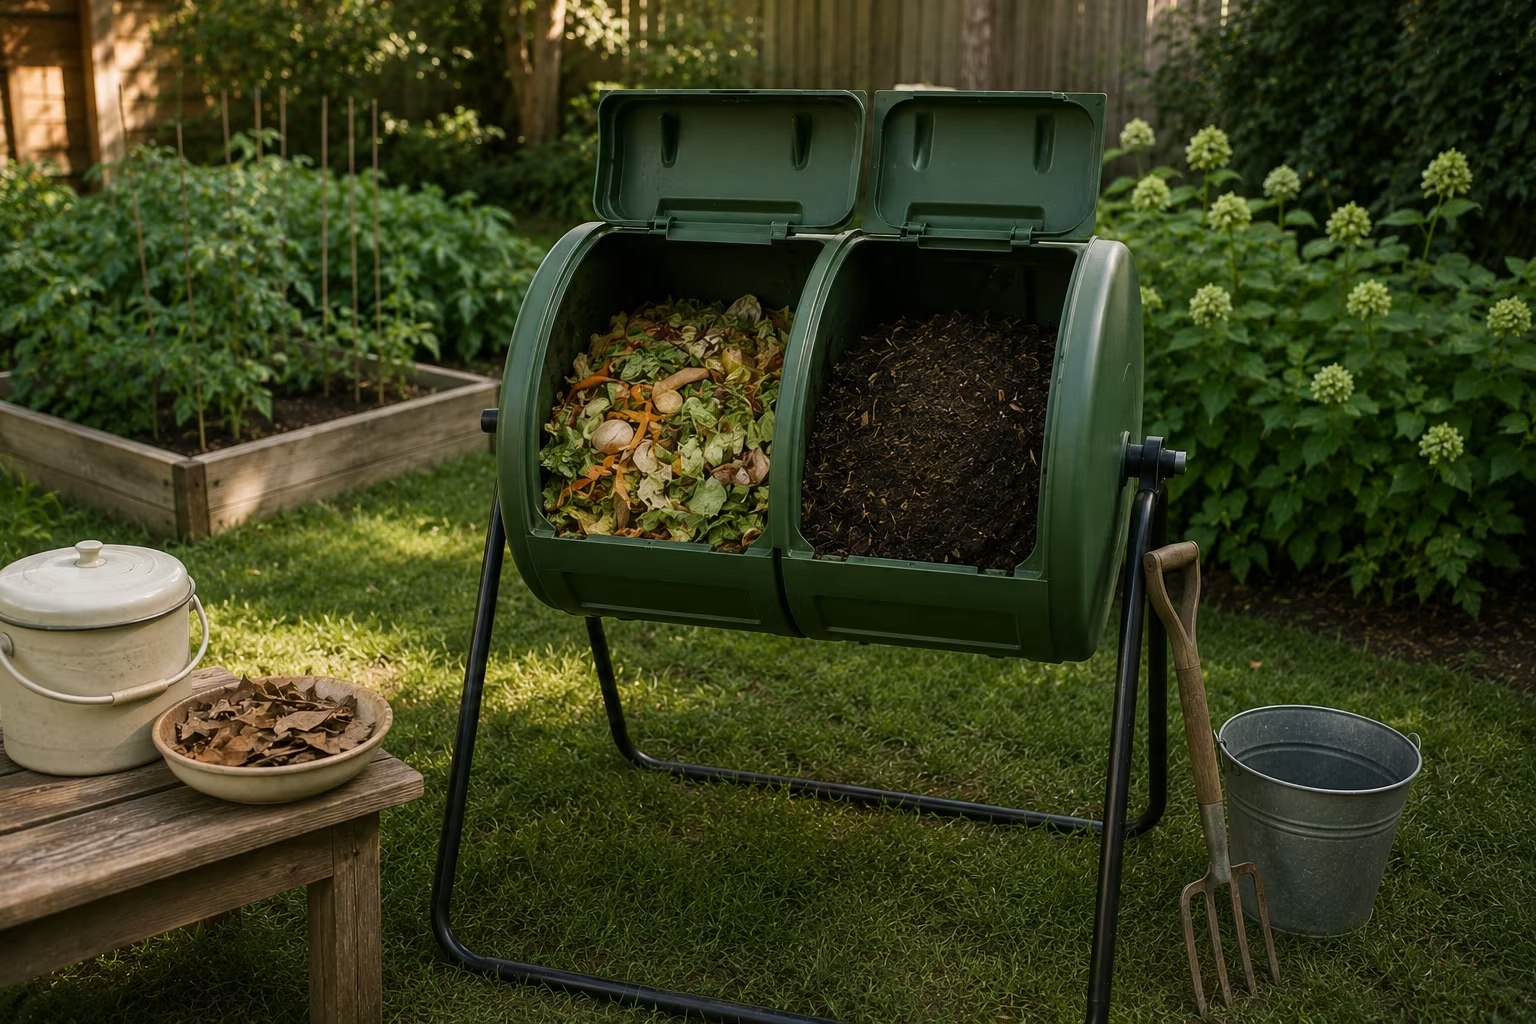
A typical tumbler cycle runs about 4-8 weeks depending on temperature and contents.
Filling phase (2-4 weeks). Add kitchen scraps and brown materials regularly. Maintain the 2-3 browns to 1 green ratio. Rotate the tumbler 5-10 turns every few days. Continue adding until the tumbler is about 75% full (leaving room for rotation).
Active composting phase (2-4 weeks). Stop adding new materials. Rotate the tumbler 5-10 turns every 2-3 days. The contents heat up and break down. Internal temperature peaks during this phase.
Maturation phase (1-2 weeks). Rotation slows; the compost cools. The mixture becomes uniform brown and crumbly. The earthy smell is the indicator of finished compost.
Harvest. Empty the tumbler into a wheelbarrow or buckets. Use the compost in garden beds, around houseplants, or as top-dressing on lawns.
For continuous composting, a dual-chamber tumbler lets you start filling chamber two while chamber one cures. By the time chamber two is full, chamber one's compost is ready to harvest. The system runs continuously.
For single-chamber tumblers, the fill phase pauses when the tumbler is full. During the active and maturation phases, kitchen scraps need to go somewhere else — a kitchen counter compost crock (small lidded container for short-term scrap storage) holds a few days' worth while the tumbler finishes.
Troubleshooting common problems
Most compost failures trace to one of a few specific issues.
Compost smells bad (not earthy). The contents are anaerobic. Add more browns (dry leaves, cardboard) and rotate more frequently. The added carbon and aeration restore aerobic conditions within a week.
Compost is dry and not breaking down. Too many browns, not enough moisture. Add more greens (kitchen scraps), or add a small amount of water — the compost should feel like a wrung-out sponge.
Compost is slimy and matted. Too many greens, not enough browns. Add dry leaves or shredded cardboard to absorb excess moisture and add carbon.
Fruit flies appearing inside. Tumbler sealing is poor, or surface scraps are exposed. Cover fresh kitchen scraps with browns immediately when adding to the tumbler. Check that the lid seals fully.
Composting stops in cold weather. The microorganisms slow at low temperatures. Composting essentially pauses below about 50°F (10°C) and stops below freezing. Continue adding materials; the cycle restarts in spring.
Animals trying to reach the tumbler. Either the seal is compromised or you have been adding forbidden items. Inspect for failures and review the never-add list.
What to do with the finished compost
A small tumbler produces a few cubic feet of compost per cycle. The finished product is concentrated and valuable.
In vegetable beds. Mix 1-2 inches of compost into the top 6 inches of garden soil at the start of each growing season. The compost improves soil structure and provides slow-release nutrients.
Around perennials and shrubs. Top-dress with a 1-inch layer of compost in spring. The compost breaks down slowly through the season, releasing nutrients.
In houseplants. Mix with potting soil at about 1:4 ratio when repotting. Be cautious with the proportion — too much compost can be too rich for some houseplants.
As lawn top-dressing. Sprinkle a thin layer (1/4 inch) over lawn in fall. Improves soil structure under grass.
As mulch. Coarser compost works as garden bed mulch. The mulch suppresses weeds and feeds the soil simultaneously.
If you produce more compost than you can use, gardening neighbours often welcome it; some community gardens accept donations. Compost is rarely wasted as long as someone gardens nearby.
Winter and seasonal considerations
Tumbler composting slows dramatically in cold weather. The microorganisms responsible for the process are temperature-sensitive.
Cold winter strategies:
Continue adding kitchen scraps through winter but expect minimal active breakdown. The materials accumulate frozen; spring brings the thaw and the composting catches up.
Insulate the tumbler with a tarp or moving blanket if temperatures regularly drop well below freezing. The insulation can keep some activity going through mild winter days.
For climates with very cold winters, indoor composting alternatives (worm bins / vermicomposting) handle kitchen scraps year-round. Worm bins live in basements or garages and process scraps continuously regardless of outdoor temperature.
Summer: the tumbler operates at peak efficiency. The active composting phase can run as fast as 2-3 weeks. Increase the rotation frequency to keep up with the faster breakdown.
Long-term system improvements
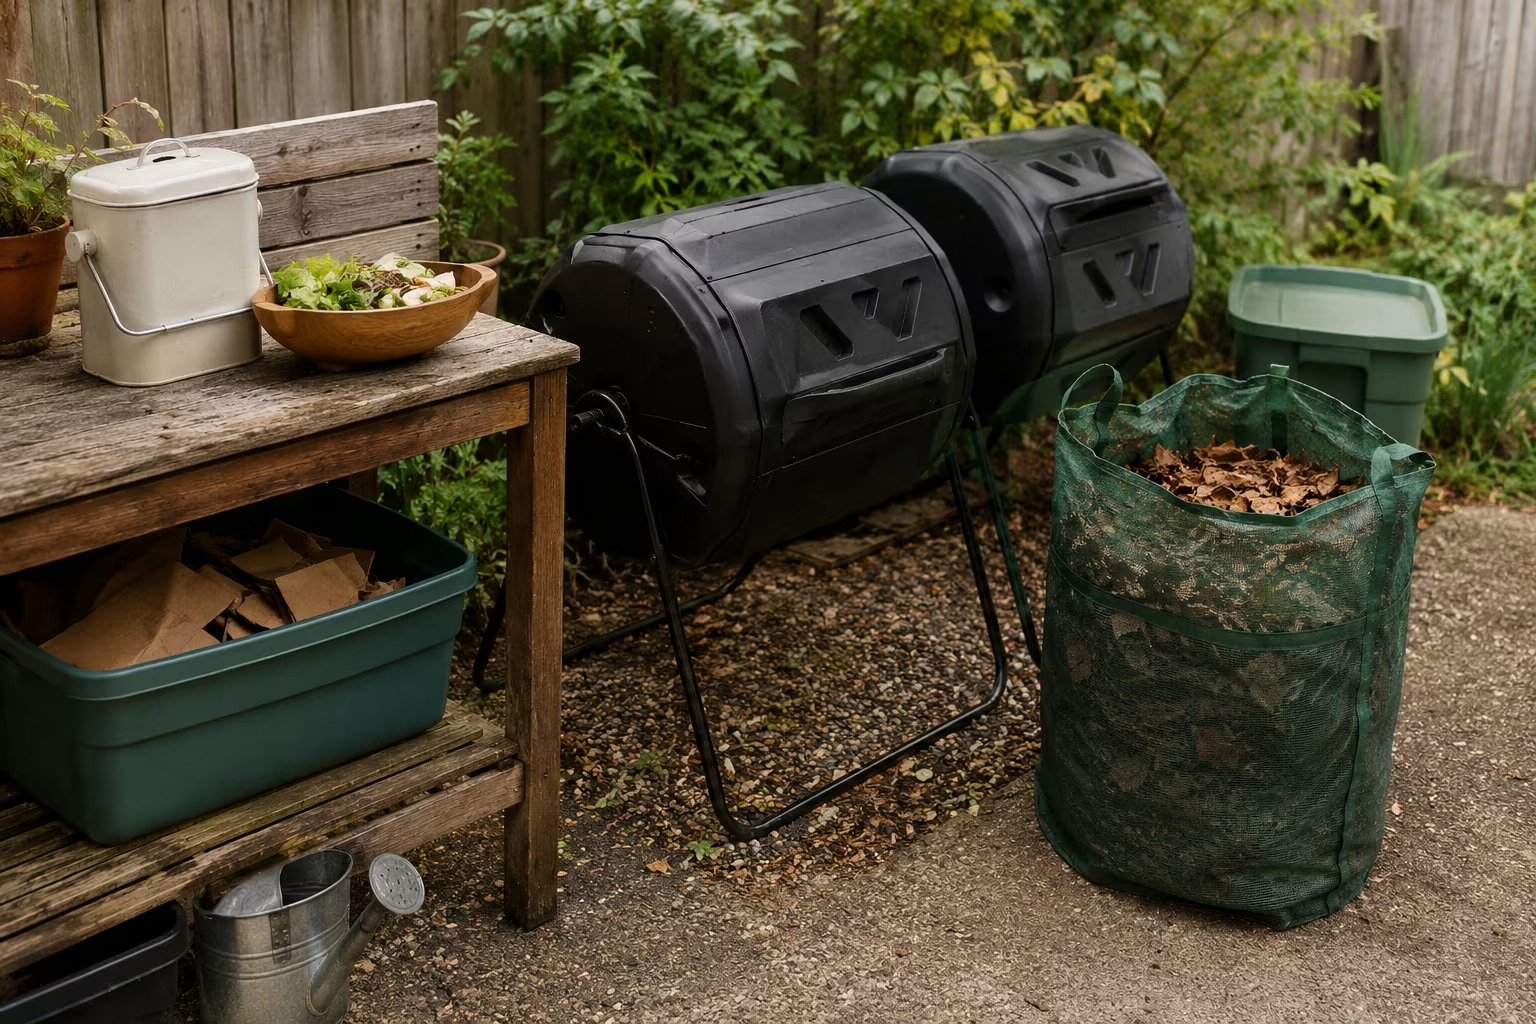
After a season or two of tumbler composting, several upgrades improve the experience.
A kitchen compost crock. A small lidded container on the counter holds 2-4 days of kitchen scraps before they go to the tumbler. Eliminates daily trips to the tumbler.
A leaf-storage system. Browns are the limiting input for most composters. Collecting and storing fall leaves in a separate bag or bin gives you a year-round supply of browns.
A second tumbler. For households producing more scraps than one tumbler handles, a second tumbler doubles capacity without the complexity of dual-chamber. Stagger the cycles so one is filling while the other cures.
Compost moisture meter. A simple probe sensor that tells you whether the compost is at the right moisture level. Useful for diagnosing dry-or-wet problems.
The system grows with your gardening ambitions. A small-yard composter starts as a way to reduce kitchen waste and becomes, over years, a foundational practice for the home's gardening.
Worm composting (vermiculture) as a small-space alternative
For very small spaces or for households that prefer indoor composting, vermicomposting (composting with red wiggler worms) handles kitchen scraps in a contained bin year-round.
The bin is typically a stacked tray system kept in a basement, garage, or other temperature-stable location. Red wiggler worms eat kitchen scraps and produce castings (worm compost) that are even more concentrated than traditional compost.
A single-person household with a small vermiculture bin can process most kitchen scraps continuously, producing several gallons of compost per year. The bin requires minimal attention — feeding once or twice a week, harvesting castings every few months.
Limitations: vermicomposting does not handle meat, dairy, citrus, onions, or garlic well. The worms reject acidic and pungent foods. A worm bin alongside a tumbler composter can split the inputs — fruits and vegetables to the worms, browns and other materials to the tumbler.
Community composting alternatives
For households that cannot manage backyard or indoor composting, community options exist in many areas.
Municipal composting programs accept kitchen scraps as curbside collection in some cities. The scraps go to industrial composting facilities that process the material at scale.
Community garden compost bins accept contributions from neighborhood households in some areas. Check with local community gardens about their policies.
Food scrap drop-off sites operate in some urban areas, where residents bring scraps to a central location for processing.
For households without backyard composting access, these alternatives keep food waste out of landfills (where it produces methane) and return nutrients to soil.
A reminder on patience
Composting is biological work that runs at its own pace. A tumbler accelerates the process compared to an open pile but does not eliminate the cure time. Expect 4-8 weeks from filled tumbler to finished compost. Patience produces better compost than aggressive intervention.
The slow learning curve becomes a quiet pleasure once the rhythm settles in. Kitchen scraps stop feeling like waste and start feeling like raw material for soil; the system becomes a small but useful productive corner of the home.
Tumbler math:
| Parameter | Value | Note |
|---|---|---|
| 1–2 person household | 15–25 gallon sealed tumbler | — |
| Larger household | 35–65 gal, or two tumblers | one fills while the other cures |
| Mix | 2–3 parts browns : 1 part greens by volume | balance kills smell |
| Healthy core temp | 130–150°F (55–65°C) | heat = it is working |
Related Posts
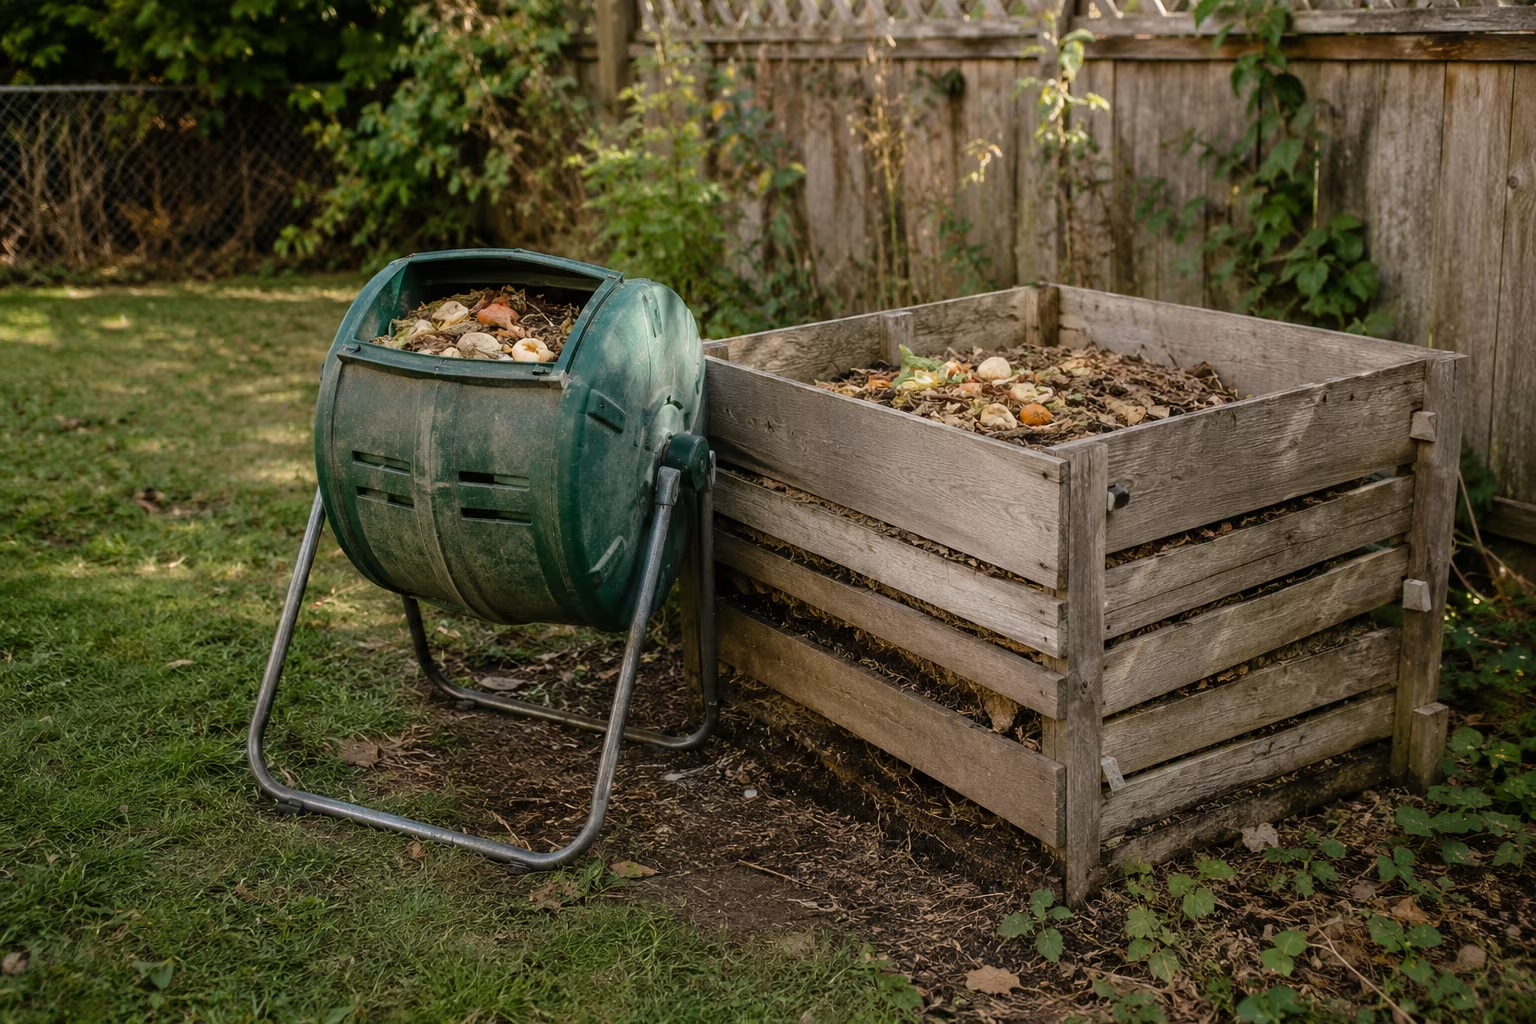
Compost Tumbler vs Static Bin: Which to Choose
Both composters work but they suit different households. Tumbler for speed and pest control...

Backyard Birdhouse Placement for Songbirds
A birdhouse in the wrong spot stays empty for years. Height, direction, distance from cover, and...
Wet-Climate Tent Camping: The Layering That Stays Dry
Three-season tents in wet climates fail predictably without the right layering. The footprint...
Hammock Anchor Choice: Tree Straps, Posts, or Stands
Tree straps are flexible but need trees. Posts need installation. Stands are portable but heavy....
Comments
No comments yet. Be the first to share your thoughts!