
Light Fixture Height Over Dining Table: The Rule
The short answer
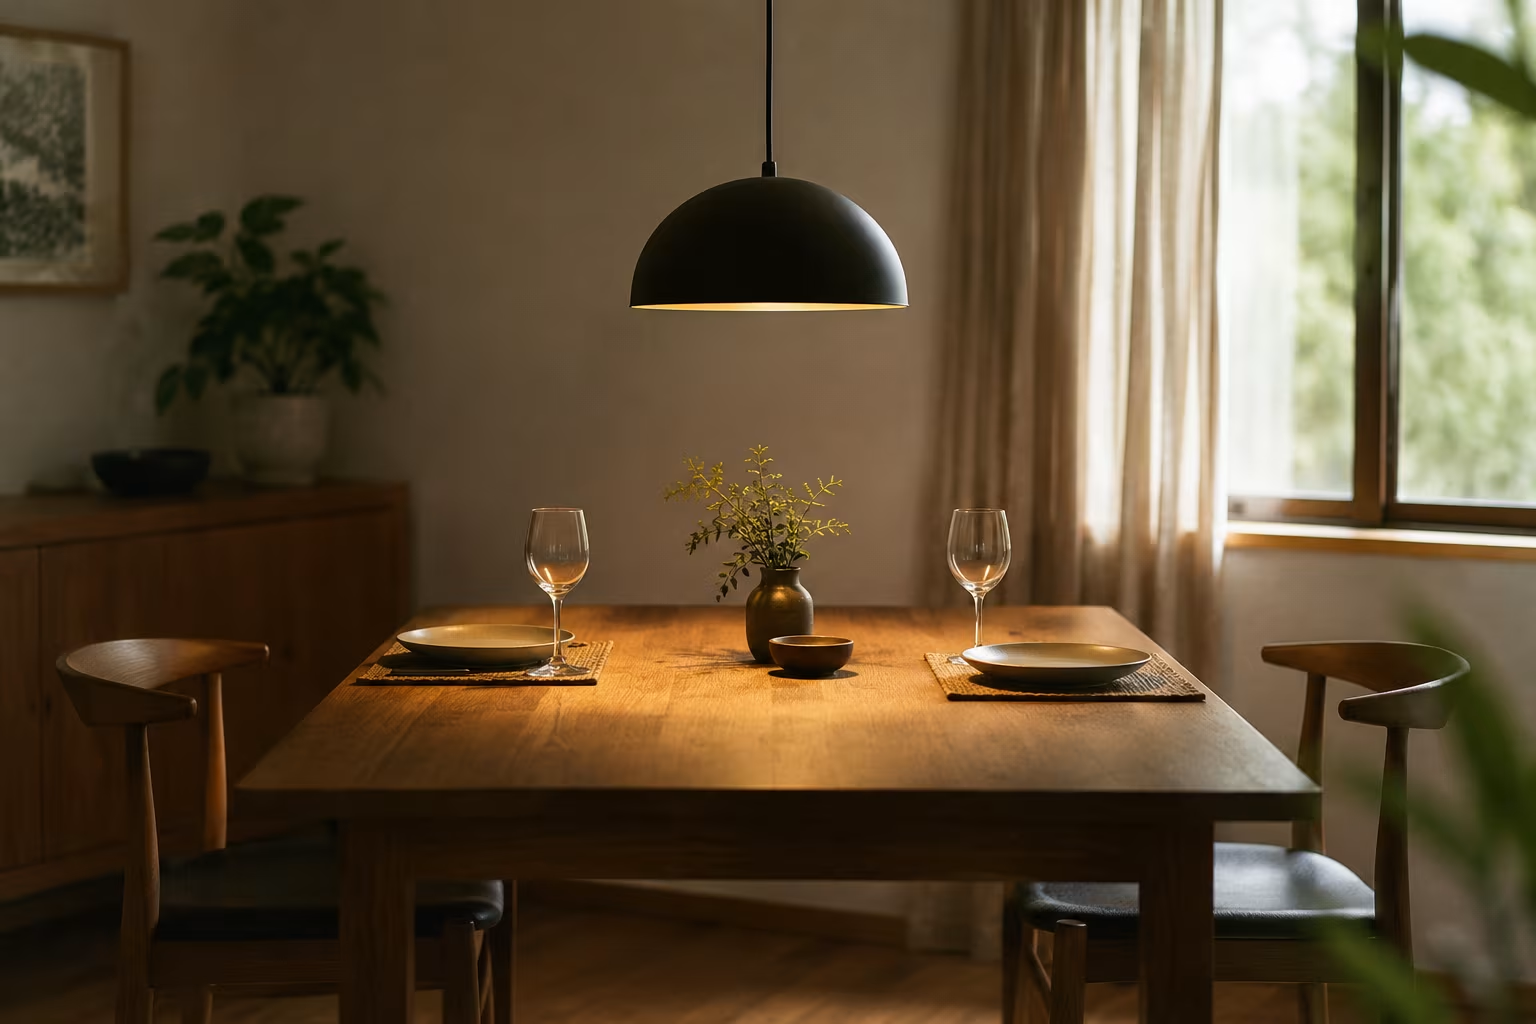
The standard hanging height for a pendant light over a dining table is 30-36 inches from the table surface to the bottom of the fixture. This places the light low enough to illuminate the table without dominating the room, and high enough not to block sightlines across the table.
This is the starting point. Adjust by 3 inches up for every additional foot of ceiling height above the standard 8 feet. A 10-foot ceiling typically wants 36-42 inches above the table; a 12-foot ceiling wants 42-48 inches.
The other variable: fixture style. Drum or globe shades that don't direct light strongly downward can hang lower (28-32 inches). Open or cage-style fixtures that cast light in all directions hang slightly higher (32-38 inches) so the bare bulbs don't glare into diners' eyes.
Why this matters
A light too high feels disconnected from the table. The dining area loses its intimacy, the light pools weakly on the table center, and the room reads as poorly designed even if the fixture itself is beautiful.
A light too low creates physical and visual problems. Tall diners see the bulb directly. Servers and people walking around the table bump their heads. The fixture dominates the table to the point that food and conversation become secondary.
The sweet spot — 30-36 inches above the table — balances these concerns. Light pools usefully on the table without dominating; tall diners can see across without obstruction; the fixture reads as part of the room's design rather than an obstacle.
Measuring correctly
The measurement is from the table surface to the bottom of the fixture (the lowest point that hangs into the room). Not the top of the fixture, not the ceiling mount.
For a flush-mount or semi-flush ceiling fixture, the measurement is from table surface to the bottom edge of the shade.
For a pendant on a cord, measure to the bottom of the bulb housing or shade — whichever extends furthest down.
For a chandelier with multiple arms, measure to the lowest point of any arm or pendant.
Use a tape measure with a helper holding the other end. Get the actual measurement; don't estimate. A 35-inch hanging height looks dramatically different from a 30-inch one.
Ceiling height adjustments
Standard 8-foot ceilings: 30-36 inches above table.
9-foot ceilings: 32-38 inches.
10-foot ceilings: 36-42 inches.
11-foot ceilings: 38-44 inches.
12-foot ceilings: 42-48 inches.
Vaulted or cathedral ceilings: 42-54 inches depending on the slope and the fixture style.
The principle is to keep the fixture proportional to the room. In tall rooms, hanging too low makes the fixture look orphaned; hanging at standard height makes it look lost in the vertical space.
Table size considerations
The fixture size and hanging height also relate to the table dimensions.
A pendant light should be about one-half to two-thirds the width of the table. A 36-inch wide table wants a 18-24 inch wide pendant. A 60-inch wide rectangular table wants a 36-44 inch wide pendant or a row of two smaller pendants.
For very long rectangular tables (over 7 feet), consider two or three pendants in a row spaced evenly along the table's length. Each pendant should still follow the height rule from the table surface.
Fixture style considerations
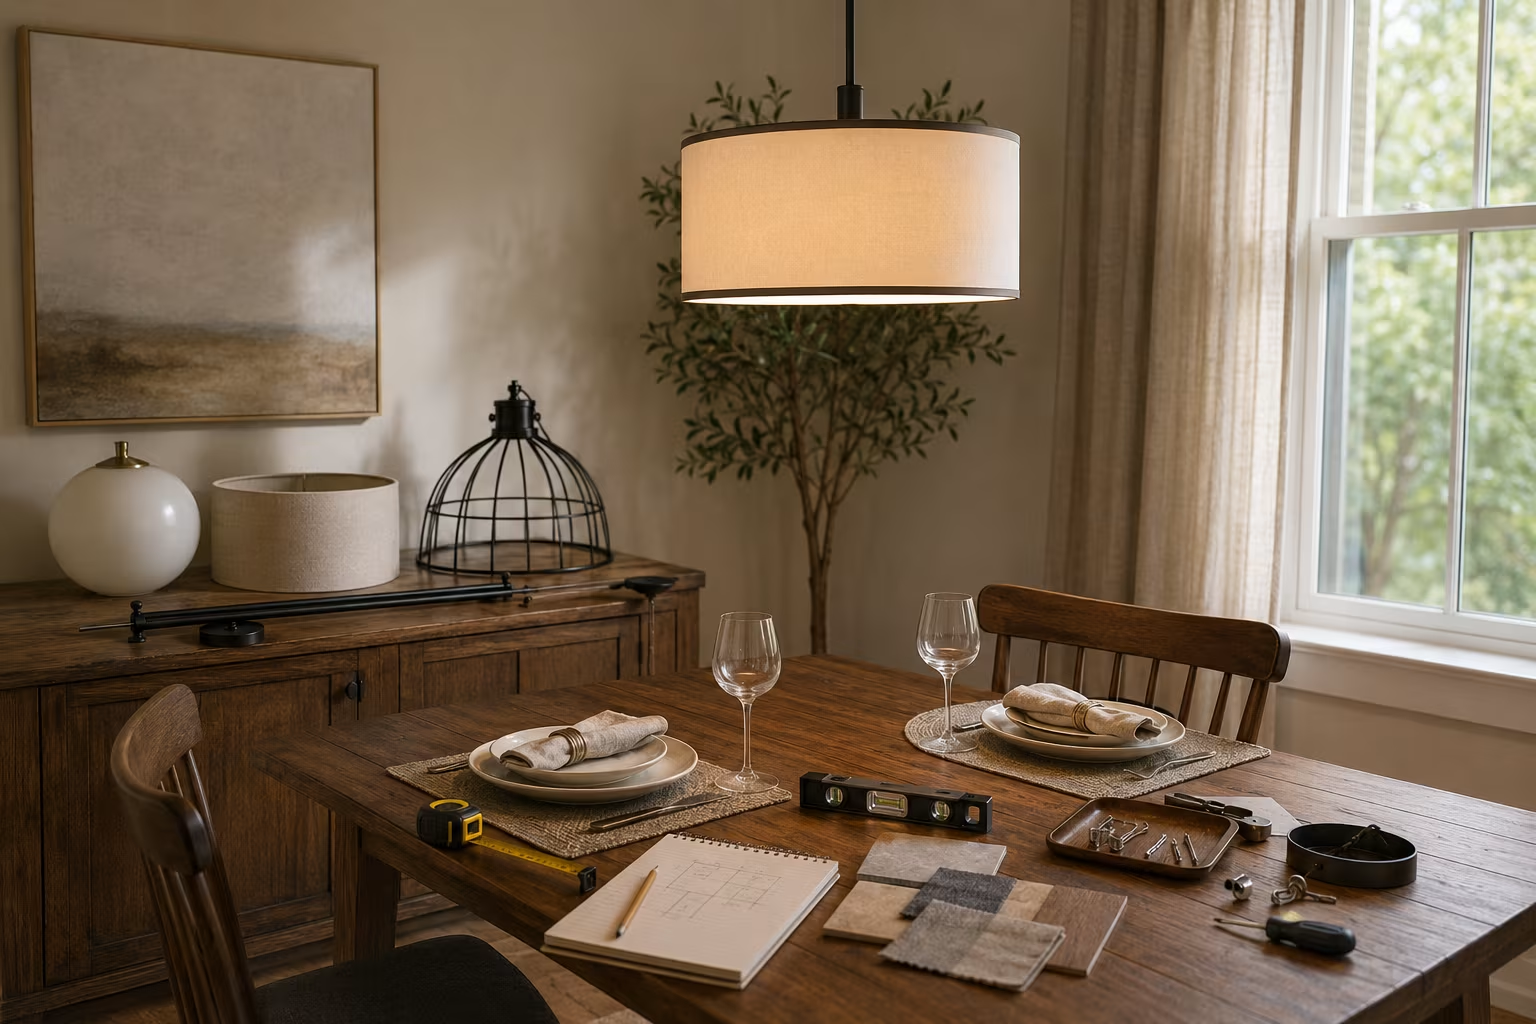
Drum and globe shades direct light downward through diffused fabric or glass. Hang slightly lower (28-32 inches) since the diffused light won't glare directly into eyes.
Open metal cages direct light in all directions. Hang higher (32-38 inches) so bare bulbs don't shine into eyes across the table.
Linear suspension fixtures multiple bulbs in a row. Standard height (30-36 inches) but pay attention to the lowest bulb's position.
Chandelier-style with multiple arms the lowest point of any arm should follow the standard rule.
Pendant with a downlight more focused beam. Can hang slightly higher because the light cone is more concentrated.
Bulb choice and brightness
The right brightness for dining table illumination is 600-1000 lumens total (the sum of all bulbs in the fixture). Brighter is generally not better; you want flattering pool of light, not a glaring spotlight.
Color temperature 2700-3000K (warm white) is the standard for dining rooms. The warm tone is flattering to food and faces. Cooler temperatures (4000K+) feel clinical at the dinner table.
Dimmable bulbs and dimmer switch highly recommended. Bright for cooking and eating, dim for evening conversation and dessert. The flexibility transforms how the room functions.
LED bulbs in dimmable fixtures confirm the bulbs are labeled "dimmable" and the dimmer is rated for LED loads. Mismatched dimmers and LEDs cause flickering.
Multiple fixtures over a long table
Long rectangular dining tables (over 7 feet) often need more than one fixture.
Two pendants space evenly along the table's length. Each pendant centered approximately on its third of the table. Centered between the two pendants is empty.
Three pendants classic linear arrangement. Spaced equally; each pendant lights a section of the table.
Mixed sizes a larger central fixture with smaller pendants on each side. Less common but works for some rooms.
Each fixture follows the height rule independently. They don't need to be the same brand or style, but they should share a visual language (color, material, era).
What about chandeliers vs pendants
Chandeliers multi-arm fixtures with multiple bulbs. Traditional dining room style. Statement piece for formal dining rooms.
Pendants simpler single-bulb or contained-multi-bulb fixtures. Modern, minimalist, more flexible.
Both follow the same hanging height rules. The choice between them is aesthetic, not functional.
For a formal dining room: chandelier traditional. For a contemporary or casual dining room: pendant modern. For mixed styles, look for fixtures that bridge — modern chandeliers, traditional pendants.
When to break the rules
The 30-36 inch standard works for typical dining situations. Some situations want deliberate breaking.
Very low ceilings (under 8 feet) hang the fixture as low as practical, 28-30 inches above the table. The fixture will dominate; pick a smaller one to compensate.
Very tall vaulted ceilings hang higher, 42-54+ inches. The fixture needs to relate to the ceiling architecture, not get lost in it.
Designer drama some interior designers hang fixtures intentionally low (24-26 inches) over a low table for theatrical effect. This works in spaces where the dining table is a centerpiece, not a workspace. Tall diners may bump their heads; this is accepted as part of the look.
Outdoor or covered patio dining the same rules apply but outdoor light fixtures are typically rated higher to handle weather. Use exterior-rated bulbs and fixtures.
A practical install routine
For a new fixture install or a height adjustment:
Measure the table height and the ceiling height. Calculate the target distance from table to bottom of fixture.
Pre-thread the fixture's cord or chain to roughly the right length. Most fixtures allow length adjustment.
Mount the fixture and lower it to position. Have a helper hold while you measure from the table.
Adjust as needed. Lower if too high; raise if too low. The flexibility of cord-mount pendants is the easiest; chain pendants require more work to shorten.
Test with the dimmer at different brightness levels. The right height should work across the brightness range.
Live with the height for a week. Some height issues only become apparent when you're actually using the dining room. Adjust before fully committing.
The dining table fixture is one of the most-used lights in a home. The 30-36 inch standard gives a starting point; small adjustments for your specific space create a room that functions well day after day.
Fixture Style and Visual Weight Effects
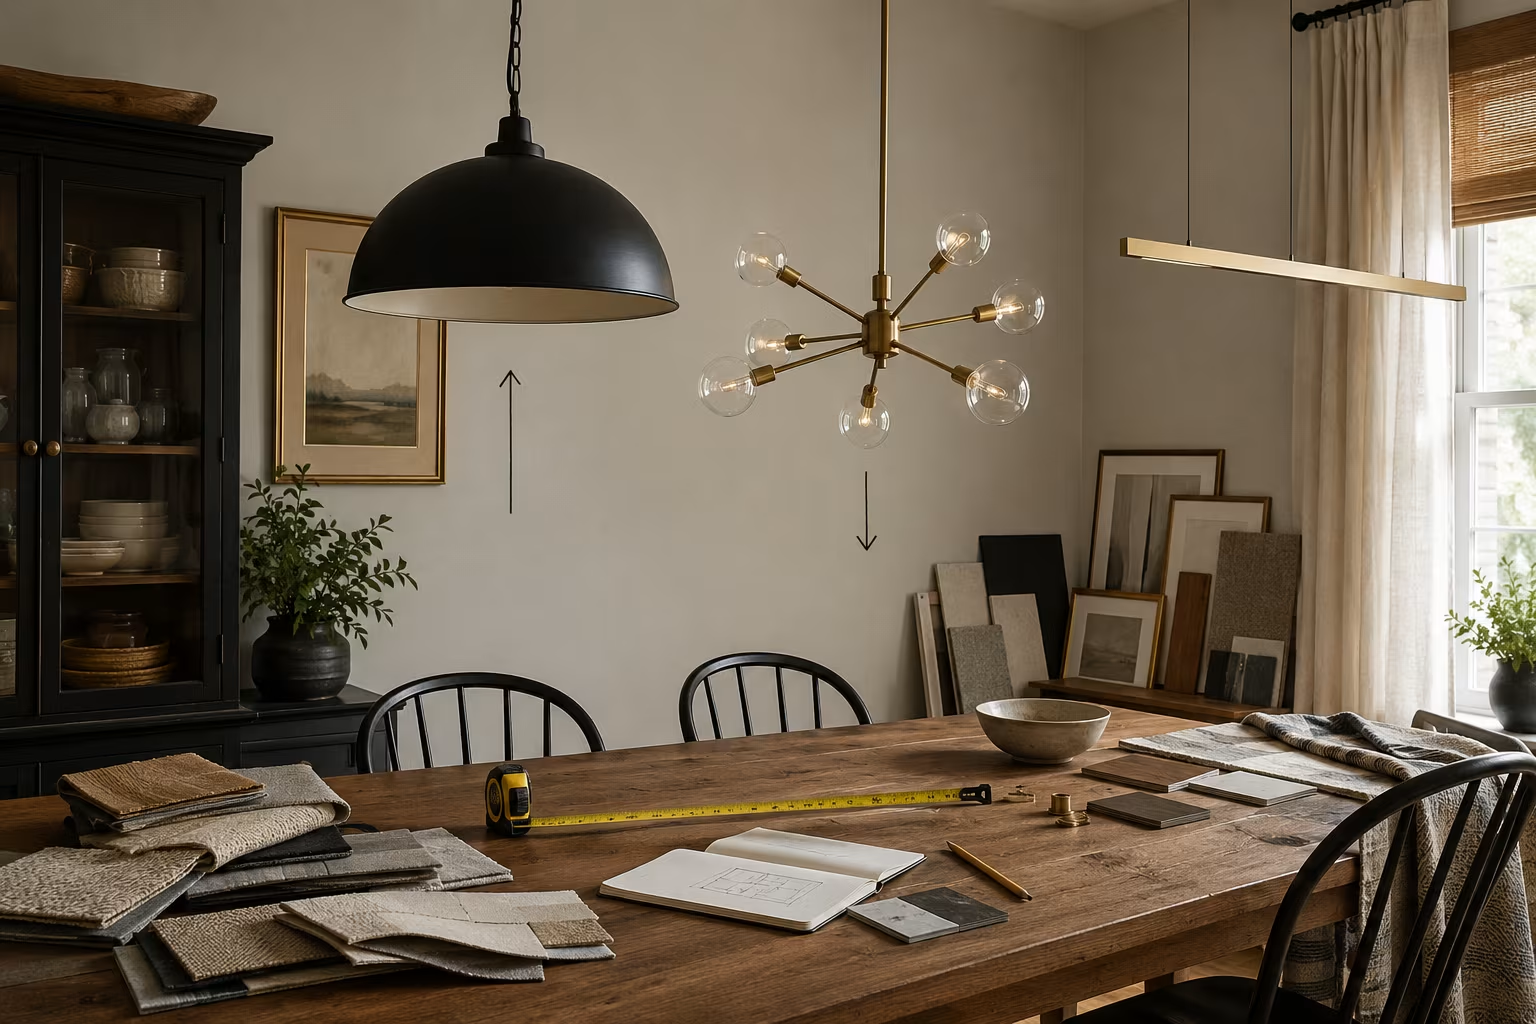
The fixture type dramatically affects ideal hanging height. Solid pendant lights (drum shade, cone, dome) appear visually heavier and should hang slightly higher to avoid blocking sightlines. Multi-bulb chandeliers with open structures (Sputnik, modern globe clusters) feel lighter and can hang lower without dominating the space. Linear fixtures (kitchen island bars, dining table linear pendants) work best 30-32 inches above the table surface so the light spreads across the full length without forming hot spots.
For tall ceilings (over 9 feet), the rule of thumb adds 3 inches of fixture drop for every additional foot of ceiling height above 8 feet. So a 10-foot ceiling room with a dining fixture should hang the fixture 36-42 inches above the table to maintain proper visual proportion. Very tall ceilings (cathedral, vaulted) often look better with multi-tier chandeliers that occupy more vertical space than single-point pendants.
Modern minimalist designs favor narrower visual profiles. Trade-specific brands like Tom Dixon, Flos, Vibia, and Louis Poulsen produce pendant fixtures designed for dining room use, ranging from 200-3500 USD per fixture (as of 2026 — confirm current pricing).
Bulb Type and Light Quality Match
Bulb choice matters as much as fixture position. For dining rooms, warm white (2700-3000K color temperature) creates the inviting atmosphere associated with intimate dinners; cool white (4000K+) feels clinical and inappropriate for evening meals. Color Rendering Index (CRI) above 90 ensures food colors appear natural — meat tones, vegetable greens, wine colors all render more accurately under high-CRI LEDs.
Dimmable LEDs offer flexibility for different meal scenarios. Brunch lighting at 70-80% brightness, lunch at full output, dinner at 40-60%, late-night conversation at 20-30%. A 2700K dimmable LED that drops to 2200K when dimmed (similar to candlelight) provides the most natural transition; brands like Philips Hue, Soraa, and Vivo Color Match offer this "dim to warm" capability at 30-80 USD per bulb.
Installation and Junction Box Considerations
Standard ceiling junction boxes support fixtures up to 50 pounds. Heavier chandeliers require fan-rated junction boxes (rated for 70 pounds) with reinforced bracing across ceiling joists. This installation typically requires opening up adjacent drywall or attic access, and many homeowners hire an electrician for this work — typical cost 200-500 USD beyond the fixture itself.
For renters or homeowners with low ceilings, plug-in pendants offer non-installation options. These hang from a ceiling hook (drilled or adhesive-mounted) and use a cord routed along the ceiling to a wall outlet. Plug-in pendants from CB2, West Elm, and Article cost 80-300 USD and can be installed in 15-30 minutes without electrician.
Swag chains and corded pendants are particularly useful when the existing junction box isn't centered over the dining table. The chain can drape from the original box to a hook directly over the table, repositioning the visual focal point without any new wiring.
Common Installation Mistakes
Five common mistakes lead to dissatisfying installation results. First, hanging the fixture too high — looks like an afterthought floating disconnected from the table. Second, choosing a fixture too small for the table dimensions — should be roughly 12-14 inches narrower than the table width on each side. Third, selecting wrong bulb temperature — cool white over a warm wood table feels harsh. Fourth, ignoring the room's other light sources — dining fixture should be one element in a layered lighting plan, not the only light. Fifth, not testing position before final installation — temporary hanging with masking tape can preview the look before drilling permanent holes.
Professional interior designers often suggest hanging the fixture at the planned height with masking tape for 24-48 hours before final installation. This trial period reveals proportional issues from different angles and times of day that aren't apparent from a single measurement.
Smart Lighting Integration for Dining Areas
Modern smart lighting systems offer scene programming particularly valuable for dining rooms. Philips Hue Pendant Lights ($150-400), Lutron Caséta Dimmer with Pico Remote ($60-150), and Google Nest WiFi Smart Bulbs integrate with home automation platforms. Pre-programmed scenes like "Dinner Party" (40% brightness, warm 2400K), "Family Dinner" (70% brightness, 2700K), and "Cleanup" (100% brightness, 3000K) can be triggered by voice or schedule.
For households with kids and frequent meal time variations, schedule-based dimming automates the transition from bright dinner prep to soft post-meal conversation light. This eliminates the manual dimmer fiddling that often gets skipped in busy households, ensuring the dining ambiance stays appropriate throughout each meal.
Multiple Light Source Layering
A single dining fixture rarely provides ideal lighting; professional designers always layer multiple sources. Wall sconces flanking a buffet or sideboard add ambient warm light. A small accent lamp on a side table fills in shadows. Recessed downlights elsewhere in the dining area provide task lighting for clearing or serving. The dining fixture itself remains the focal point but contributes to overall room balance rather than acting alone.
Recessed fixtures around the dining table perimeter (typically 4-6 lights in a rectangle pattern) create flexible "wash" lighting that supplements the central fixture. For 10x12-foot dining rooms, a layout might include the central pendant, four corner recessed lights, plus two wall sconces over the sideboard — totaling about 8 light sources working together.
Related Posts
Area Rug Size Under Dining Table
A rug too small under dining table looks like a mistake. Chairs must stay on rug when pulled out.


Sofa Pillow Combinations That Don't Fight
Throw pillows pile up over years. Rules for color, texture, pattern, and size.
Hanging Plants Without Ceiling Hooks for Renters
Hanging plants brighten any room but drilling into the ceiling isn't always an option....
Indoor Plant Pot with No Drainage Hole: How to Make It Work
A no-drainage pot rots roots fast. Use the double-pot method, skip the gravel myth, pick...
Comments
No comments yet. Be the first to share your thoughts!