
DIY Garden Projects: Transform Your Outdoor Space
A garden does not need a large budget to feel finished. Most of what makes an outdoor space inviting, defined planting areas, a place to sit, a path that leads somewhere, can be built from pallets, offcuts, and recycled containers for a fraction of retail prices. A cedar planter that sells for $120 costs roughly $25 in lumber to build yourself. This guide works through beginner-to-advanced projects with the measurements, tools, and finishes that keep them standing through a full season outdoors.
Tools and Materials to Start With
A basic outdoor project kit is small. A cordless drill/driver, a hand saw or circular saw, a hammer, a tape measure, and a set of exterior-grade screws cover most builds. For finishes, exterior wood stain or a penetrating sealer protects bare timber; a quart covers about 100 square feet. Salvaged materials do the heavy lifting: standard shipping pallets (measure 48 by 40 inches), five-gallon buckets, terracotta pots, and glass jars all become planters or structure.
One caution on pallets: use only ones stamped HT (heat-treated), never MB (methyl bromide), which is chemically fumigated and unsafe around food crops. The stamp is printed on the side stringer.
Beginner Projects for a First Weekend
Start with projects that need no joinery. Painted terracotta pots take acrylic or exterior spray paint; seal the inside with a coat of PVA or pot sealer so moisture does not lift the paint. A simple craft project mindset carries over here: cheap materials, low stakes, fast payoff.
- Mason jar herb line: fill pint jars with potting mix, add a 1-inch gravel layer at the base for drainage since jars have no holes, and plant basil, mint, or parsley on a bright sill.
- Vertical pallet planter: stand a pallet upright, staple landscape fabric across the back and bottom of each slat gap, fill with soil, and plant shallow-rooted herbs or lettuce.
- Stone or brick path: lay flat stones on a 2-inch bed of sand, spacing them a comfortable stride apart (about 24 inches center to center), and brush sand into the joints.
- Hanging planters: repurpose tin cans, plastic bottles, or a macrame holder. Drill three or four drainage holes in any solid container, and hang lightweight, drought-tolerant plants like trailing succulents or herbs where they will not soak passers-by.
None of these need power tools, and each one takes an afternoon or less. They are also the projects to hand children: filling jars, painting pots, and pressing stones into sand are safe, satisfying jobs that get them invested in the space.
Intermediate Builds That Add Structure
Once you are comfortable cutting and fastening wood, raised beds and seating change how a garden functions. A raised bed is the highest-value build for anyone growing vegetables: it warms earlier in spring, drains better, and saves your back.
Raised Garden Bed
A practical size is 4 feet wide by 8 feet long and 10-12 inches deep. Keep the width at 4 feet or less so you can reach the center from either side without stepping on the soil. Use untreated cedar or Douglas fir; avoid older pressure-treated lumber near edibles. Fill with a mix of roughly 60% topsoil, 30% compost, and 10% aeration material like perlite. You can learn the underlying method from any guide to raised-bed gardening.
Pallet or Reclaimed-Wood Bench
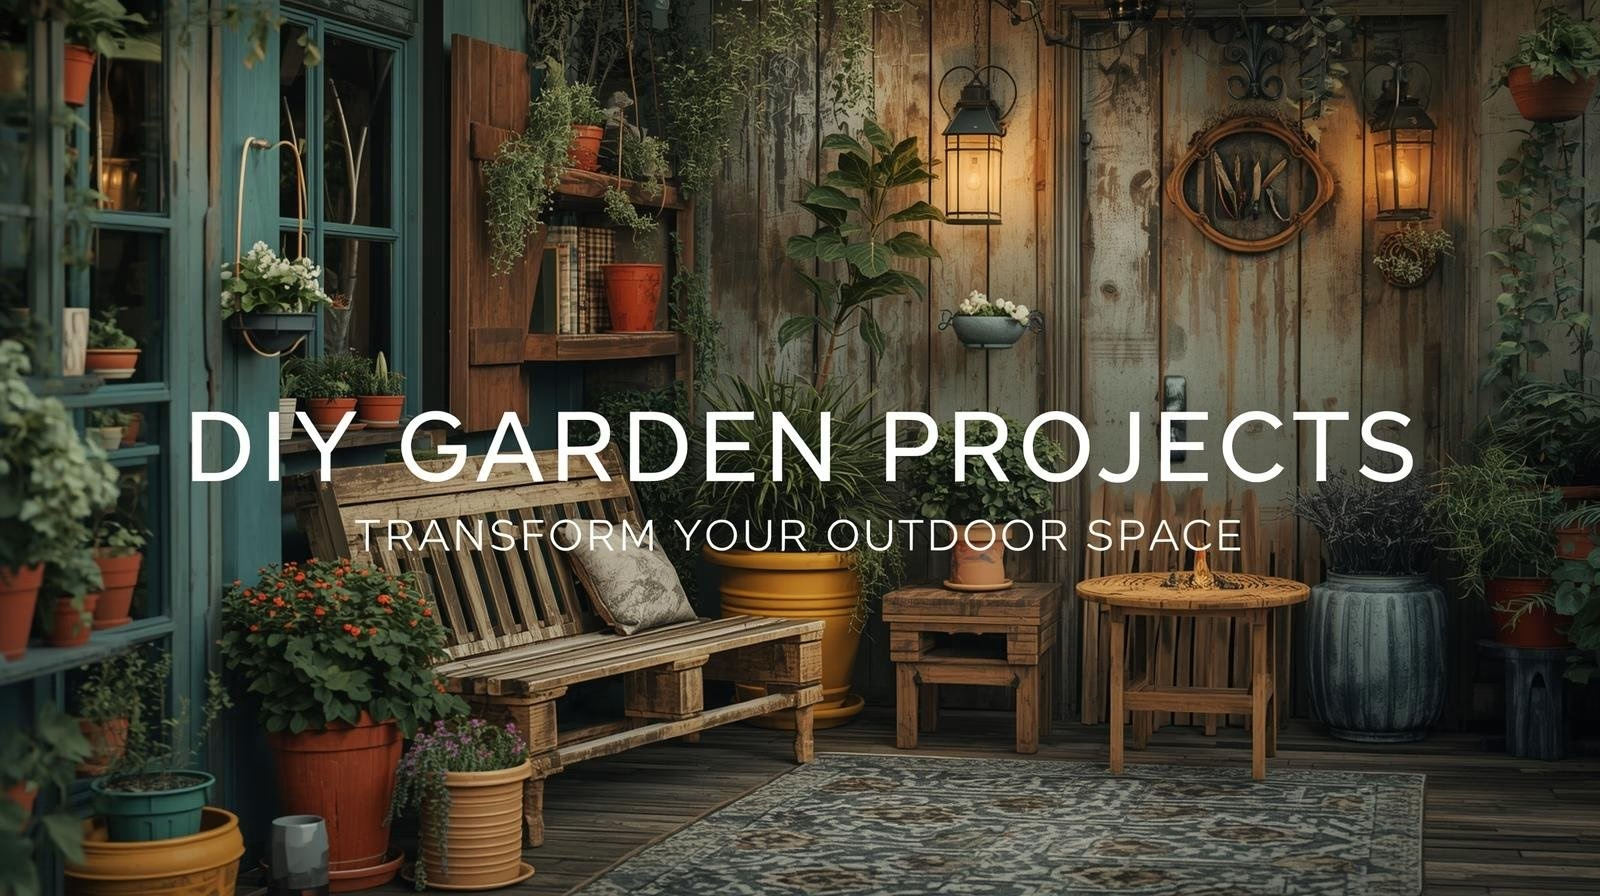
Two stacked pallets form the seat base and a third, cut down, becomes the backrest. Screw the units together with 3-inch exterior screws, sand every surface to 120 grit to kill splinters, and finish with two coats of exterior sealer. Outdoor cushions make it usable; a coat of sealer every two years keeps the wood from graying and cracking.
Trellis for Climbers
Bamboo poles lashed in a grid, or a fan of reclaimed wood strips, gives climbing beans, peas, sweet peas, or clematis something to grab. Set the trellis 4-6 inches away from a wall so air can circulate behind the foliage and reduce mildew.
Advanced Projects for a Full Season
These take a weekend or more and reward planning. A fire pit built from stacked concrete wall blocks or landscape stone needs an inside diameter of 36-44 inches for a usable fire and comfortable seating clearance; check your local burn rules first, and keep it at least 10 feet from structures and overhanging branches. A pergola built from 4x4 posts set in concrete footings, spanned with 2x6 beams and 2x4 rafters, adds shade and a frame for climbing plants. A cold frame or mini greenhouse assembled from salvaged windows extends the growing season by weeks at either end; hinge the top pane so you can vent it on warm afternoons and prevent the interior from overheating.
Matching Plants to Light and Space
A built planter only works if what goes in it suits the spot. Track how much direct sun the area gets before planting: full sun means six or more hours a day, partial sun three to six, and shade fewer than three. Most vegetables and herbs, tomatoes, peppers, basil, want full sun; leafy greens like lettuce and spinach tolerate partial shade and actually bolt less out of harsh afternoon sun. For a shady balcony, lean on ferns, hostas, and impatiens rather than fighting to grow fruit.
Container depth matters as much as light. Shallow herbs and lettuce are happy in 6-8 inches of soil, but tomatoes and peppers need a pot at least 12 inches deep and 5 gallons in volume to support their roots. Group pots with similar watering needs together so you can water efficiently, and remember that containers dry out far faster than ground beds, sometimes daily in summer heat, so factor that into where you place them.
Eco-Friendly Habits That Cut Costs
Sustainable choices usually save money too. A rain barrel fitted to a downspout captures runoff; a single quarter-inch of rain on a 1,000-square-foot roof yields roughly 150 gallons, water that would otherwise run to the drain. A compost bin turns kitchen scraps and yard waste into free soil amendment; aim for a rough balance of "browns" (dry leaves, cardboard) to "greens" (vegetable scraps, grass) of about 3 to 1, and turn it every week or two to speed decomposition. For pests, a garlic or chili spray and a ring of coffee grounds deter many soft-bodied insects without chemicals, and solar path lights remove the cost of running wiring outdoors.
Safety and Weatherproofing
A few habits prevent the failures that make people give up on outdoor builds. Wear gloves when handling rough lumber and eye protection when cutting. Pre-drill hardwoods and pallet slats to stop them splitting at the ends. Every wooden project that lives outside needs a finish: an exterior stain or penetrating sealer applied on a dry day above 50°F, with a second coat once the first is touch-dry. Reapply every one to two years, sooner on horizontal surfaces like tabletops and bench seats that take direct sun and pooling rain. Never leave a fire pit or candle unattended, and store cushions and fabric under cover between uses so they do not mildew. With those basics in place, even a balcony's worth of pots and a single homemade bench turn a plain space into somewhere you actually want to sit.
Project quick-reference:
| Project | Key numbers | Note |
|---|---|---|
| Cedar planter | ~$25 in lumber vs $120 retail | stain/sealer: a quart covers ~100 sq ft |
| Raised bed | 4×8 ft, 10–12 in deep | max 4 ft wide to reach the center |
| Stone path | 2-in sand bed, stones ~24 in on center | a comfortable stride apart |
| Mason jar herbs | 1-in gravel base in pint jars | jars have no drainage holes |
| Pallets | standard 48×40 in | often free — check for the HT stamp |
Related Posts

Toilet Seat Slow-Close Hinge Replacement
A broken slow-close hinge makes the toilet seat slam or fail to stay up. Replacement is a...

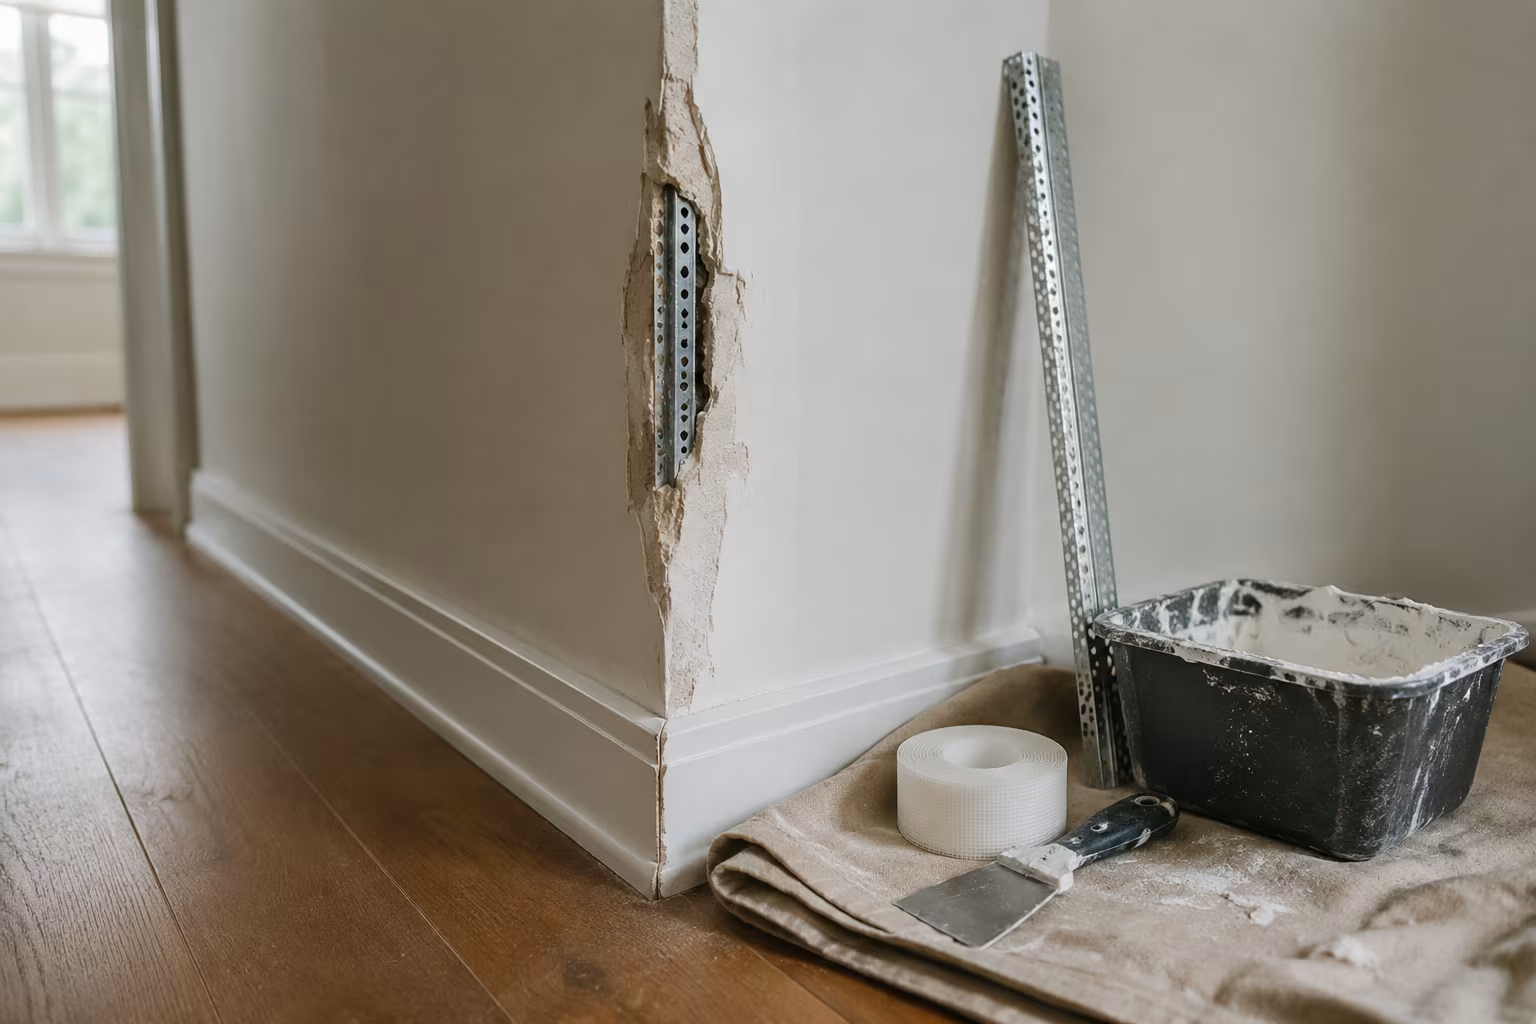
Drywall Corner Bead Replacement After Damage
Damaged drywall corners with dented or split corner bead show ugly visible damage. The...

Strip Painted Brass Hardware Without Eating the Patina
The slow-cooker method strips paint from brass cleanly while keeping the aged surface intact....
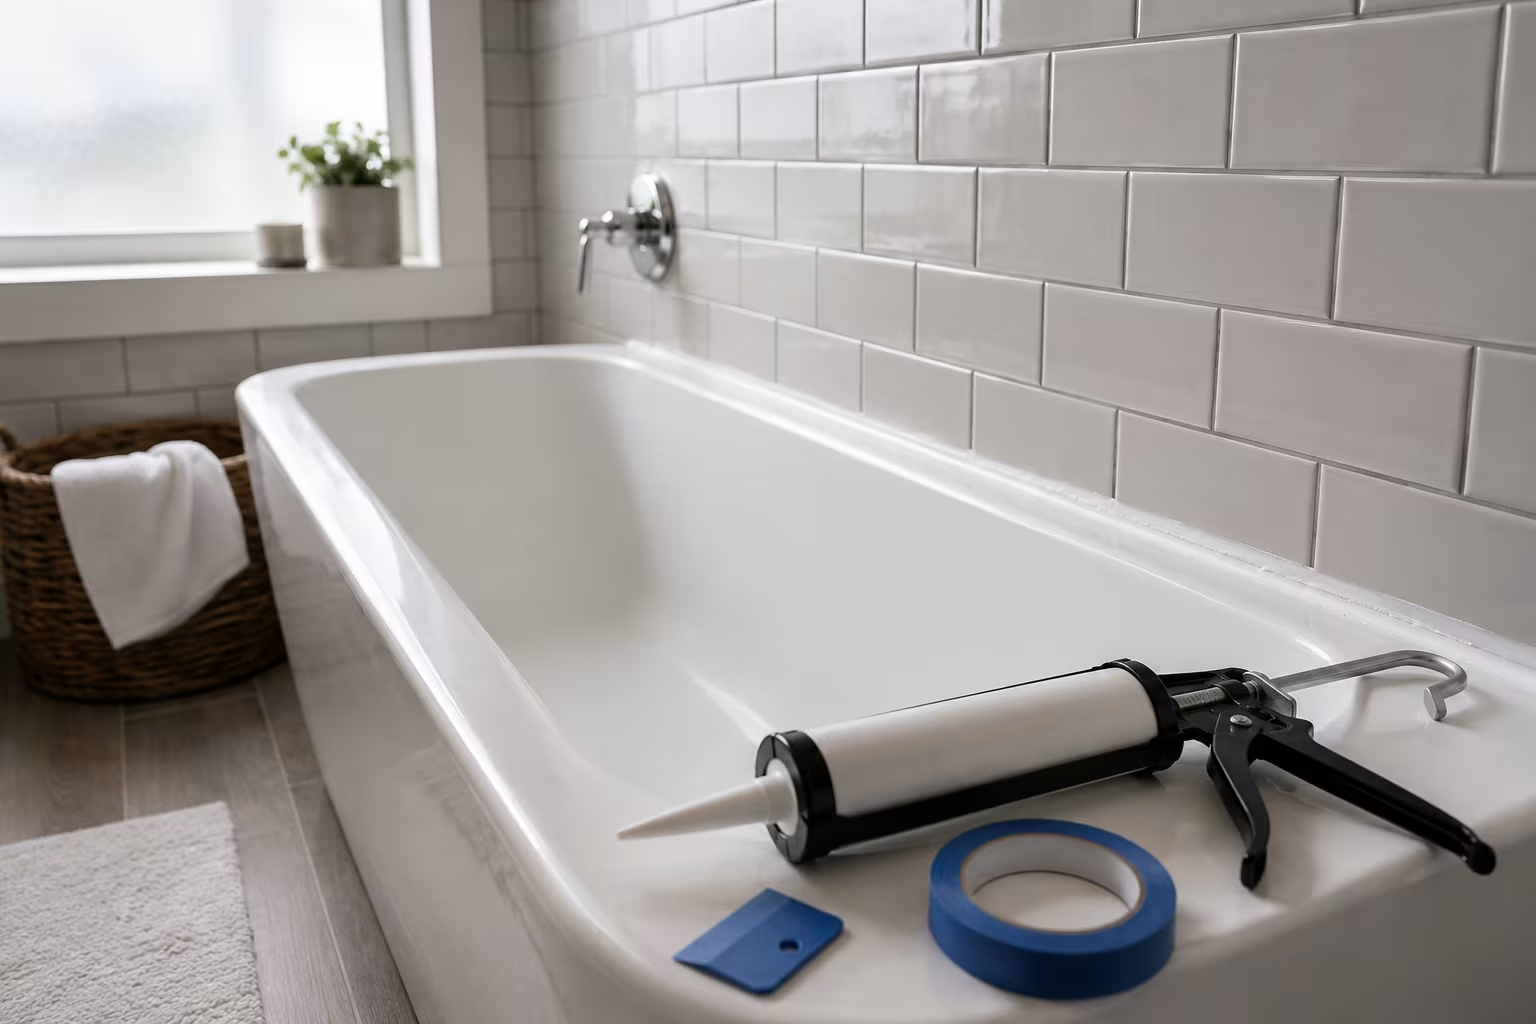
Bathtub Resealing: When Silicone Beats Caulk and Vice Versa
Reseal a bathtub right: 100% silicone at the flexing tub-to-tile joint, acrylic caulk only on...
Comments
No comments yet. Be the first to share your thoughts!