Why Hand-Lettering on Chalkboards is Perfect for Small Business Owners
Why Hand-lettering on Chalkboards is Perfect for Small Business Owners
You know that feeling when you walk into a cute coffee shop or a local boutique, and there’s this amazing, hand-drawn sign announcing their daily special or a new arrival? It just feels different, doesn't it? It’s not some slick, generic print-out you could find anywhere.
It feels personal, like someone actually cared enough to create something unique for that exact space. That personal touch? It makes you stop. It makes you look closer. And honestly, it makes you feel a little more connected to the place.
Today, I want to chat about why bringing that kind of personal touch to your own small business, specifically through hand-lettering on chalkboards, is such a powerful tool. We'll cover why it works, what supplies you actually need (and what you can skip!), and how to get started even if you think your handwriting is terrible.
Why This Actually Matters
Look, as a small business owner, every single penny counts. Marketing can drain your budget faster than you can say "DIY" if you're not careful. You're probably juggling a million different things – inventory, customer service, payroll – and then you're supposed to be a marketing wizard too? It's a lot to handle, I totally get it.
But this isn't just about saving a few bucks on a banner or a printed sign. It's about creating an experience for your customers. People crave authenticity these days. They want to connect with the humans behind the brand, not just a faceless logo or a corporate chain.
A hand-lettered chalkboard sign screams "we care," "we're unique," and "we put thought into this." It tells a story without saying a word. It says, "There's a real person here, and they've invested time and creativity into making this space special for you."
I saw this firsthand when I helped my friend Sarah out with her little plant shop, "Sprout & Grow," last year. She was spending a small fortune on printed sale signs that just looked... blah. They blended in, you know?
I convinced her to let me try a chalkboard for her weekend specials. We spent an afternoon sketching out some ideas, and by the end, she had this gorgeous sign announcing "Succulent Saturday: Buy 2 Get 1 Free!" It wasn't perfect, but it was hers.
She told me later that customers constantly complimented it. They'd even take pictures! Her weekend sales jumped by almost 15% in the first month. It wasn't just a sign; it was a conversation starter, a piece of art that made her shop feel warm and inviting. That's the real power of it.
The Magic of Markers and Chalk
Okay, so what exactly is hand-lettering on chalkboards? It's basically using special chalk markers or even just regular chalk to create beautiful, custom typography and illustrations directly onto a chalkboard surface. Think of it like drawing letters and words, not just writing them out quickly.
The really cool thing is, you truly don't need to be an artist with a capital 'A'. Seriously. It’s more about understanding a few basic principles of letterforms and layouts, and then just practicing. And chalkboards are incredibly forgiving – you can erase and start over as many times as you need without any permanent damage.
I’ve certainly spent an embarrassing amount of time erasing and re-erasing letters until they looked just right. It's all part of the process, and that's totally okay! It’s what makes this such an accessible and low-stress craft for expressing your brand.
Why Chalkboards, Specifically?
You might be thinking, "Why chalkboards? Why not just print a nice sign?" And that's a perfectly fair question! There are tons of options out there for business signage, right? But chalkboards offer a few unique advantages that printed signs just can't match.
These benefits really stack up, especially for small businesses that need to be nimble, budget-conscious, and truly connect with their community. It's about more than just aesthetics; it's about smart business sense.
- Budget-Friendly - explain briefly
- Easily Changeable - explain briefly
- Authentic and Inviting - explain briefly
Once you've got a chalkboard, your ongoing costs are super low. A pack of liquid chalk markers might cost you $10-20, but it'll last through countless signs. Compare that to the recurring expense of reprinting signs every time your special changes or a new product arrives. That really adds up fast, doesn't it?
I've even found some amazing vintage chalkboards at thrift stores for as little as $5, just waiting for a new life. Sometimes they need a quick clean or a fresh coat of chalkboard paint, but it's a minimal investment for maximum impact.
This is a huge benefit for small businesses that are constantly evolving. Running a flash sale? Have a new menu item that just dropped? Hosting a pop-up event this weekend? Just wipe your chalkboard clean and start fresh in minutes.
There's no waiting for print shops, no wasted paper or vinyl that becomes instantly outdated. It makes adapting to your business's day-to-day needs so much simpler and quicker. You can literally update your message hourly if you wanted to!
There’s something undeniably charming and warm about a hand-lettered sign. It instantly signals care, craftsmanship, and a personal touch that mass-produced signs simply can't replicate. It communicates "a real human works here, and they love what they do."
It's an instant trust-builder and makes people feel truly welcome and valued. It’s like a warm, genuine hug compared to a firm, impersonal handshake. This kind of authentic connection can really set your business apart in a crowded market and foster customer loyalty.
How to Actually do It
Ready to give it a try for your own business? Awesome! Don't worry, we're definitely not aiming for gallery-worthy art on your very first go. The main goal here is to get comfortable with the tools and techniques, and to just have a little fun with it.
I promise, it's more accessible than you might initially think. I've messed up so many chalkboards in my time, but each mistake taught me something new. Let's walk through the steps I follow when I'm tackling a new chalkboard project for my own craft room or for a friend.
Step 1: Gather Your Supplies (smartly!)
You absolutely don't need to break the bank to get started here. For your very first project, grab a chalkboard. You can find small ones at any craft store for under $10, or if you're like me, hunt for a framed piece of chalkboard painted wood at the thrift store. I once scored a gorgeous vintage frame for $8 and turned the glass into a chalkboard with some spray paint!
Then, you'll want some liquid chalk markers. Posca pens are super popular and really high quality, but any reputable brand of liquid chalk markers will work perfectly for practice. Grab a few basic colors, maybe just black and white to start. Oh, and a damp cloth or sponge for erasing! That's really all you need to begin your lettering adventure.
Resist the urge to buy every fancy calligraphy pen or stencil set right away. Start simple, see what you enjoy, and then expand your toolkit as you get more comfortable. Trust me, less is often more when you're just dipping your toes into a new craft.
Step 2: Brainstorm and Sketch Your Layout
Before you even think about touching that chalk marker to your chalkboard, get out a regular pencil and some plain paper. Seriously, do not skip this step! It's the secret sauce for a successful chalkboard design. Sketch out what you want your sign to say and how you want it to look on the board.
Think about hierarchy: what words need to be the biggest? What information needs to stand out immediately? Where do you want decorative elements to go? This is your chance to play around without any pressure or fear of making a permanent mistake.
You'll probably make a few rough drafts, and that's totally normal. My preliminary sketches often look like a tornado hit a kindergarten art class, but they help me visualize the final piece and work out all the kinks beforehand. This is where you can experiment with different fonts, word arrangements, and embellishments without messing up your actual chalkboard.
Step 3: Prep Your Chalkboard
If you're using a brand new chalkboard, whether it's store-bought or one you painted yourself, you'll want to "prime" it first. Take a piece of regular white chalk, lay it on its side, and rub it all over the entire surface of the board. Cover every inch!
Then, take a dry cloth or paper towel and wipe all that chalk dust off. This simple priming step creates a consistent base and helps prevent your first marks from leaving stubborn "ghosts" forever on the board. It essentially seasons the board, making it more receptive to future designs and easier to erase.
If it's an old board that's been used before, just give it a good wipe down with a damp cloth to remove any lingering dust or old chalk residue. You want a clean, smooth, and dry surface to work on so your markers glide easily and your lines are crisp.
Step 4: Transfer Your Design (or Freehand It!)
Okay, here’s where the actual magic starts to happen! For beginners, or for any design that needs to be precise, I highly recommend using a transfer method. It takes the guesswork out and builds your confidence.
The easiest method? Take your paper sketch from Step 2, flip it over, and rub the entire back of the paper with regular white chalk. Then, place that chalk-dusted sketch onto your chalkboard where you want the design to be. Carefully trace over your design lines with a pencil or a dull pen.
When you lift the paper, you'll be left with a faint chalk outline of your design on the board. You can also print out your design from a computer, chalk the back, and trace it that way. Or, if you're feeling brave and have practiced a lot, you can freehand it directly onto the board with a very light hand using your chalk marker. Just remember, you can always erase and refine!
Step 5: Start Lettering!
Now for the fun part – filling in those outlines! Grab your liquid chalk markers and carefully go over your transferred lines. Take your time with each letter and word. There’s no rush to finish quickly; precision is key here.
Don't press too hard with the markers; a light touch usually gives you a smoother line. You can always build up the thickness of your letters later if you want a bolder look. Focus on one letter or word at a time, moving deliberately.
If you make a mistake, don't panic! That's what the damp cloth is for. Gently wipe away the offending mark, let the area dry completely for a moment, and then try again. This is where patience really pays off and where the forgiveness of chalkboards shines.
Step 6: Add Details and Embellishments
Once your main lettering is done and dry, you can really start to make your sign pop with some flourishes! Think about adding banners, elegant arrows pointing to key information, little decorative leaves or stars, or simple illustrations that fit your business's theme. These details really elevate the entire piece.
Try adding subtle shadows to your letters by drawing a second, slightly offset line with a darker color, or by adding a thin grey line to one side of each letter. Or use a thinner marker to add tiny dots or dashed lines for texture and visual interest. These small touches might seem minor, but they significantly elevate the look and make it feel much more professional and polished.
Even tiny flourishes, like a small swirl on the end of a word or a little line beneath a price, can draw the eye and add personality. Don't be afraid to experiment with these decorative elements; they're what truly make a hand-lettered sign unique.
Step 7: Clean up and Refine
You're almost there! Once you've completed your lettering and added your details, step back and take a good look at your work from a distance. Are there any tiny smudges? Are there any lines that need sharpening or evening out?
Grab a cotton swab or a tightly folded corner of your damp cloth and carefully clean up any stray marks or smudges. You can also use this precise tool to sharpen the edges of your letters, making them look even crisper and more professional.
This is also a great opportunity to add final highlights with a lighter color chalk marker, making certain elements or words pop even more. Don't be afraid to tweak and refine it until it looks just right. The difference between "good" and "great" is often in these final, small adjustments.
Making It Stick: Common Mistakes & How to Avoid Them
Alright, you've got the basics down, which is awesome! But even with the best intentions, I've seen people (and have definitely been that person myself!) make some common blunders that can make a hand-lettered sign look less-than-stellar. Let's tackle those head-on so you can avoid them.
One big one? Not planning enough. Just diving straight in with the marker often leads to running out of space mid-word, having unevenly spaced lettering, or ending up with a cramped, unreadable design. Your initial sketch is your absolute best friend here. Don't, under any circumstances, skip it!
Another common pitfall is inconsistency. Trying too many different "fonts" or styles on one small sign can make it look chaotic, messy, and hard to read. Pick one or two main styles that complement each other and stick with them for the sake of clarity and visual harmony. Less is often more when it comes to typeface variety.
"The magic isn't in avoiding mistakes; it's in knowing you can wipe them clean and start fresh. Every smudge is just a practice stroke."
Also, never underestimate the importance of spacing. Giving your letters and words enough room to breathe is incredibly crucial for readability. This includes "kerning" – the specific space between individual letters – and the space between lines of text.
Try squinting at your finished sign from a distance. If words are blurring together or looking too dense, you probably need to add more space. Good spacing makes your sign inviting and easy for customers to digest at a glance.
And finally, don't be afraid to erase. Seriously! That's the absolute beauty of working with chalkboards and liquid chalk markers. If a letter, a whole word, or even an entire section isn't sitting right, wipe it off and try again.
It’s not a failure; it’s an essential part of the creative process. I've redone entire signs because I misjudged the spacing on one crucial word, and every single time, the final result looked infinitely better for it. Embrace the erasability!
Frequently Asked Questions
What Kind of Markers Should I Use for Chalkboard Lettering?
I always recommend liquid chalk markers for a cleaner, more vibrant look that doesn't smudge as easily as traditional chalk dust. Brands like Posca, Chalkola, or even the basic craft store brands work great for beginners. For finer details and thinner lines, look for pens with smaller, finer tips!
My Handwriting is Terrible, Can I Still do This?
Absolutely, yes! This isn't about having beautiful cursive handwriting. It's truly about drawing letters, which is a completely different skill. You can use stencils for outlines, print out guides from your computer to trace, or just focus on simple, clean block letters. My own everyday handwriting isn't anything special, but I've learned how to draw letters that look good on a chalkboard. It’s a skill you build, not something you’re born with!
What if My Chalkboard Sign Gets Wet Outside?
That's a super valid concern, especially for outdoor signs! Most liquid chalk markers aren't completely waterproof, so rain will unfortunately wash them away pretty quickly. For outdoor use, you might need to look specifically for waterproof chalk markers or consider using a clear sealant spray after your design is completely dry. Just make sure to test the sealant on a small, inconspicuous corner of your chalkboard first to ensure it doesn't react poorly with your chosen markers or cause any discoloration.
How Long does It Typically Take to Make a Hand-lettered Sign?
For a small, simple sign, once you're comfortable with the techniques, you might spend an hour or two from initial sketch to final cleanup. For a larger, more detailed piece with intricate illustrations or multiple font styles, it could easily be an afternoon project, perhaps 3-4 hours. Remember, rushing the process often leads to more mistakes and frustration, so try to enjoy the creative flow!
Is This Worth It for a Pop-up Market or Temporary Event?
For a pop-up market or any temporary event? Absolutely, yes! Hand-lettered signs are fantastic for drawing attention and conveying a friendly, approachable vibe in a busy environment. They're quick to set up, incredibly easy to update if you run out of a product or change a special, and they make your booth feel much more personal and inviting than any generic printed sign. They really help you stand out from the crowd and create a memorable impression.
The Bottom Line
At the end of the day, hand-lettering on chalkboards for your small business isn't just about making a sign. It's about pouring a little bit of your heart and your unique personality into your physical space. It’s a tangible way to connect with your customers in a genuine, memorable way that fosters loyalty and brightens their day.
So, take a deep breath, grab a small chalkboard, some liquid chalk markers, and just play around. Don't aim for perfection on your first try – or even your tenth! Aim for authentic, for unique, and for something that truly represents you and your business. You've totally got this. Your customers will notice, and they'll love it. Happy lettering! 👋💖
Related Posts
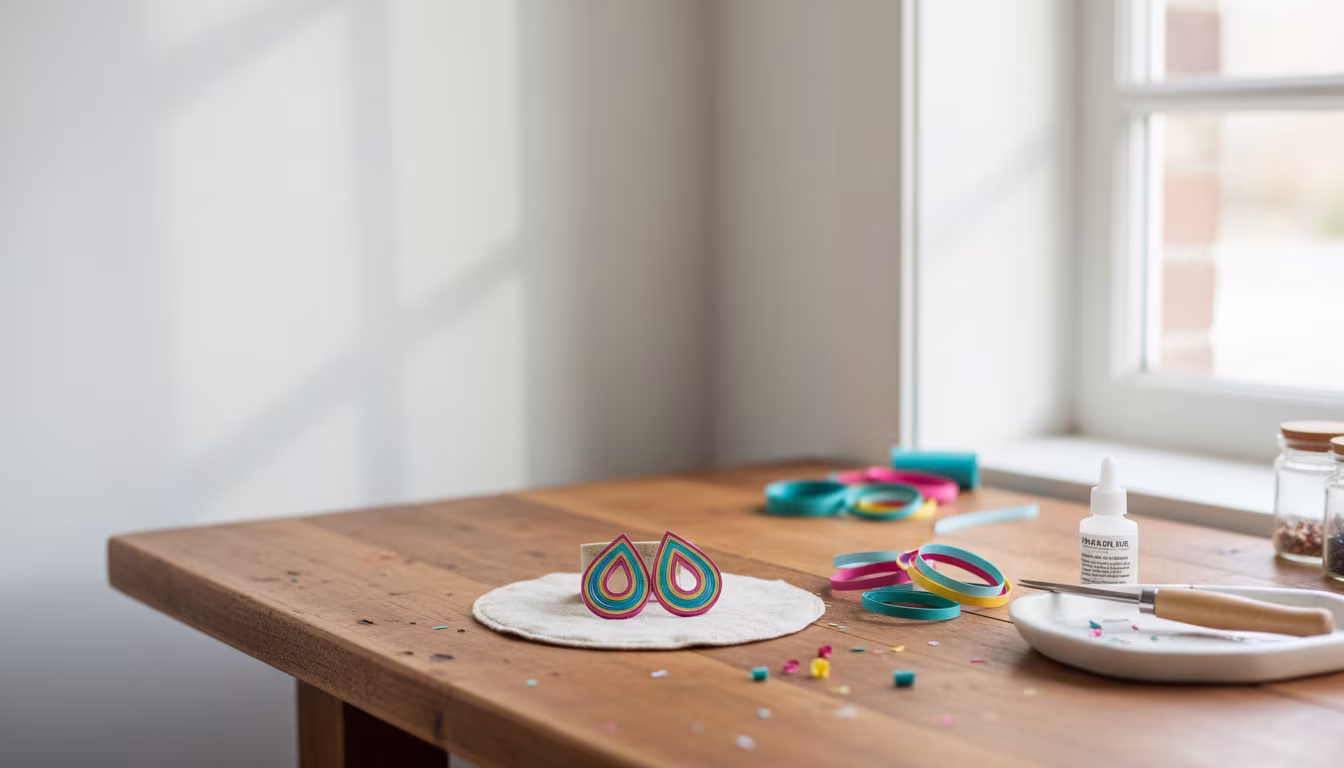
Why Quilling Earrings Are the Most Profitable Craft to Sell Online
Thinking about starting a craft business? You might be surprised to learn that delicate, colorful...
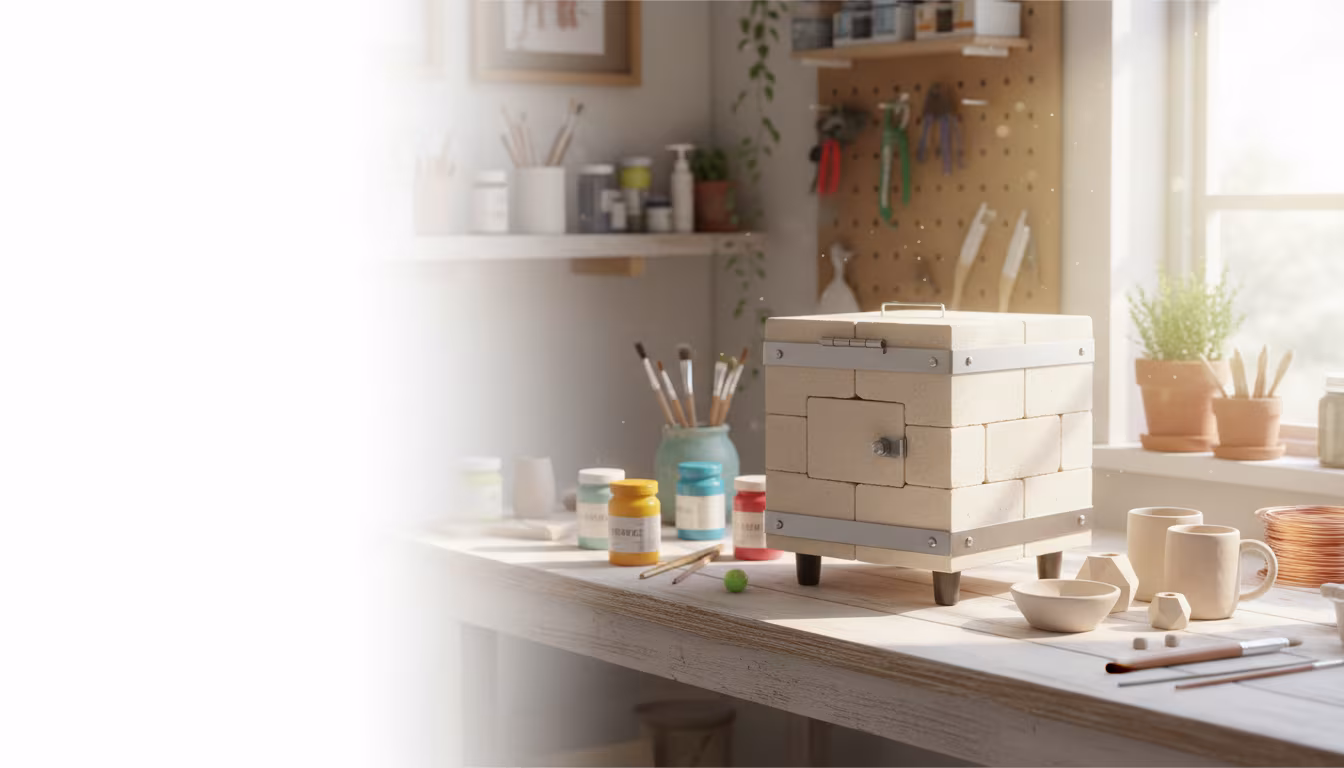
How to Build a Tabletop Kiln for Small Ceramic Projects
Dreaming of firing your own small ceramic creations at home? This beginner-friendly guide shows y...
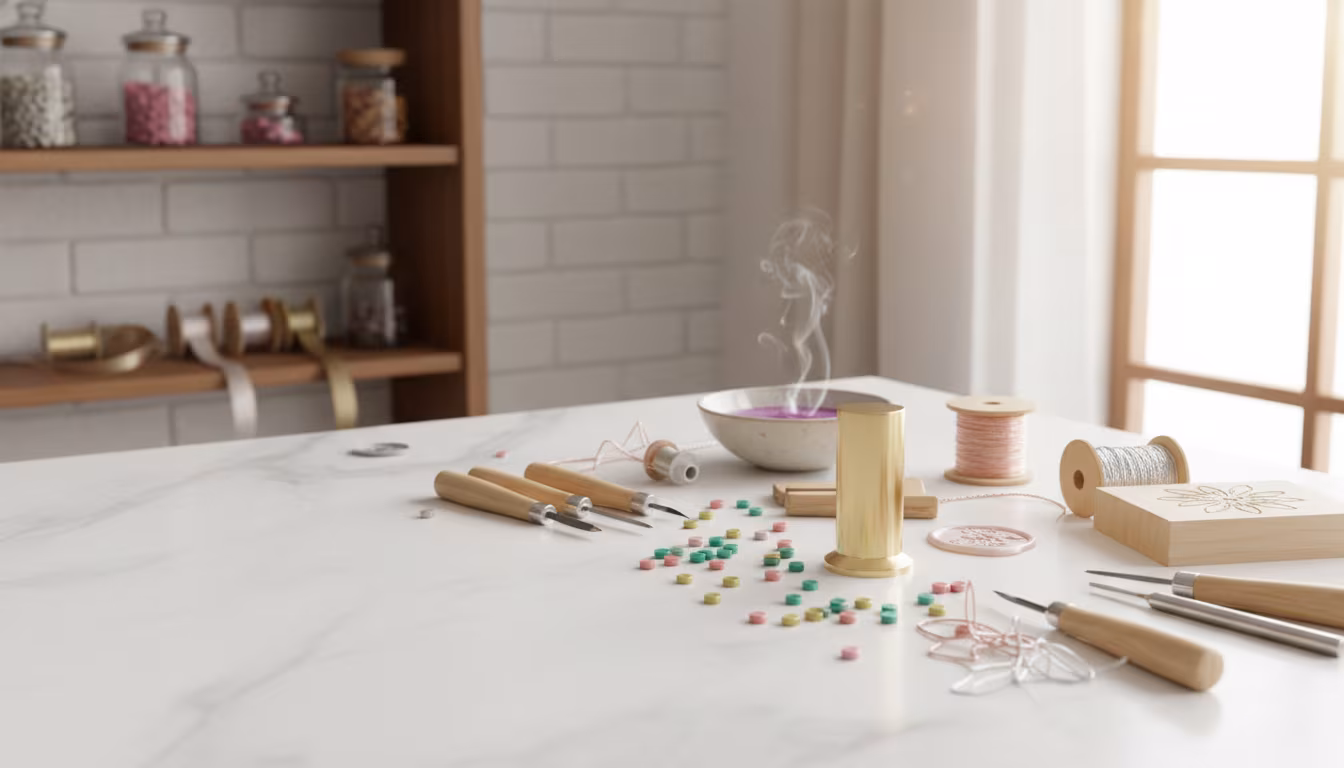
How to Make Custom Wax Seal Stamps for Wedding Invitations
Dreaming of a truly unique touch for your wedding invitations? Craft your own custom wax seal sta...
Why Batik Dyeing Creates the Most Unique Patterns on Cotton
Ever wondered how those intricate, one-of-a-kind designs appear on batik fabric? It's all in the ...