Sandpaper Grits Demystified: When to Stop Going Finer

The short answer
For most furniture-grade work, the right progression is 80 to 120 to 180, stopping there if you are using a film finish (lacquer, polyurethane, shellac, water-based) and going to 220 only if you are using an oil finish or want a slightly smoother feel under your hand.
Going finer than 220 on raw wood almost never helps and frequently hurts. Past 220, the wood surface burnishes — the fibres flatten under the abrasive and the surface becomes glassy. A glassy surface accepts less stain (the colour goes on lighter and more patchy) and accepts less film finish (the topcoat does not bite into the fibres and adhesion drops). Both effects are subtle but reliable.
The other half of the answer is the jump between grits. Each grit must fully remove the scratches the previous grit left. If you jump from 80 to 180, the 180 grit cannot erase 80-grit scratches; you get a surface that looks smooth but reveals every scratch under finish. The rule of thumb: do not skip more than one grit step in the standard progression.
What the grit number actually means
Grit number measures particle size — specifically, the number of openings per linear inch in a screen that the abrasive particles passed through. Higher number means smaller particles means finer abrasive.
The scales are not perfectly linear. Going from 80 to 120 grit reduces particle size by roughly a third, but going from 220 to 320 reduces it much less. This is why the early jumps in a progression remove a lot of material and the late jumps remove very little.
Three main grit standards exist. CAMI (the US standard, no P prefix) numbers like 80, 120, 180, 220. FEPA (European standard, with a P prefix) like P80, P120, P180, P220. The numbers are close but not identical at the same grade — P220 is slightly finer than CAMI 220. For consumer woodworking, the difference rarely matters; for automotive bodywork and other tight-tolerance work, the standards matter and pros stick with one.
JIS (Japanese, used on water stones and some Japanese sandpaper) uses very fine numbers like 1000, 4000, 8000, mostly for blade sharpening.
The standard progression and why
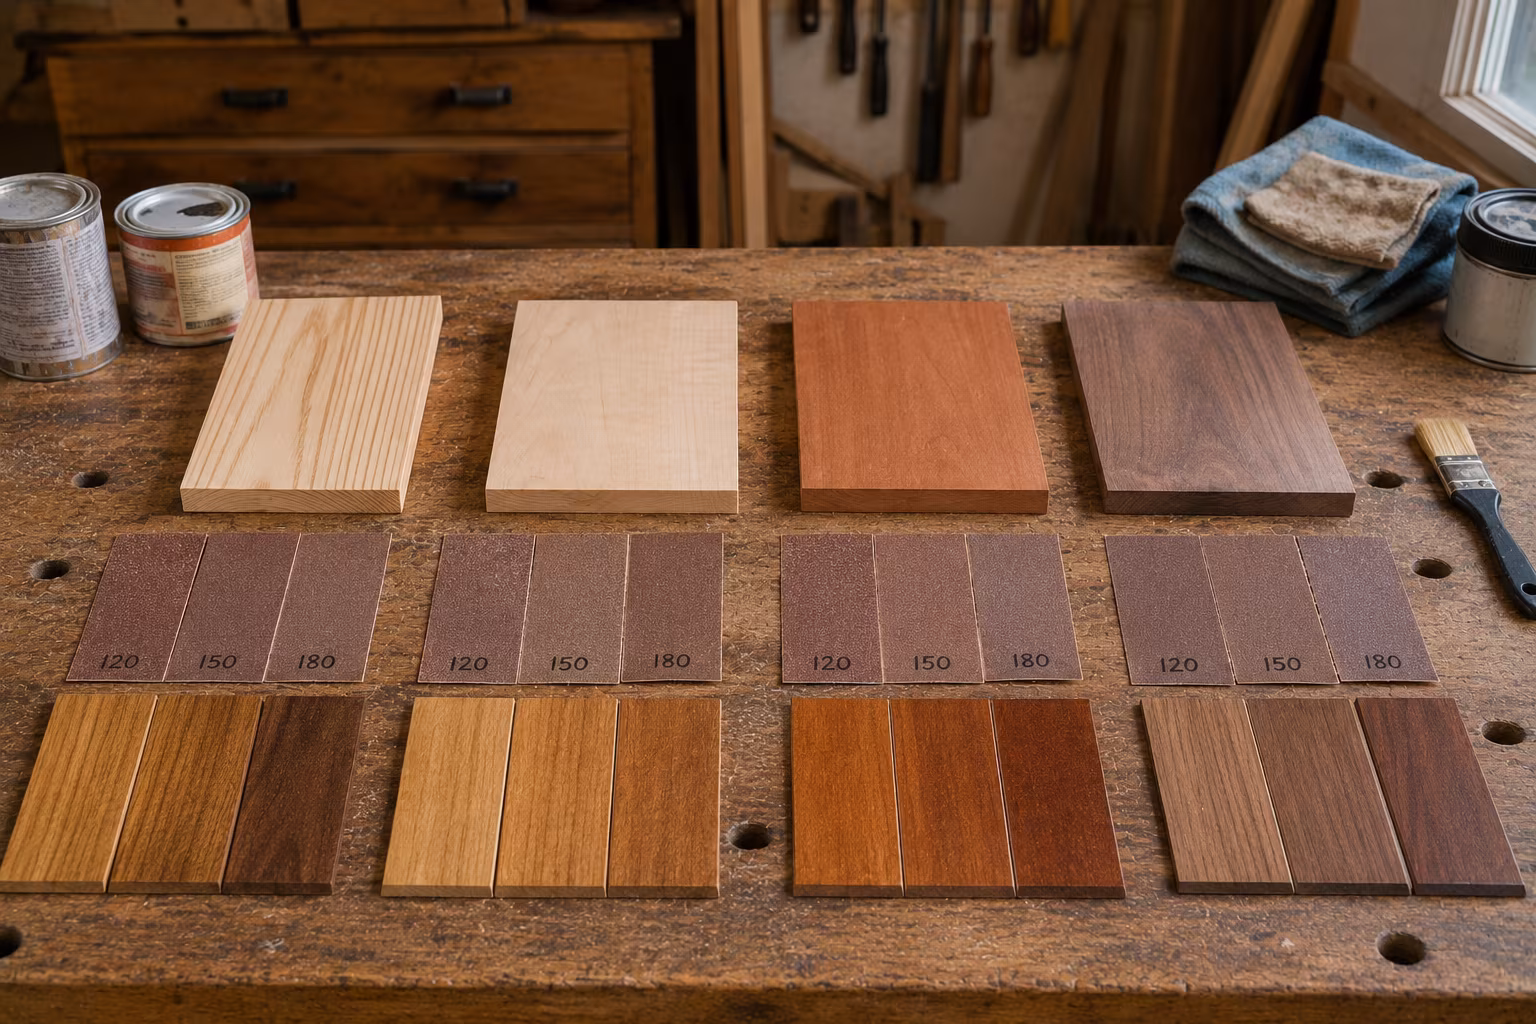
The most common woodworking progression: 80 (or 100), 120, 150 or 180, then either stop or go to 220.
80 grit is the starting point for rough lumber, removing tool marks, levelling glue-ups, and addressing visible defects. It moves a lot of material fast. Use it sparingly — once the surface is reasonably level, drop down.
120 grit is the workhorse. It removes the scratches from 80 and brings the wood to a flat, even surface ready for the next finer step. Most furniture preparation begins here if the lumber is already milled.
180 grit is the smoothing pass. After 180, the wood looks clean, the scratches are minimal, and most film finishes will go down beautifully.
220 grit is optional. For oil finishes, hard waxes, and surfaces you want to feel particularly smooth, 220 is the right final step. For lacquer, polyurethane, and water-based topcoats, 180 is usually enough; the topcoat needs a slight tooth to grip, and 220 starts to remove that tooth.
The rule of thumb on jumps: the next grit should be no more than roughly 50% higher than the previous one. After 80, the next grit should be around 120; after 120, around 150 or 180; after 180, around 220. Jumping from 80 directly to 220 leaves 80-grit scratches the 220 cannot reach.
When to start coarse vs medium
The starting grit depends on the surface condition, not the species. A piece of rough-sawn lumber starts at 60 or 80; a piece of milled S4S lumber starts at 100 or 120; a previously finished piece being refinished starts wherever the stripper or paint comes off — sometimes 80, sometimes 120.
Softwoods (pine, fir, cedar) damage more easily than hardwoods at coarse grits. Starting at 100 instead of 80 on softwood reduces deep scratches that take longer to remove than the time saved by starting coarse. Hardwoods (oak, maple, walnut, cherry, ash) tolerate 80 well and benefit from the fast material removal.
Veneer is a special case. Most commercial veneer is roughly 1/32 inch thick or less. Aggressive sanding will cut through to the substrate, often in unpredictable places. Start veneer at 150 or 180 and never go coarser. If the veneer has surface damage that requires coarser grits, it usually has structural damage that needs a different repair.
When to stop: the species-and-finish chart
The final grit before finishing depends on both the wood species and the finish.
For open-grain hardwoods (oak, ash, mahogany, walnut) that will be stained with water-based stains: 120, 150, then 180. Water-based stains raise the grain anyway, so 180 is usually the right stopping point.
For closed-grain hardwoods (maple, birch, cherry, alder) that will be stained: 120, 150, then 180 maximum. Going to 220 on these tight-grained woods reduces stain uptake to the point where the colour looks washed out compared to a sample done at 180.
For oil-based stains on hardwoods, drop the final grit one step. Oil stain pigments are larger; surfaces sanded to 220 absorb less. Maple stained with an oil stain stops at 150 grit, not 180.
Softwoods that will be stained or oil-finished: 120 to 150 to 180. Pine and fir blotch more than hardwoods, and pre-stain conditioner or shellac wash coats matter more than the final grit number.
Surfaces that will not be stained (clear finish only): 120 to 150 to 180, then 220 if you want the polished feel. Without stain, the burnishing effect at 220 does not matter.
Oil and wax finishes: 180 to 220, sometimes 320 on hardwoods you want to feel buttery. These finishes do not need tooth to grip.
Skipping grits: why it usually backfires
The temptation to jump from 80 to 180 is strong because the 80-grit pass shows visible progress and the 120-grit pass feels redundant. It is not.
120 grit removes the deep scratches of 80 grit. 180 grit cannot. Without the 120 step, what looks like a smooth 180-grit surface still carries 80-grit scratches that disappear into the surface but reappear the moment finish hits the wood. The first coat of lacquer or polyurethane reveals every scratch; you are sanding back at that point.
The exception is when the previous grit was already done by a machine that left a finer surface than the grit number suggests. A planer leaves a surface roughly equivalent to 100-120 grit on most species. Starting at 150 after planing is fine. A jointer leaves a surface around 100 grit. Starting at 120 after jointing is fine.
The other exception is a thickness sander operated by a professional cabinet shop. Those machines leave a surface that varies by belt grit but is usually around 120-180. You can often start at 150 or 180 after.
For any rougher starting surface than these, the standard progression earns its time. There is no honest shortcut.
Different abrasives: garnet, aluminium oxide, silicon carbide
Not all sandpaper at the same grit number performs the same. The abrasive material matters.
Garnet is a natural abrasive, sharp when new, dulls relatively quickly. The dulling effect actually produces a slightly finer scratch pattern than the nominal grit, which is why some traditional finishers like garnet for final passes on hardwoods. It is the traditional woodworking abrasive but harder to find now.
Aluminium oxide is the modern default. It self-fractures as the abrasive particles wear, exposing fresh sharp edges throughout the life of the paper. It cuts faster than garnet, lasts longer, and produces a consistent scratch pattern. Most sandpaper sold in the US and Europe for woodworking is aluminium oxide.
Silicon carbide is harder and sharper than aluminium oxide. It is the right abrasive for sanding cured finishes between coats, sanding metal, and wet sanding (where it does not load up as fast as aluminium oxide). Silicon carbide sandpaper is usually black or dark grey.
Ceramic and zirconia abrasives are extremely aggressive and long-lasting, designed for heavy stock removal. Useful on belt sanders and orbital sanders attacking rough lumber; overkill for finish sanding.
For most home woodworking, premium aluminium oxide sandpaper from a known brand covers everything from rough sanding to final smoothing. Specialty papers earn their place on specific tasks.
Sanding by hand vs orbital vs belt
A random orbital sander is the workhorse of modern woodworking. It removes material fast, leaves a uniform finish without obvious scratch direction, and works well across the full grit range from 80 to 220.
Belt sanders move material very fast and are the right tool for levelling glue-ups, removing veneer, and resurfacing rough lumber. They are also the tool most likely to leave deep gouges in a surface — a moment of inattention can ruin a panel in seconds. Stop using belt sanders well before 120 grit; orbital from there.
Hand sanding with a block is still the right answer for edges, narrow surfaces, profiled mouldings, and the final pass before finishing. Hand sanding along the grain removes minor cross-grain scratches the orbital left and gives the final surface a uniform direction.
The final pass on any project benefits from hand sanding along the grain with the final grit. Even a perfect orbital surface improves with a one-minute hand pass.
Common mistakes that no grit fixes
Sanding through veneer. Once you cut through, there is no recovery beyond cosmetic colour matching. Start veneer at 150 or 180, sand briefly, stop.
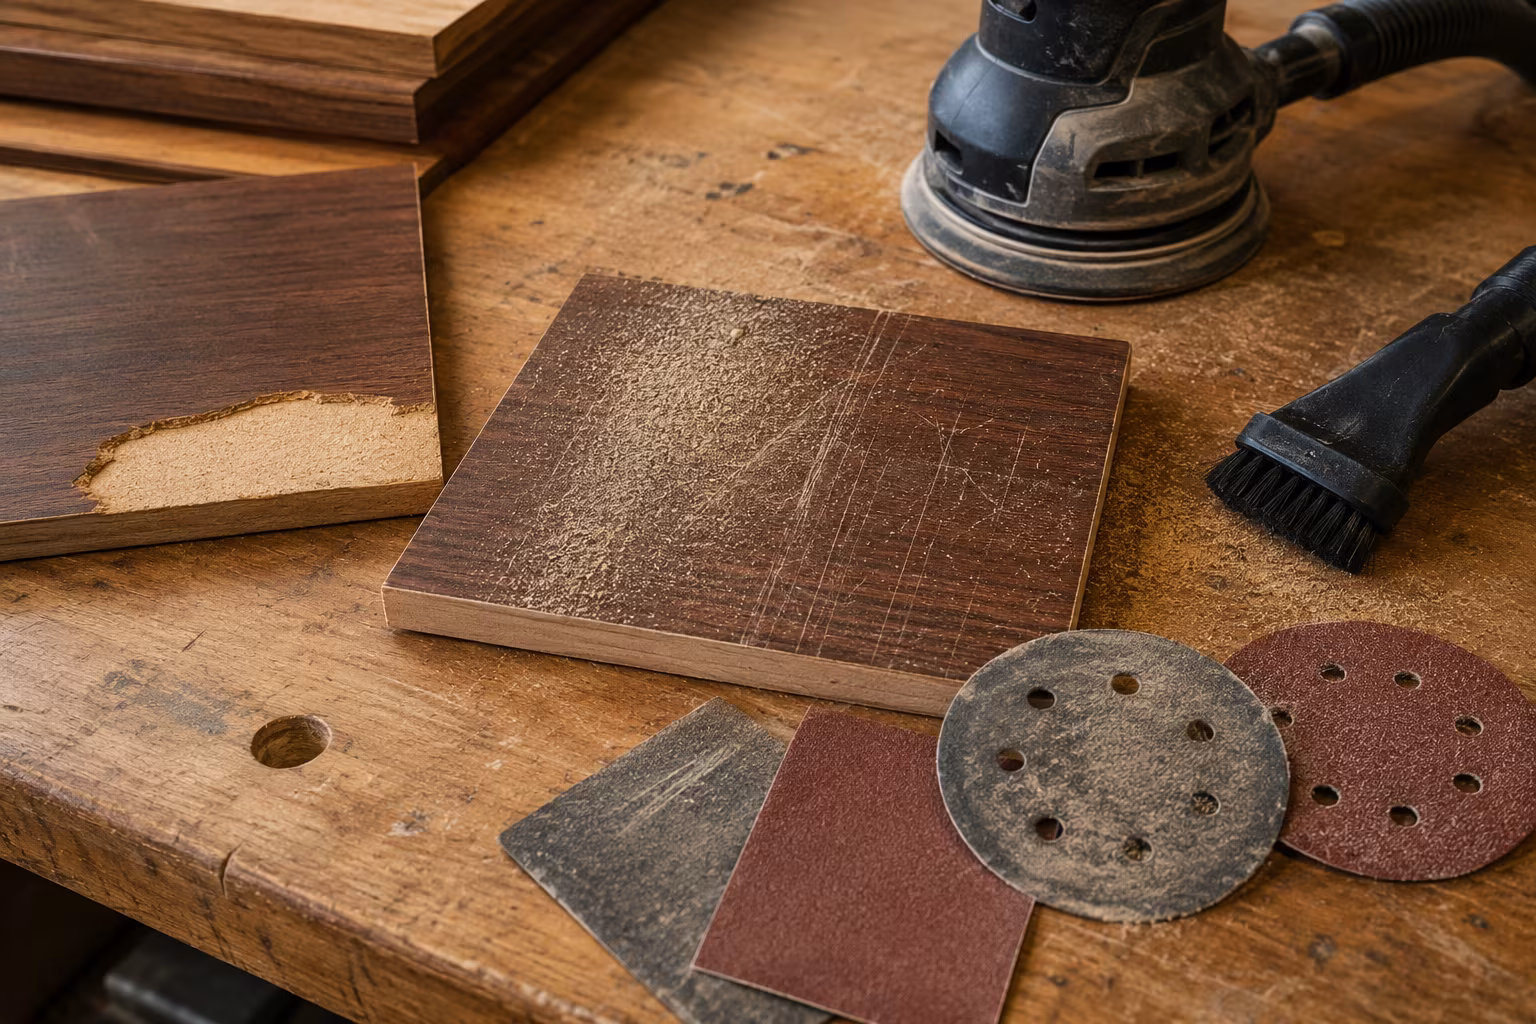
Not vacuuming between grits. Coarse dust left on the surface gets dragged across the next finer grit and creates deep random scratches. Wipe or vacuum every time you change grit.
Sanding too long with the same paper. Sandpaper wears out; a worn 120 grit cuts more like a worn 180 but creates pressure marks instead of clean scratches. Change paper when the cut slows noticeably.
Sanding cross-grain on the final pass. Cross-grain scratches show through any finish. The last pass on every surface should go with the grain, not across or in circles, regardless of what came before.
Raising the grain before staining (and the right grit to raise it back)
Water-based stains, water-based finishes, and even water-borne dyes raise the grain — small wood fibres swell when wet and stand up off the surface, giving a fuzzy texture that ruins what was a smooth pre-finish surface.
The standard fix is to raise the grain on purpose before applying the stain or finish. After your final sanding (typically 180 grit for film finishes, 220 for oil), wipe the wood with a damp (not soaking) cloth or sponge. Water raises the fibres within a few minutes; let the surface fully dry, then sand again with the same final grit you ended at, using very light pressure. The raised fibres come off cleanly and the next coat of water-based finish or stain sees a flat surface that does not re-raise.
This pre-raising step pays back dramatically for water-based products. For solvent-based finishes (oil-based polyurethane, lacquer thinners, alcohol-based shellac) it is unnecessary because the solvents do not raise the grain meaningfully.
Between-coat sanding for film finishes
Once the first coat of finish is on, the surface dries with some dust contamination and some surface irregularity. Sanding between coats produces the smooth, even finish that distinguishes a careful job from a careless one.
The right grit for between-coat sanding is much finer than for raw wood — typically 320 or 400 silicon carbide sandpaper, lightly worked. The goal is to knock down dust nibs and roughen the surface enough for the next coat to bond, not to remove material. Heavy pressure or coarser grits cut through the finish to the wood underneath and create visible patches.
Wipe the surface clean with a tack cloth or a cloth dampened with the appropriate solvent (mineral spirits for oil-based, water for water-based) before applying the next coat. Dust trapped between coats is the most common failure of otherwise good finishing work.
The final coat is usually applied without sanding after — the topcoat is the surface the eye sees, and sanding it dulls the sheen. Polish that final coat with rubbing compound or a wax if a higher gloss is wanted.
A small note on safety and dust
Wood dust is a respiratory hazard at any grit, and finer grits create finer dust that hangs in the air longer. A respirator rated for fine particulates plus a connected dust extractor on the orbital sander reduces both shop dust and lung exposure. Some species (walnut, cocobolo, exotic hardwoods) produce particularly irritating dust; treat those species with extra care regardless of sanding grit.
Related Posts
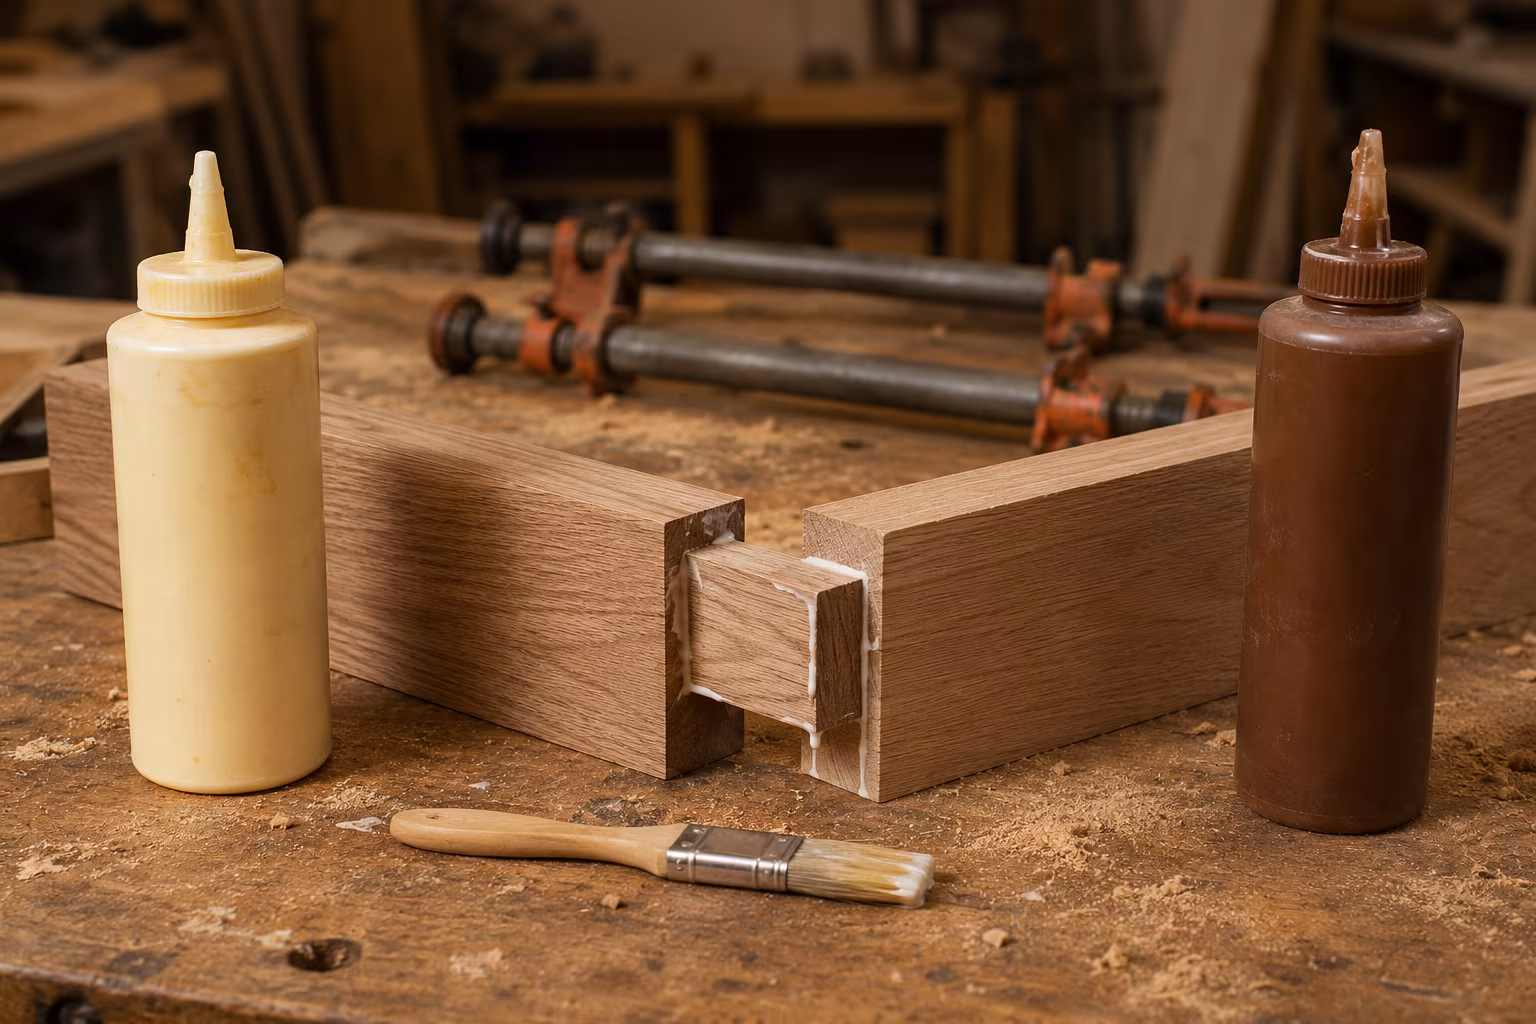
PVA vs Polyurethane Wood Glue for Indoor Furniture
Which wood glue wins indoors: a clear-eyed look at joint strength, open time, gap-filling claims,...
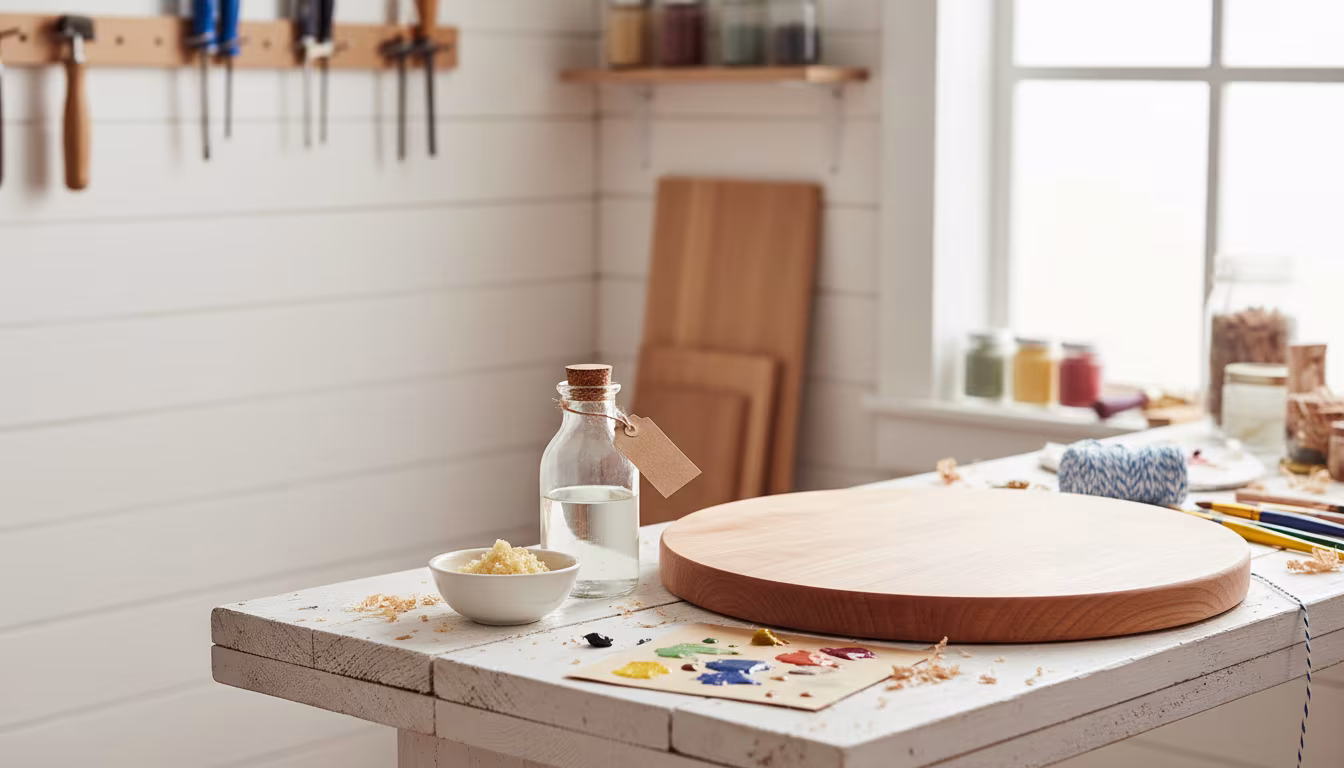
Why Beeswax and Mineral Oil Are the Safest Wood Finishes for Food
Wondering how to protect your wooden kitchenware without harsh chemicals? Beeswax and mineral oil...

Why Brad Nailers Are the Most Versatile Power Tool for Craft Rooms
Think power tools are just for big woodworking projects? Think again! A brad nailer might just be...

How to Select the Right Pliers Set for Wire Wrapping and Beading
Ready to level up your jewelry making game? Selecting the right pliers can make all the differenc...