The Complete Buying Guide for Home Laser Engraving Machines
The Complete Buying Guide for Home Laser Engraving Machines
You know that feeling when you scroll through Instagram, see some incredible personalized gift or intricate wooden art, and think, "How in the world did they make that?" For me, it was always those detailed engravings on wood and leather.
I pictured some high-tech, super expensive machine that only industrial shops could afford. But then I started digging, and guess what? Home laser engravers are totally a thing now, and they're more accessible than ever before. 👋
This guide is all about demystifying home laser engraving machines. We'll talk about what they are, what you can actually do with them, and how to pick the right one without getting totally overwhelmed by all the specs and jargon. Think of it as us chatting about tools over coffee, but, you know, digitally.
Why This Actually Matters
Okay, so why should you even care about a laser engraver? For a long time, my go-to for adding text or designs to projects was a wood burner. It’s fun, but it takes forever, my hand cramps, and getting consistent lines? Forget about it.
I spent a whole weekend trying to hand-burn a custom recipe into a cutting board for my mom. It looked… rustic, to put it kindly. I ended up just buying her a pre-made one.
A laser engraver, even a small home one, completely changes the game for precision and speed. You can engrave intricate details, cut through materials cleanly, and personalize pretty much anything you can imagine, all with the click of a button.
I mean, imagine being able to make custom keychains, jewelry, coasters, or even detailed models for pennies. It’s not just about making pretty things; it's about making your vision come to life exactly how you pictured it, without the hand cramps.
What Even Is a Home Laser Engraver?
At its simplest, a laser engraver is a tool that uses a focused beam of light to either engrave a design onto a material or cut all the way through it. It's like a super precise, super hot pen that you control with your computer.
You design something on your computer, send it to the machine, and the laser moves around, following your design, burning or cutting as it goes. It sounds a little sci-fi, I know, but it's pretty straightforward once you get the hang of it.
These machines can work on tons of different materials, which is what makes them so versatile. Wood, acrylic, leather, paper, fabric, even some metals – the possibilities feel endless.
Diode Vs. Co2: the Two Main Players
When you start looking at home laser engravers, you’ll mostly hear about two types: diode lasers and CO2 lasers. It’s important to understand the difference because they each have their own strengths and weaknesses.
I dove into research on these two and honestly felt like I needed a science degree. But it boils down to what they can do and how much they cost.
-
Diode Lasers: These are generally the more affordable and compact option, making them super popular for home hobbyists. They use solid-state diodes to create the laser beam.
They’re great for engraving on wood, leather, paper, and cutting thinner materials like cardboard or 3mm plywood. My first machine was a diode, and it was perfect for getting started without breaking the bank.
However, diode lasers usually have less power than CO2 lasers, so they can't cut thicker materials as easily. They also struggle with clear or white acrylic because the wavelength of light just passes straight through it.
-
CO2 Lasers: These are more powerful, often larger, and typically more expensive. They use a glass tube filled with CO2 gas, which is excited to create the laser beam.
CO2 lasers are fantastic for cutting thicker materials like 6mm wood, acrylic sheets, and even etching on glass and ceramics. They’re super fast and precise.
The downside is their size and cost. They usually need a dedicated space, and you're looking at a bigger investment, often in the thousands of dollars, plus the cost of replacing the CO2 tube eventually. For serious hobbyists or small businesses, they're amazing, but maybe not where you want to start if you're just dipping your toes in.
For most beginners, a diode laser is the way to go. It offers a great balance of cost, capability, and ease of use to get your feet wet. You can always upgrade later if you find yourself needing more power or different material capabilities.
Picking Your First Machine: What Matters Most
Okay, so you’re ready to dive in, but staring at dozens of different models with all their specifications can make your head spin. I remember thinking, "Do I really need 20W? What even is a work area?"
It’s easy to get caught up in the numbers. Let's break down the important things to look for when you're choosing your first laser engraver, focusing on what actually makes a difference for a home crafter.
Step 1: Power and Speed
This is probably the most talked-about spec. Laser power is measured in watts (W). Generally, higher wattage means more power, which translates to faster engraving and the ability to cut deeper or through thicker materials.
For diode lasers, you'll see common powers like 5W, 10W, and even 20W or more now. A 5W diode is great for engraving and cutting very thin materials like paper or light wood.
If you want to cut through 3mm plywood or engrave a bit faster, a 10W or 20W diode is a much better choice. My 10W machine cuts through 3mm basswood like butter after a few passes, but it needs a few more tries on birch plywood.
Don't just chase the highest number. Think about what you want to make. Engraving custom leather tags? A 5W or 10W is plenty. Cutting out detailed wooden ornaments? Aim for 10W or higher if your budget allows for a diode.
Step 2: Work Area Size
The work area is the maximum size of the material you can place on the machine to engrave or cut. It’s usually described in millimeters, like 300x300mm or 400x400mm.
This matters more than you might think. My first machine had a 200x200mm work area, and while it was fine for coasters and small keychains, I quickly found myself wanting to make bigger signs or cut multiple items at once.
Consider the types of projects you envision. If you mainly want to make small jewelry or keychains, a smaller work area is fine and often cheaper. But if you dream of engraving cutting boards, making wall art, or cutting larger pieces for models, a 300x300mm or 400x400mm area gives you a lot more flexibility.
You can always cut down larger material to fit a smaller machine, but it adds an extra step and limits what you can do with one continuous piece.
Step 3: Software and Ease of Use
This is a big one for beginners. The best machine in the world is useless if you can't figure out how to operate it. Most home laser engravers use either free software like LaserGRBL or paid software like LightBurn.
LightBurn is widely considered the industry standard for hobbyists. It's incredibly powerful and user-friendly once you get past the initial learning curve. Many machines are designed to be compatible with it, and I highly recommend it if your machine supports it.
Some brands have their own proprietary software. Make sure to check reviews and watch YouTube tutorials about the software before you buy. Is it intuitive? Are there good resources if you get stuck? A clunky interface can ruin the fun.
I spent way too much time wrestling with a free program that came with an early machine. Switching to LightBurn felt like going from dial-up to fiber optic internet. It's a game-changer for workflow.
Step 4: Safety Features
Lasers are not toys, and safety is absolutely non-negotiable. This isn't just a suggestion; it’s critical. When looking at machines, prioritize those with built-in safety features.
Look for things like emergency stop buttons (a big, obvious red one), flame detectors, tilt sensors that stop the laser if the machine is moved unexpectedly, and protective covers or enclosures around the laser module.
Always, always, ALWAYS wear proper laser safety glasses specifically rated for your machine's laser wavelength. The little green or red ones that come with cheap kits are often inadequate. Invest in a good pair. Your eyesight is worth it.
Also, consider if the machine has a solid, stable frame. A wobbly setup isn't just bad for precise engraving; it's a safety hazard.
Step 5: Materials You Want to Work with
Think about what you actually want to make. Do you dream of engraving intricate designs onto wooden coasters? Or cutting out delicate paper lanterns? Maybe personalizing stainless steel tumblers?
Diode lasers are excellent for wood, leather, paper, cardboard, some fabrics, and even powder-coated metals. They can also etch certain darker plastics. They generally can't cut clear acrylic or engrave glass (though some can etch the surface coating off glass with special techniques).
CO2 lasers are much better for cutting acrylic (even clear!), thicker wood, and for engraving on glass and ceramic. They open up a whole new world of materials but come with that higher price tag and larger footprint.
Align your machine choice with your project goals. Don't buy a powerful CO2 laser if you only plan to engrave paper. And don't get a low-power diode if your heart is set on cutting 10mm acrylic.
Step 6: Budget Considerations
Laser engravers range from a few hundred dollars to several thousands. Set a realistic budget before you start shopping, and remember to factor in more than just the machine itself.
You'll need materials (wood, acrylic sheets), safety glasses, potentially an air assist pump (which helps blow away smoke for cleaner cuts), and definitely a ventilation system.
Don't skimp on safety or ventilation to save a few bucks. It’s not worth the risk. My first machine was about $350, and I added another $100 for proper safety glasses and a DIY ventilation setup. It was a good starting point.
Sometimes paying a little more for a well-regarded brand with good customer support is worth it. Troubleshooting can be a pain, and having a reliable resource helps a lot when you're just learning.
Step 7: Ventilation, Ventilation, Ventilation!
I cannot stress this enough. When you burn or cut materials with a laser, it creates smoke, fumes, and potentially toxic gases. You absolutely NEED proper ventilation.
Some machines come with enclosures and small exhaust fans, but often they're not powerful enough. You'll likely need to vent outside through a window or dedicated exhaust port.
Running a laser engraver in a closed room without ventilation is dangerous for your health. Even "safe" materials like wood produce particulate matter you don't want to breathe in.
Think about your setup: do you have a window nearby? Can you duct the fumes outside? This is a fundamental part of owning a laser engraver, not an optional add-on. I use a small inline duct fan and a dryer vent hose to push everything out my garage window.
Mistakes I've Made (so You Don't have To)
Oh, boy, have I made some mistakes with my laser engraver. It’s all part of the learning process, right? But hopefully, sharing my blunders can save you some headaches (and maybe some ruined materials).
My biggest early mistake was thinking the "included safety glasses" were good enough. They were just flimsy plastic, and I realized after a few sessions that my eyes felt strained. I researched, bought proper OD6+ rated glasses, and the difference was immediate. Never compromise on eye protection.
Another one: not paying enough attention to ventilation from the start. I did my first few test engravings in my garage with just the door open a crack. The smell lingered for hours, and I realized how much smoke was actually being produced. Now, my ventilation system is set up before the laser even turns on.
I also totally underestimated the power settings. I'd try to cut something with too little power, and it would just char the edges without cutting through. Or, I'd use too much power for engraving, and it would burn deeper than I wanted or leave ugly scorch marks.
Learning your machine's sweet spot for different materials takes time and lots of test scraps. Keep a notebook of your settings for each material – it’s a lifesaver!
"Every charred piece of wood or melted acrylic isn't a failure; it's just data. Keep track of your settings, and you'll find the magic."
Finally, not securing my material properly. I once had a piece of wood shift slightly halfway through a cut. The result was a totally ruined project and a lot of frustration. Make sure your material is clamped down or taped securely so it doesn't move at all during the process.
Frequently Asked Questions
Is a Home Laser Engraver Dangerous?
Any tool can be dangerous if not used correctly, and a laser engraver is no exception. However, with proper safety precautions – wearing rated safety glasses, ensuring good ventilation, having an emergency stop plan, and never leaving it unattended – it can be a very safe and rewarding hobby.
The laser beam itself is powerful enough to cause severe eye damage or burns. But respecting the tool and following guidelines is key to staying safe. My biggest rule is: if the laser is on, my eyes are protected and I'm in the room.
What Materials Can I Engrave or Cut with a Typical Home Diode Laser?
Most home diode lasers are fantastic for engraving on wood, bamboo, cork, leather, paper, cardstock, felt, certain opaque plastics, and even some painted or coated metals (like anodized aluminum or stainless steel with a special spray). For cutting, they'll handle thin wood (up to 3-6mm depending on power), paper, cardstock, felt, and thin leather. They generally can't cut clear or white acrylic, glass, or bare metal.
How Much does a Good Starter Laser Engraver Cost?
You can find decent beginner diode laser engravers ranging from about $300 to $800. This usually includes the machine itself and basic software. Remember to budget an additional $50-$150 for essential safety glasses, an air assist pump (highly recommended for cutting), and materials to practice on.
Don't forget the cost of materials. A pack of basswood plywood or leather scraps can add up, so factor that into your initial setup budget too.
How Long does It Take to Learn How to Use a Laser Engraver?
Getting your first simple engraving done can take as little as an hour or two, especially with user-friendly software and good tutorials. But truly mastering the machine, understanding all the settings for different materials, and learning advanced design techniques? That's an ongoing process.
I’ve been using mine for over a year and I'm still learning new tricks. Start with simple projects, expect a few mistakes, and enjoy the learning curve. There are tons of online communities and videos that make it much easier to pick up.
Can I Make Money with a Home Laser Engraver?
Absolutely! Many hobbyists turn their laser engraving skills into small businesses. Custom gifts, personalized home decor, unique jewelry, and small batch products are all popular items that sell well online or at craft markets. My friend Sarah started making personalized cutting boards and now sells them at the Portland Saturday Market.
The key is to create unique, high-quality items. Start by perfecting your craft, then explore local markets or online platforms like Etsy. It's a fantastic way to turn a hobby into a little extra income.
The Bottom Line
Diving into the world of home laser engraving might seem a little intimidating at first. There are a lot of options, and it feels like a big investment.
But choosing the right machine, prioritizing safety, and being patient with the learning process can open up a whole new realm of creative possibilities. Start small, focus on the projects that excite you, and don't be afraid to experiment.
You’ll make mistakes, I guarantee it. But every botched cut or charred piece of wood is just one step closer to making something truly amazing. You've got this. ❤️
Related Posts
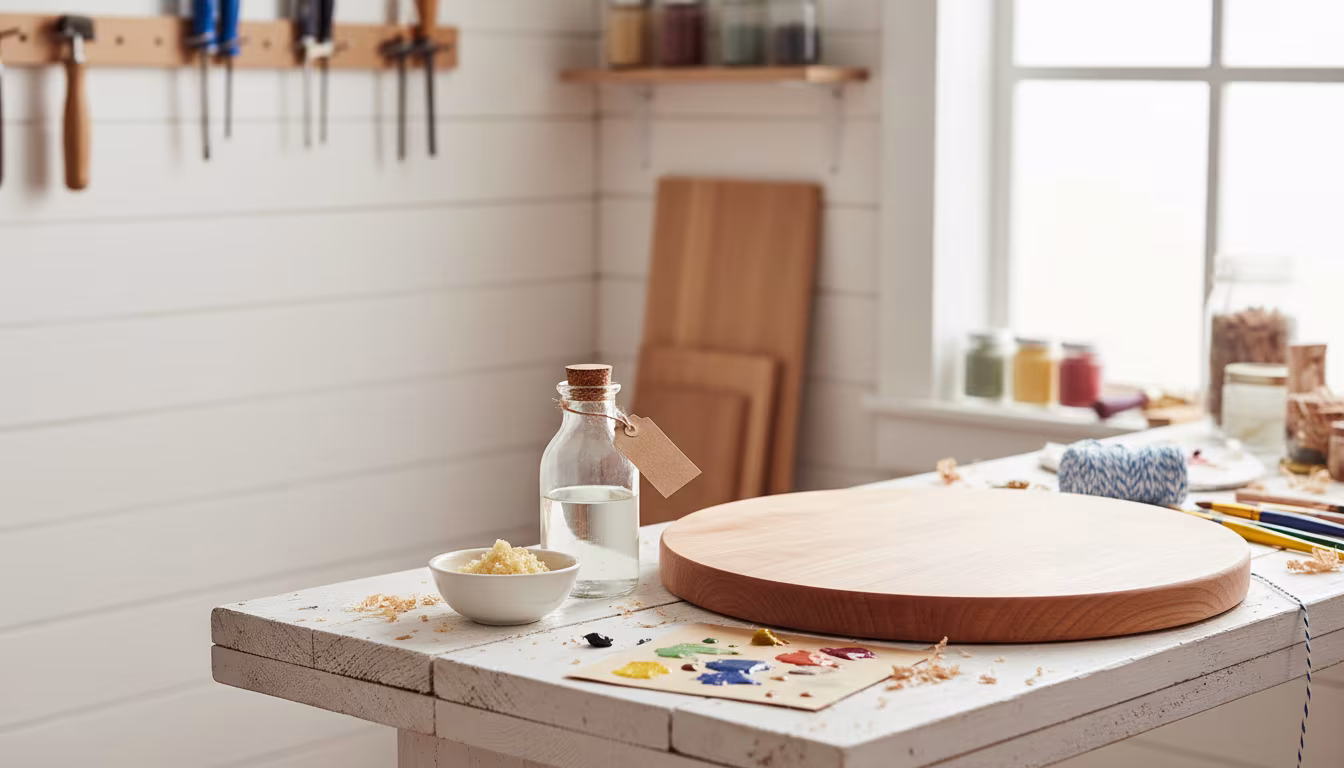
Why Beeswax and Mineral Oil Are the Safest Wood Finishes for Food
Wondering how to protect your wooden kitchenware without harsh chemicals? Beeswax and mineral oil...
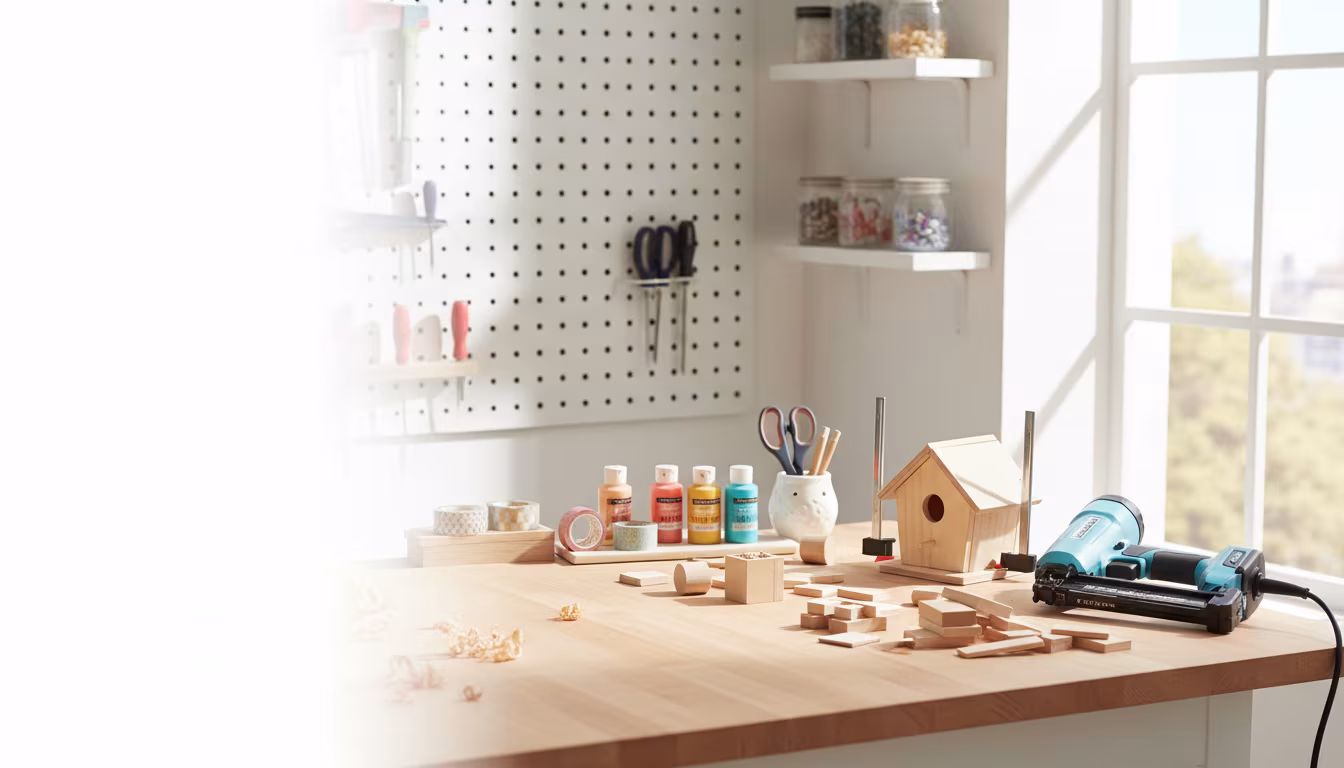
Why Brad Nailers Are the Most Versatile Power Tool for Craft Rooms
Think power tools are just for big woodworking projects? Think again! A brad nailer might just be...
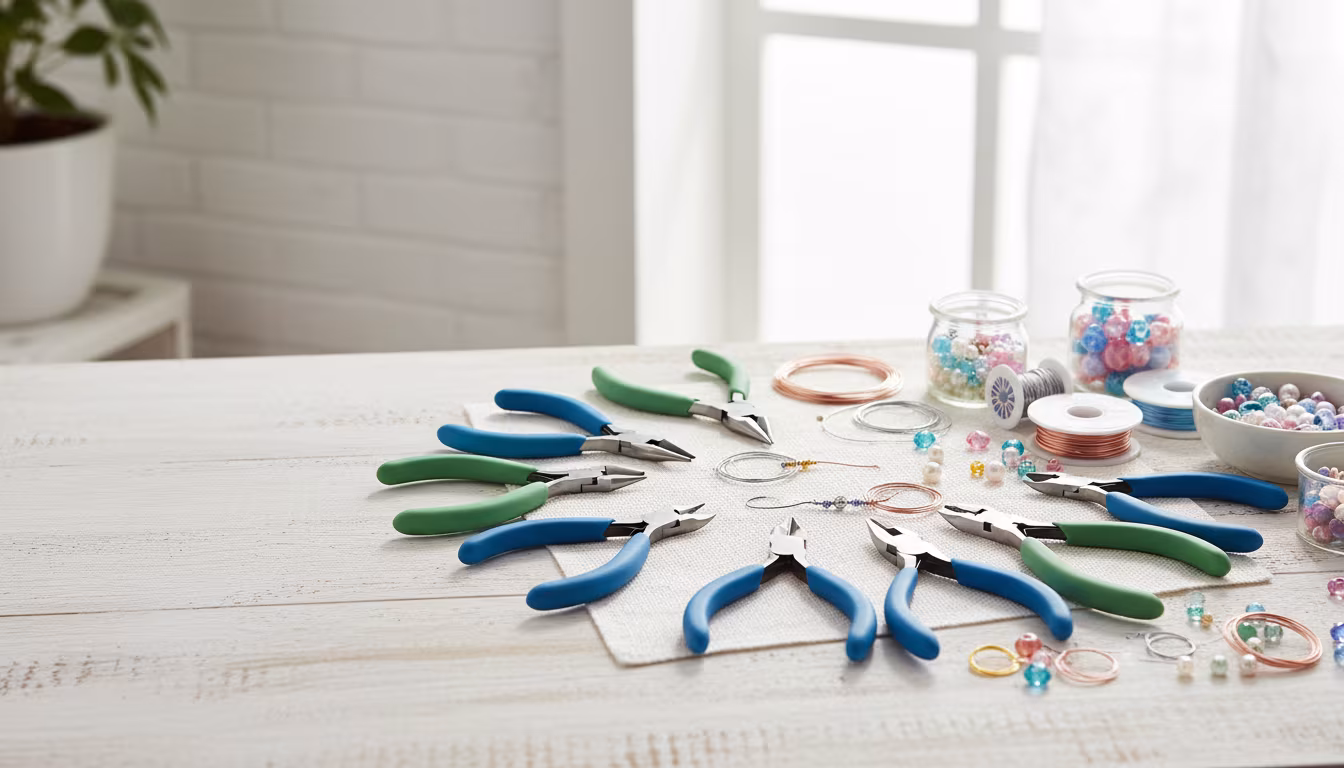
How to Select the Right Pliers Set for Wire Wrapping and Beading
Ready to level up your jewelry making game? Selecting the right pliers can make all the differenc...
The Best Paper Trimmer Options for Card Making and Scrapbooking
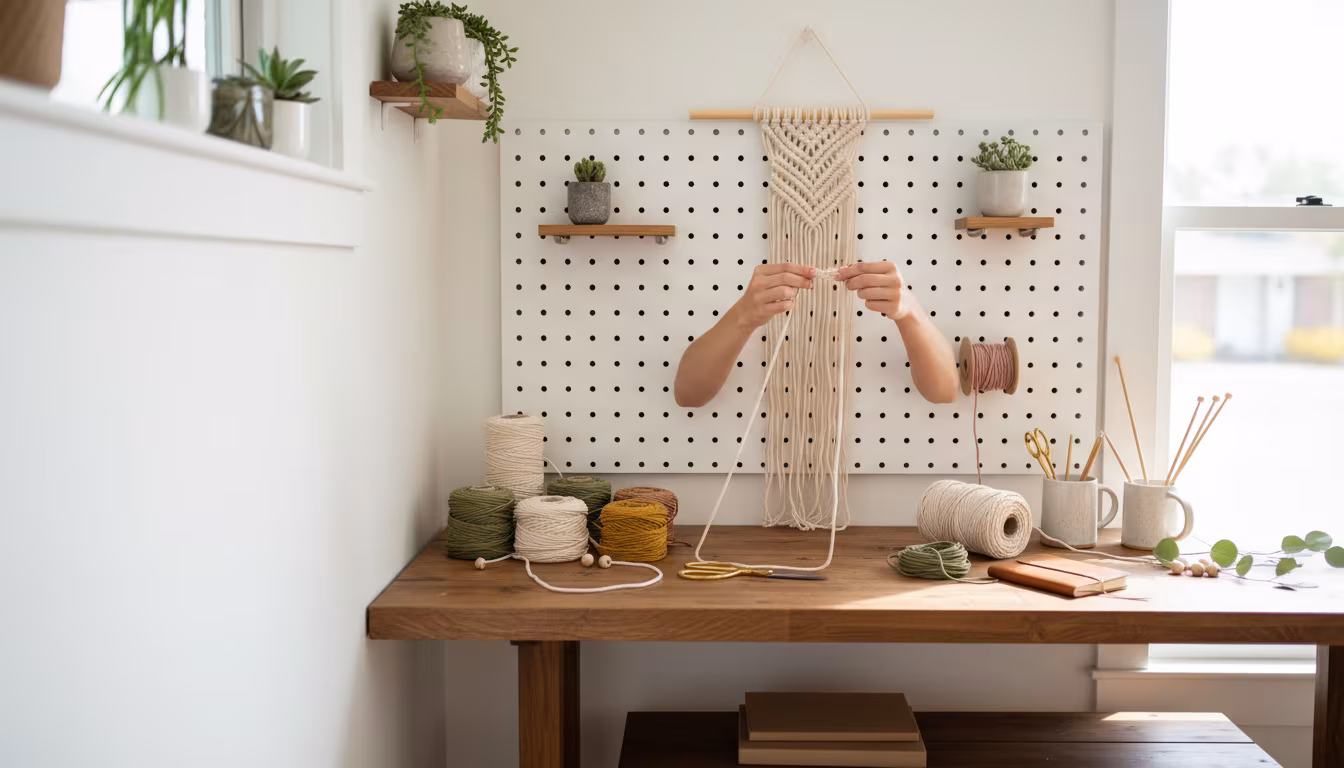
Ready to try a beautiful new craft? Dive into the relaxing world of macrame and create a gorgeous...