The Easiest Way to Add Crown Molding to Any Room in Your Home

The Easiest Way to Add Crown Molding to Any Room in Your Home
Okay, raise your hand if you’ve scrolled through Pinterest, seen those perfectly finished rooms with crown molding, and thought, "Wow, that looks amazing… but I could never do that myself." You know that feeling, right? That little voice saying it's too complicated, too expensive, or just plain beyond your skill level.
I totally get it. For years, crown molding felt like one of those projects reserved for professional contractors. Something that involved fancy tools, intricate math, and probably a secret handshake or two.
But what if I told you there’s a surprisingly straightforward way to add that polished, custom look to your home, even if you’ve never touched a miter saw before? We’re going to walk through how I tackled my first crown molding project – and trust me, if I can do it, you absolutely can too.
Today, we're diving into a super accessible method for installing crown molding. We'll cover why it makes such a difference, the specific tools and materials you'll actually use, and a step-by-step guide that focuses on minimizing frustration and maximizing that "I did it!" feeling. Let's get crafting! 👋
Why This Actually Matters
You might think crown molding is just a decorative trim. And technically, it is. But the impact it has on a room’s feel is just incredible; it literally transforms a space from "nice" to "wow."
It adds a sense of completeness, a finished edge that draws your eye up and makes ceilings feel higher. Seriously, it's like putting a frame around your entire room, elevating the whole aesthetic without needing a full-blown renovation.
I remember standing in my living room, after painting and adding some new furniture, and it still felt… unfinished. Like it was missing something crucial. My friend Sarah mentioned crown molding, and at first, I just laughed it off.
But after looking at some before and after photos online, I decided to give it a shot in my little reading nook. That small project, which only took me a weekend, made such a dramatic difference that I was instantly hooked. The room felt taller, more intentional, and just so much cozier.
Plus, it covers up those little imperfections where your walls meet the ceiling – let's be honest, not every wall in an older house is perfectly straight. It's a bit of a magic trick for tidying up those visual lines.
The Accessible Approach to Crown Molding
So, when I first thought about crown molding, my mind immediately went to traditional wood pieces and complicated compound miter cuts. Those angled cuts are no joke, and they often involve tricky math and precise measurements that can be super intimidating for a beginner.
I knew I wanted to avoid that complexity for my first try. My goal was to find a method that gave me that beautiful finished look without needing a geometry degree or a dedicated woodworking shop.
That’s when I stumbled upon the idea of using flat stock molding, or even just regular trim, and creating a stacked effect. It’s a genius workaround that totally bypasses those challenging angled cuts while still giving you that classic crown molding profile.
Instead of trying to fit one curved piece of wood perfectly into a corner, we build up the look using simpler, straight cuts. This method is often called "stacked crown molding" or "layered crown molding."
Understanding the Stacked Method
The stacked method relies on combining a few different pieces of flat trim to create the illusion of a larger, more intricate crown molding. It breaks the project down into smaller, much more manageable steps.
You'll typically use a larger, flat piece of trim as the base, positioned flat against the ceiling or wall, and then add smaller pieces to build up the profile. This approach means most of your cuts will be simple 90-degree butt joints, or straight 45-degree miter cuts for outside corners, which are much easier to master.
Here’s a quick breakdown of why this method is so much more beginner-friendly:
- No Compound Miter Cuts - This is the biggest hurdle for traditional crown molding. With stacked molding, you’re usually just making straight 90-degree cuts or basic 45-degree angles for corners.
- Easier to Hide Mistakes - If a cut isn't absolutely perfect, caulk and paint are your best friends. The layered nature also makes minor gaps less noticeable than with a single, complex piece.
- Customizable Look - You get to pick and choose different trim profiles to create a unique look that perfectly matches your home's style. Want something simple? Go for a few clean lines. Want more ornate? Add a decorative shoe molding.
- Budget-Friendly - Often, buying simpler, smaller pieces of trim can be more economical than large, pre-formed crown molding. Plus, you can find great deals on basic trim at hardware stores.
I started with this method in my dining room, using two different sizes of basic colonial-style trim and a small quarter-round piece. It looked incredibly sophisticated for how simple the installation actually was. Seriously, it felt like cheating!
How to Actually do It
Alright, let’s get down to business. I'm going to walk you through the steps I took to install my first stacked crown molding. Remember, this isn't about perfection on your first go, it's about learning and having fun with a new skill. We're aiming for a solid B+ effort, and caulk will cover the rest! 😉
Step 1: Gather Your Tools and Materials
Before you even think about cutting, make sure you have everything you need. There’s nothing worse than getting halfway through a project and realizing you're missing a crucial piece. Ask me how many trips to the hardware store I've made because of this oversight!
Here’s what I used:
- Trim Pieces: This is where you get creative! I usually pick 2-3 different profiles. For my living room, I went with a 1x4 inch flat board, a small cove molding, and a thin decorative trim (about 1 inch wide). You can even use simple 1x2s and a quarter-round.
- Miter Saw (or Miter Box & Hand Saw): A powered miter saw makes life SO much easier, especially for those 45-degree corner cuts. If you don't have one, a miter box and hand saw totally work, they just take a bit more elbow grease. I started with a miter box, and then upgraded when I realized I loved woodworking.
- Measuring Tape and Pencil: Obvious, but crucial. Measure twice, cut once is a mantra for a reason!
- Stud Finder: You want to nail into studs for a secure hold. Don't skip this, your molding won't stay put otherwise.
- Caulking Gun and Paintable Caulk: Your best friend for filling gaps and making everything look seamless.
- Wood Putty or Spackle: For nail holes.
- Nail Gun (and Air Compressor) or Hammer & Finishing Nails: A nail gun is a huge time-saver and leaves smaller holes. If you’re using a hammer, get some finishing nails (1.5-2 inches).
- Level: To ensure your molding is straight.
- Safety Glasses: Always, always, always when cutting wood.
- Paint and Paintbrush/Roller: To finish your molding.
- Dap or Filler: For filling any gaps or imperfections.
Don't feel like you need the fanciest tools. My first nail gun was a small electric one, and it was perfectly adequate for trim work. Start with what you have or can borrow!
Step 2: Plan Your Design and Measure
Before you make a single cut, decide on your molding combination. Hold your chosen pieces up to the wall and ceiling to see how they look together. This is the fun part where you get to visualize the finished product!
I usually start with the largest piece of trim first. This will be your main "base" piece. For my living room, this was the 1x4 inch flat board. I decided to install it flat against the ceiling, leaving about an inch gap from the wall, but you could also put it flat against the wall, down from the ceiling.
Now, measure the length of each wall where you'll be installing the molding. Write these measurements down clearly. It’s also a good idea to sketch out your room and label each wall section with its measurement. This helps avoid confusion later, especially when dealing with inside and outside corners.
Don't forget to account for your corner cuts. For inside corners, you’ll typically make straight butt cuts (two pieces meeting at a 90-degree angle). For outside corners, you'll need 45-degree miter cuts so they join cleanly. More on that in the next step!
Step 3: Cut and Install Your First (largest) Layer
This is where the magic starts. I always recommend cutting one piece at a time, fitting it, and then moving to the next. This helps prevent costly mistakes with your expensive trim.
Take your first measurement for the longest wall. Add a little extra to it (maybe half an inch) if you're nervous; you can always trim it down. Mark your trim piece with your pencil.
Now, to the saw! For straight walls, you'll just make straight 90-degree cuts. If you're tackling an inside corner, you can do a simple butt joint where one piece runs all the way to the corner and the next piece butts up against its end. This is a very forgiving method.
For outside corners, you'll need to make 45-degree miter cuts. Set your miter saw to 45 degrees. Remember, the piece that goes on the left wall will have its long point on the outside, and the piece for the right wall will also have its long point on the outside. Test fit these pieces before nailing them in.
Once your piece is cut, hold it up to the wall and ceiling. Use your level to make sure it's perfectly straight. This is crucial for the foundation of your stacked molding. If it's off, all subsequent layers will be off too.
Using your stud finder, mark the locations of the studs along the wall and ceiling. Nail your first piece into the studs. If you can’t find a stud, use construction adhesive in addition to nails, or use drywall anchors if necessary. I usually use 1.5-inch finishing nails for this layer.
Step 4: Add Your Second Layer of Trim
With your first layer securely in place, it’s time to build out that crown profile. Choose your second piece of trim. This might be a cove molding, a small rounded piece, or just another flat piece that’s a bit smaller than your first.
I usually install this second layer a little below or above the first, or slightly offset, to create depth. For example, if my 1x4 was flat against the ceiling and an inch from the wall, my cove molding might go right under the 1x4, against the wall, or even be angled slightly.
Again, measure one wall at a time. Cut your pieces, paying attention to inside and outside corners. The same 90-degree butt joint or 45-degree miter cut rules apply. Because these pieces are smaller, they're often a bit easier to maneuver and cut.
Test fit your second layer pieces carefully against the first layer and the wall/ceiling. Once you’re happy with the fit, nail them into place. For thinner trim, you might want to use slightly shorter finishing nails to avoid splitting the wood.
Don't stress about tiny gaps at this stage. That’s what caulk is for! Focus on getting the pieces straight and securely attached.
Step 5: Install Your Third (optional) Layer
Depending on the look you're going for, you might want to add a third layer of trim. This could be a very thin decorative strip, a quarter-round, or even a small picture frame molding to add extra detail.
This layer often goes into the corner where the ceiling and wall meet, if your previous layers haven't already filled that space. Or, it might go along the bottom edge of your second piece, creating a more pronounced transition.
Just like before, measure, cut, test fit, and then nail. This layer is often the easiest as the preceding layers provide a clear guide. This is where you really start to see the crown molding effect take shape, and it’s super satisfying!
For really tiny trim pieces, sometimes I use a bit of wood glue in addition to small nails, just for extra security. It's not strictly necessary, but it makes me feel better about things staying put.
Step 6: Fill, Caulk, and Sand
Now for the finishing touches – and honestly, this is where your amateur work starts to look professional. Trust me, caulk is a DIYer’s secret weapon.
First, take your wood putty or spackle and fill all the nail holes. Let it dry completely, then give it a light sanding with fine-grit sandpaper (around 120-220 grit). You want those nail holes to disappear. I usually do two thin coats of putty for good measure.
Next, grab your paintable caulk and caulking gun. Run a thin bead of caulk along every seam: where the molding meets the wall, where it meets the ceiling, and where each piece of molding meets another piece. Don't be shy with this!
Immediately after applying a bead, run a wet finger (or a damp sponge) along the caulk line to smooth it out. This pushes the caulk into the gaps and creates a seamless, finished look. Wipe away any excess caulk with a damp cloth. It’s messy, but so worth it.
This step makes a huge difference. Those small gaps that were bugging you? Gone. The slightly imperfect corner cut? Mostly invisible. It’s pure magic.
Step 7: Prime and Paint
Once your caulk is fully dry (check the drying time on your caulk tube, usually a few hours), it’s time to prime and paint. I always recommend priming, especially if you used wood putty and caulk, as it helps achieve an even finish.
Apply a coat of primer specifically designed for wood trim. Let it dry according to the manufacturer's instructions. Then, paint your molding with your chosen trim color. Most people opt for a bright white semi-gloss or high-gloss paint, as this finish is durable and easy to clean.
You’ll likely need two coats of paint to get a rich, even color. Be careful not to get paint on your walls or ceiling! Use painter's tape if you're worried about messy edges, or a good quality angled paintbrush for precision.
Step back and admire your handiwork! You just installed crown molding. And you didn't even have to wrestle with compound miter angles. How awesome is that?
Making It Stick / Common Mistakes
Okay, so we’ve covered the "how-to," but let’s talk about the bumps in the road. Because trust me, there are always bumps. I’ve definitely made my share of mistakes trying new things in my workshop.
One of the biggest mistakes I see (and definitely made myself) is trying to cut all your pieces at once. You measure all your walls, make all your cuts, and then when you go to install, nothing quite fits perfectly. Walls are rarely perfectly straight or square, especially in older homes.
Cut and fit one piece at a time. Seriously, this is probably the best advice I can give you for any trim work. Measure the exact length for the current section you're working on, make that cut, test fit it, adjust if needed, and then nail it in. Only then do you move on to the next section.
Another common mistake is skipping the stud finder. Nailing into drywall alone won't hold your molding long-term. It'll sag, pull away, or even fall down. Always aim for those studs, or use proper drywall anchors if a stud isn't available and you can't rely solely on adhesive.
And then there’s the "caulk will fix everything" mentality. While caulk is fantastic, it can’t fix a half-inch gap. It's for small imperfections and seams. Try to get your cuts as close as possible, and then let the caulk do its magic on the fine details.
"The beauty of DIY isn't in achieving perfection the first time, it's in learning to fix the imperfections."
Lastly, don’t underestimate the power of a good level. If your first layer of molding isn't level, every subsequent layer will look crooked. Take the extra minute to get that foundation perfectly straight. It’s worth it for the final look.
Frequently Asked Questions
Can I Really do This with Basic Tools?
Absolutely! I started my trim projects with a basic hand saw and a miter box that cost me about $20. It's slower, sure, but it's totally effective for making precise cuts. A power miter saw speeds things up, but isn't a strict requirement for this stacked method.
How Much does This Project Typically Cost?
The cost really varies depending on the type of trim you choose and the size of your room. For an average-sized room (say, 10x12 feet), you could probably get all your trim, nails, caulk, and paint for around $100-$200. If you pick more intricate or larger trim pieces, it will obviously go up, but it's usually much cheaper than pre-made crown molding.
What if My Walls Aren't Perfectly Straight or Square?
Welcome to the club! Most homes have walls that aren't perfectly straight or corners that aren't perfectly 90 degrees. This is precisely why the "cut and fit one piece at a time" method is so important. Make your cuts a tiny bit long, test fit, and then shave off small amounts until it sits just right. And remember, caulk is your superhero for those small gaps!
How Long does This Take for a Beginner?
For a single average-sized room, I'd budget a full weekend for a beginner. The cutting and installation might take 4-6 hours, but then you have drying times for wood putty and caulk, plus two coats of paint. My first room took me a solid two days, working at a relaxed pace.
Is This Method Durable Enough for High-traffic Areas?
Yes, absolutely. Once properly installed with nails into studs (or appropriate anchors) and finished with paint, stacked molding is just as durable as traditional molding. It’s not going to get bumped or scuffed any more than regular trim, and paint adds a layer of protection. Just make sure those nails are firmly in place!
The Bottom Line
Adding crown molding might seem like a daunting project, something only seasoned pros can tackle. But with the stacked method, breaking it down into layers makes it incredibly approachable, even if you’re new to woodworking or home improvement.
You’ll gain so much satisfaction seeing your room transform with that polished, finished look. Don’t let the idea of complicated cuts scare you away. Start small, take your time, and remember that every "oops" moment is just a lesson learned.
Give it a try in a spare bedroom or a small hallway first. You'll be amazed at what you can accomplish with a few pieces of trim and a little confidence. Happy crafting! ❤️
Related Posts
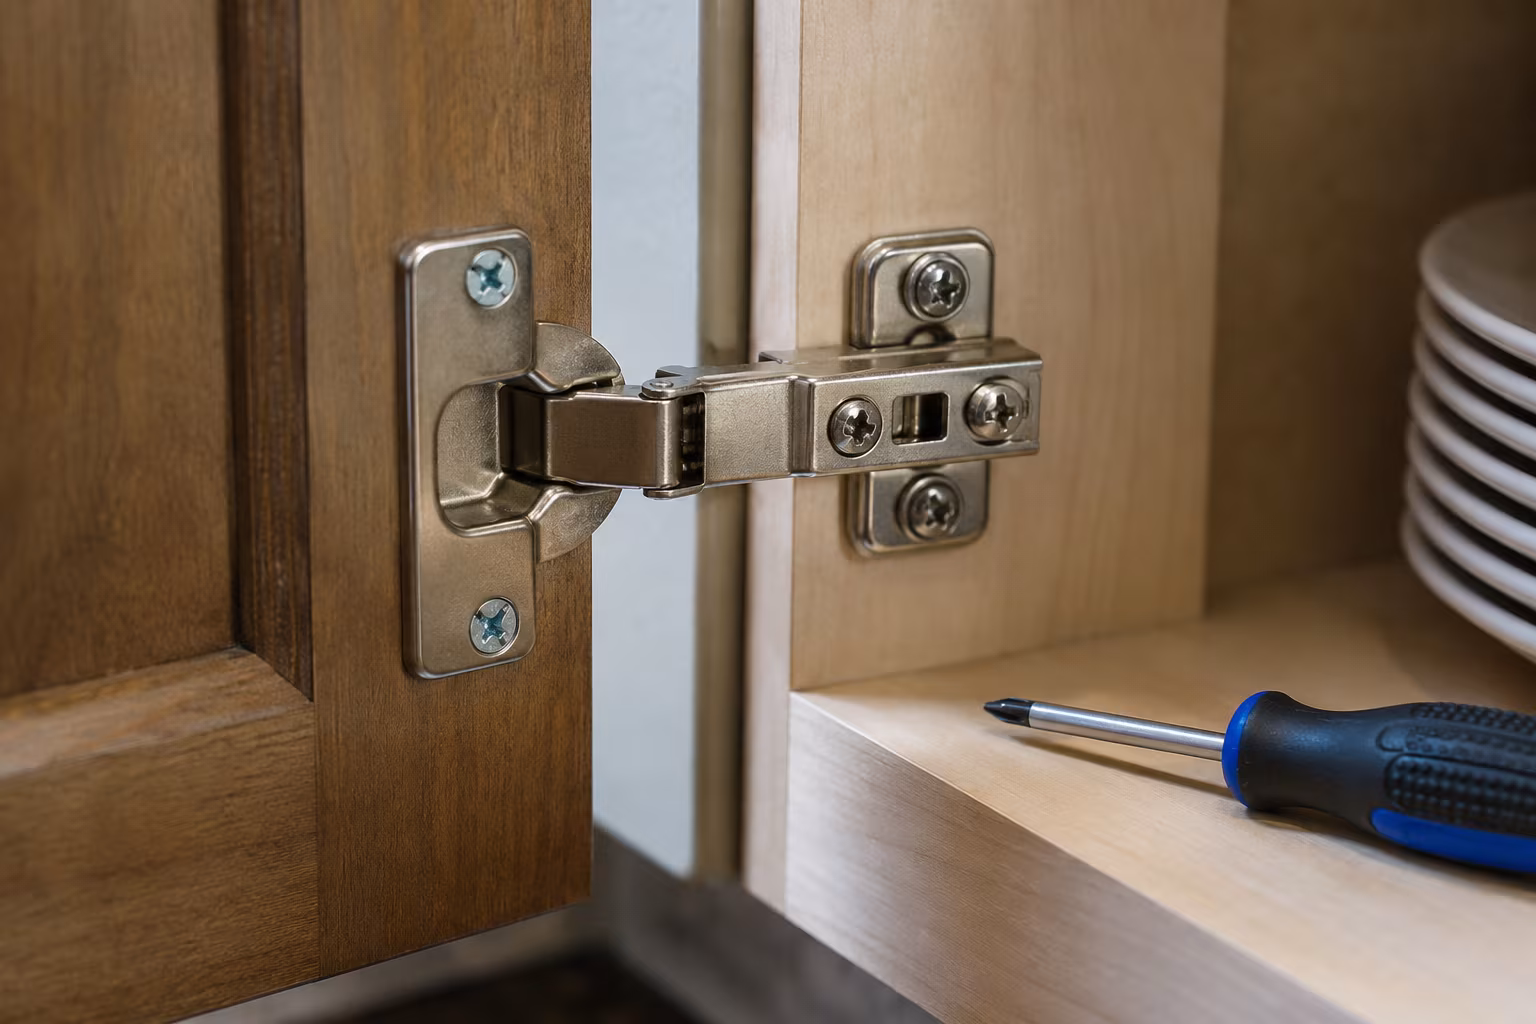
Cabinet Hinge Adjustment: Side, Depth, and Height Fix
Three screws, three directions, one diagnosis. Stop fighting misaligned cabinet doors — learn whi...
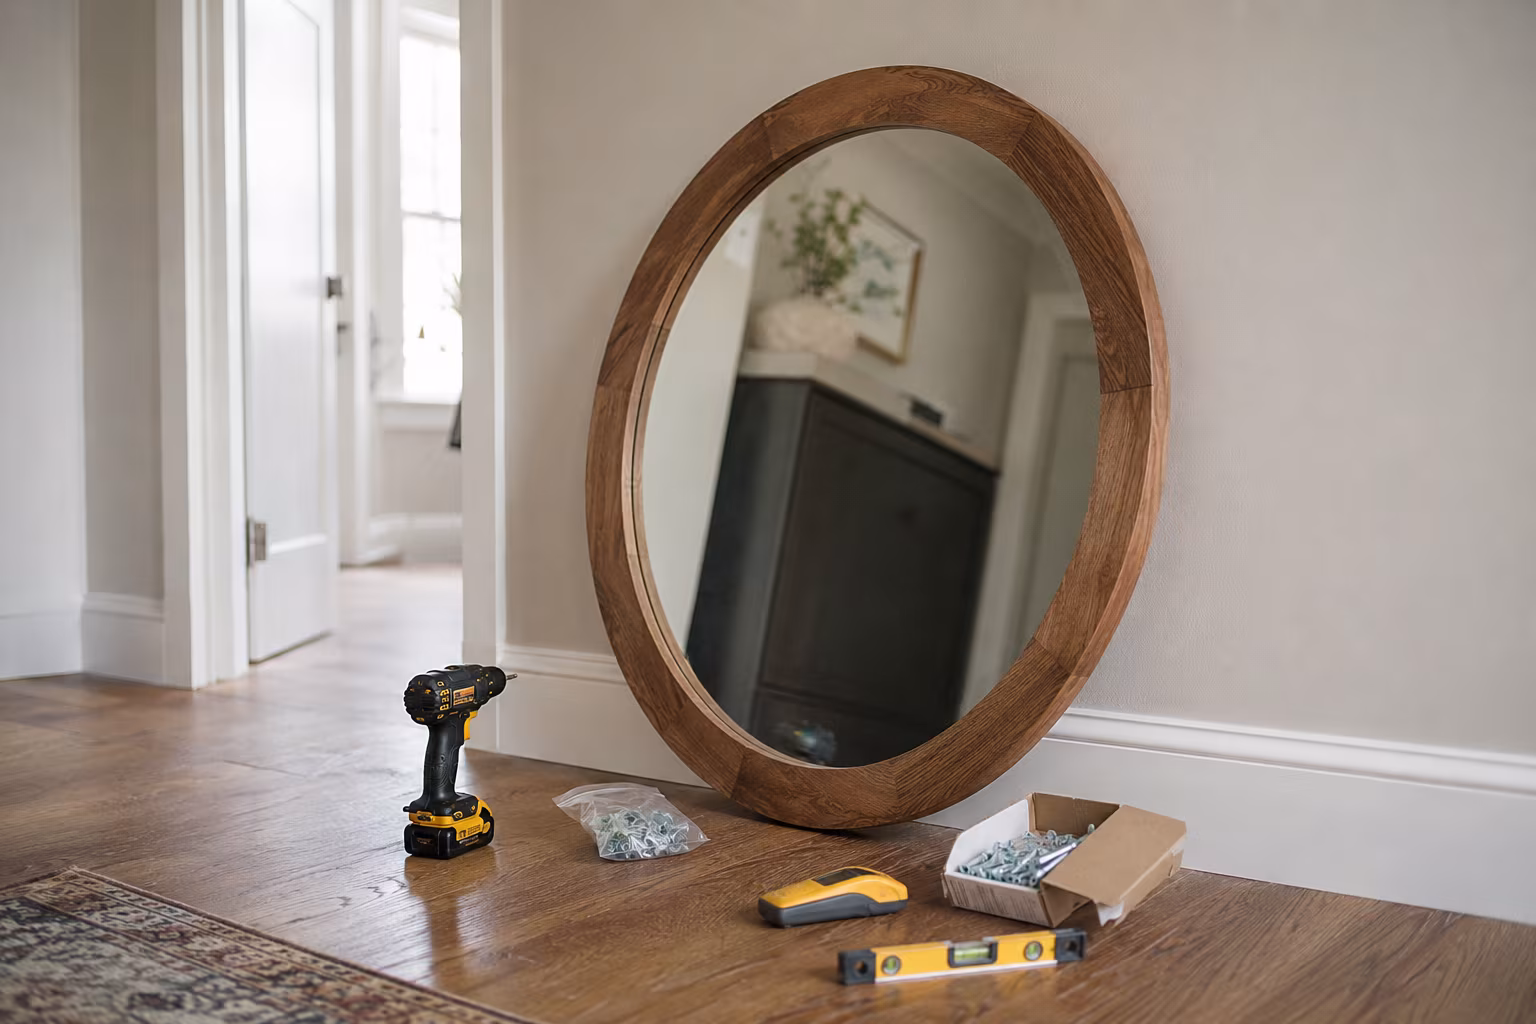
How to Hang a Heavy Mirror on Drywall Without Studs
No stud where you want the mirror? The anchor choices, weight math, and install routine that hold...
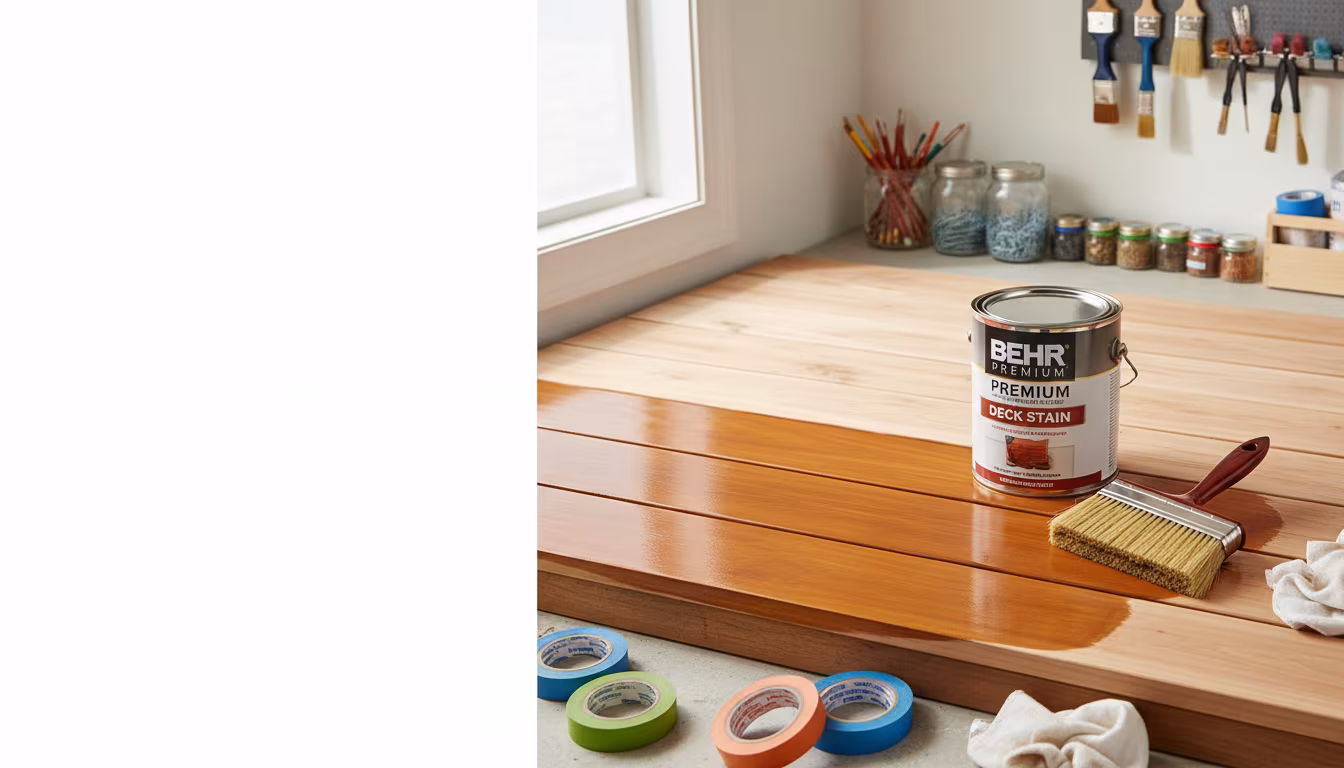
The Best Way to Weatherproof and Stain an Old Wooden Deck
Is your old wooden deck looking a little worse for wear? We'll show you the easiest, most effecti...
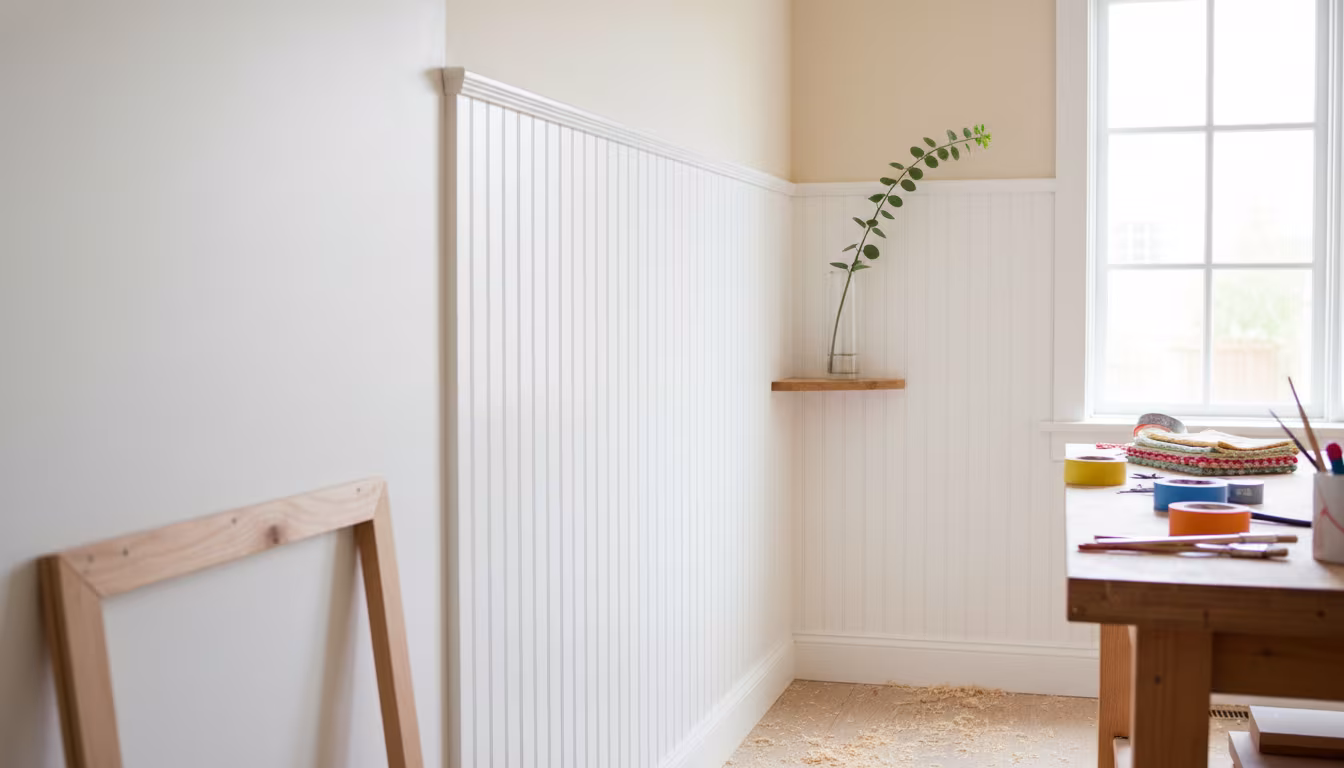
Why Wainscoting Panels Make Plain Hallways Look High-End
Dreaming of a more sophisticated entryway? Learn why wainscoting panels are a game-changer for ma...