Why Good Quality Scissors Make a Measurable Difference in Sewing
Why Good Quality Scissors Make a Measurable Difference in Sewing
You know that feeling, right? You're cruising through a sewing project, everything's going great, and then you hit a snag. Suddenly, your fabric isn't cutting clean, it's fraying at the edges, or worse, your scissors are just chewing through it like a dull butter knife.
Sound familiar? For years, I just grabbed whatever scissors were closest, figuring "a cut is a cut." Boy, was I wrong. I ruined so many good fabric pieces thinking my technique was the problem, when really, it was my tools.
Today, I want to chat about something that seems so simple, but truly changes the game for sewing projects: good quality scissors. We're going to dive into why they matter, how to pick the right ones, and how to keep them in tip-top shape.
Get ready to say goodbye to frustrating, ragged cuts and hello to crisp, clean lines. Your fabric, and your sanity, will thank you for it!
Why This Actually Matters
Let's be real for a second. When you're spending your hard-earned money on beautiful fabric, or dedicating hours to a handmade garment, the last thing you want is a messy finish. Good quality scissors aren't just a nice-to-have; they're a foundation for success in sewing.
Think about it: every single piece of your sewing project starts with a cut. If that initial cut is jagged, uneven, or stretches the fabric, you're building on a shaky base. It affects everything down the line, from how well your seams match up to the overall drape of your finished piece.
I learned this the hard way when I was making a simple cotton tote bag. I had this gorgeous floral fabric, and I was so excited. But my cheap craft scissors just mangled the edges, pulling threads and leaving uneven lines.
When I went to sew the pieces together, nothing aligned correctly. The whole thing ended up slightly lopsided, and honestly, it drove me nuts every time I looked at it. It was a $15 fabric investment, and probably 3 hours of my time, completely compromised by a $5 pair of bad scissors.
It’s not just about precision; it’s about reducing frustration. A clean cut means less time wrestling with fabric, less re-doing, and more enjoyment from your craft. That, to me, is always worth the small investment.
The Basics of Good Fabric Shears
So, what exactly makes a pair of scissors "good" for fabric? It's not just about how sharp they feel when you first buy them. There's a lot more going on behind those blades.
We're talking about the materials used, the way the blades are ground, and even how the handles are designed. These factors all come together to create a tool that cuts fabric smoothly, precisely, and without snagging.
A high-quality pair of fabric shears is designed specifically for textiles. They're built to make those long, clean cuts that delicate fabrics need, and strong enough to handle thicker materials without faltering.
You might notice a difference in weight too. Good scissors often have a satisfying heft to them, which isn't just about feeling sturdy. That weight can actually help you maintain control and apply consistent pressure as you cut.
What Sets Fabric Scissors Apart?
Alright, let's break down the key features that make fabric scissors a cut above (pun intended!) your average household pair. It's more than just a label; it's the craftsmanship.
The differences might seem subtle at first glance, but they make a world of difference when you're working with various textiles. Once you know what to look for, you'll start spotting quality instantly.
- Blade Material and Grind - Most good fabric shears are made from high-carbon steel. This material holds a sharp edge for a very long time. The blades are also often "knife-edge" ground, meaning they taper to a very fine point, allowing for incredibly precise cuts without crushing the fabric fibers.
- Blade Length and Design - Fabric shears typically have longer blades than regular scissors. This is super helpful for making long, continuous cuts through fabric, which is essential for pattern pieces. One blade might also extend past the other slightly, which helps with balance and leverage.
- Handle Ergonomics - Take a look at the handles. Fabric shears often have bent handles, which keep the fabric flat on your cutting surface as you cut. This prevents the fabric from lifting and shifting, leading to more accurate lines. The handle loops are usually different sizes, designed to fit your hand comfortably for prolonged cutting sessions.
I remember grabbing my kid's school scissors once for a quick cut on some quilting cotton. It was a disaster. The cheap metal blades just pushed the fabric around, leaving a chewed-up edge that looked like I’d attacked it with a blunt knife. Never again!
It taught me that while any sharp object can technically cut fabric, only a tool designed for it can do the job properly. It's like trying to hammer a nail with a shoe – you can do it, but it's not going to be efficient or pretty.
Beyond the Basics: Different Types of Fabric Scissors
It's not just "fabric scissors" either; there are a few types you'll want to know about. Each one has its own special purpose, and having the right tool for the job makes everything so much easier.
You don't need to buy every single type right away, especially if you're just starting. But knowing what's out there can help you build your toolkit over time, project by project.
- Dressmaker's Shears - These are probably what you picture when you think of fabric scissors. They have long blades (usually 7-10 inches) and bent handles. Perfect for cutting out large pattern pieces on flat surfaces. They often have one pointed tip and one rounded tip, which helps prevent snagging on the fabric.
- Tailor's Shears - Similar to dressmaker's shears but often heavier and with two pointed tips. They're built for heavier fabrics and longer, more robust cutting tasks. If you're working with denim, canvas, or upholstery fabrics, these are your best friend.
- Embroidery Scissors/Snips - These are tiny, often with very sharp, pointed tips (think stork-shaped!). They're not for cutting fabric pieces, but rather for snipping threads close to the fabric, making tiny notches, or unpicking stitches. They're super precise and indispensable for finishing work.
- Pinking Shears - You know, the ones that cut a zigzag edge? These don't prevent fraying entirely, but they can slow it down considerably on woven fabrics. They're also great for decorative edges or reducing bulk in seams. Just don't use them on knit fabrics, as they'll stretch them out.
- Rotary Cutters - Okay, not scissors, but an honorable mention! For cutting straight lines, especially for quilting, a rotary cutter with a mat and ruler is a dream. It's incredibly fast and precise once you get the hang of it, and it saves your wrists.
I actually held off on buying pinking shears for ages, thinking they were just a fancy extra. But once I got a pair, I realized how much tidier my seam allowances looked, especially on a quick project where I didn't want to bother with serging. It’s a small detail that makes a big difference in perceived quality.
How to Actually Choose and Use Your Fabric Shears
Alright, so you’re convinced! You want to upgrade your cutting game. But standing in the craft store, staring at a wall of scissors can feel a little overwhelming. How do you pick the right pair?
It's not just about the price tag, though that can be an indicator. It's about finding a tool that feels good in your hand, matches your projects, and will last you for years to come. Here's my step-by-step guide to finding your perfect cutting companions.
Step 1: Consider Your Main Projects and Fabrics
Before you even look at a pair of scissors, think about what you mostly sew. Are you usually working with lightweight cottons for clothes? Heavy canvas for bags? Delicate silk for special garments?
If you're sewing a lot of delicate, thin fabrics, a lighter pair of dressmaker's shears might be perfect. But if you're constantly cutting through denim or multiple layers of quilting cotton, a heavier, more robust tailor's shear will serve you better.
I started with a general 8-inch dressmaker's shear because I was mostly making clothes and simple home decor. It was a good all-rounder for my beginner projects. As I got into quilting, I added a rotary cutter to my arsenal.
Step 2: Look for Quality Materials and Construction
As we talked about, high-carbon steel blades are generally the best bet for holding a sharp edge. Check the packaging or ask the sales associate about the blade material.
Also, look at how the blades are joined. A sturdy screw or bolt, rather than a flimsy rivet, indicates a better-made pair. You want something that feels solid and doesn't wobble when you open and close it.
My first "good" pair of shears was from a well-known brand, and I actually looked up reviews online before buying. It felt a little obsessive at the time, but knowing other sewers had good experiences with them gave me confidence.
Step 3: Test the Fit and Feel in Your Hand
This is probably the most crucial step! Pick up the scissors and feel them. Do they feel balanced? Do the handles fit your hand comfortably without pinching?
The finger holes should be roomy enough for your fingers without being too loose. If you're right-handed, make sure you're picking up a right-handed pair (and vice-versa). Some shears are universal, but many are specific.
Spend a few minutes opening and closing them. Do they move smoothly without being too stiff? Your hands will thank you later if you find a pair that feels like an extension of your arm, especially during long cutting sessions.
Step 4: Perform a Test Cut (if Possible)
Some craft stores have fabric scraps available for testing. If they do, take advantage of it! Cut through a piece of fabric, mimicking the long, smooth strokes you'd use at home.
Does it cut cleanly all the way to the tip? Does it snag or chew the fabric at all? You want a smooth, effortless glide that leaves a crisp, unbroken edge.
Don't be shy about asking. You're making an investment, and you deserve to know it's the right fit. If you can't test them, at least make sure the store has a good return policy.
Step 5: Master the Long, Smooth Stroke
Once you have your fantastic new shears, it's time to use them properly! Resist the urge to make a bunch of tiny snips. Instead, aim for long, continuous strokes, especially when cutting out pattern pieces.
Open the blades wide, place the fabric deep into the blades, and make one smooth motion. Try to keep the lower blade flat against your cutting surface as you go. This helps prevent the fabric from lifting and shifting, which keeps your cuts super accurate.
I used to make choppy cuts, and my edges were always slightly wavy. When I focused on that long, fluid motion, it was like magic. My pattern pieces suddenly looked so much cleaner, and my seams became much easier to match up.
Step 6: the Golden Rule: Only for Fabric!
This is the most important rule you'll ever hear about good fabric scissors: They are ONLY for fabric.
Seriously. Don't use them to cut paper, cardboard, thread (unless it's a specific snip), plastic, wire, or anything else. Paper dulls blades incredibly fast because of the fibers and sometimes even minerals used in its production.
My partner knows this rule well. He once grabbed my good shears to open a package, and I nearly had a heart attack. We now have a specific pair of "utility" scissors in the kitchen drawer for everything else, clearly labeled! It avoids any accidental sabotage to my precious tools.
Designate your fabric scissors as sacred. Store them somewhere safe, ideally in their own sheath or a dedicated spot in your sewing kit. This ensures they stay sharp and ready for their one true purpose.
Making It Stick: Avoiding Common Mistakes
Even with the best scissors, there are still a few pitfalls that can dull them quickly or lead to less-than-perfect results. Knowing these common mistakes upfront can save you a lot of headache and keep your shears performing their best.
It's all about consistent care and mindful usage. Treat your tools well, and they’ll treat your projects even better. It’s a simple philosophy that applies to all crafts, really.
Mistake 1: Using General Craft or Paper Scissors on Fabric
We've touched on this, but it bears repeating. This is probably the number one mistake I see new sewers make. Those all-purpose scissors are fine for paper, but they will drag and chew through fabric, leaving ragged edges.
They’re often not as sharp, the blade angles are different, and they simply aren't designed to glide through fabric fibers. You'll spend more time fighting with your tools than actually enjoying the process.
The frustration isn't worth saving a few bucks. Start with one good pair of fabric shears, and keep a separate, clearly marked pair for paper or other craft supplies.
Mistake 2: Not Cleaning Your Scissors Regularly
Fabric fibers, dust, and even natural oils from your hands can build up on your scissor blades. Over time, this gunk can make your scissors feel duller and stickier, even if the edge itself is still sharp.
Make it a habit to wipe down your blades after each sewing session. A soft cloth and a little rubbing alcohol can work wonders for removing sticky residue or fabric softener buildup. Just make sure to dry them thoroughly.
I keep a small microfiber cloth right next to my sewing machine. A quick wipe down takes literally five seconds and keeps my shears gliding like new. It’s a tiny step that makes a big difference.
Mistake 3: Dropping Your Scissors
This one makes my heart drop every time it happens. Dropping a pair of good fabric shears can misalign the blades, even if you don't see any obvious damage. A slight misalignment is enough to make them cut poorly.
Sometimes, the tips can also get bent or damaged, making precise cuts impossible. If you do drop them, carefully check the alignment and the tips. If they seem off, they might need professional sharpening and adjustment.
Try to store them flat or in a holder where they won't easily fall. My favorite shears live in a magnetic knife block on my workbench – it keeps them upright and safe from accidental knocks.
Mistake 4: Neglecting Sharpening and Maintenance
Even the best quality blades will eventually lose some of their edge with regular use. Good shears are designed to be sharpened, often many times over their lifetime. Think of it like taking care of a good kitchen knife.
Don't wait until your scissors are completely dull and chewing fabric. As soon as you notice them starting to drag a little, it's time to consider sharpening. Some people use home sharpeners, but for your best fabric shears, I always recommend professional sharpening.
Look for a local knife sharpener or a specialty sewing machine repair shop. They have the right tools and expertise to properly sharpen fabric shears without damaging the blade angle. It's usually a pretty affordable service and extends the life of your investment considerably.
"Investing in good tools isn't just about spending money; it's about investing in precision, reducing frustration, and elevating the joy of creation."
Frequently Asked Questions
How Much Should I Expect to Spend on a Good Pair of Fabric Scissors?
You can find a really solid pair of beginner fabric shears for around $25-$40. High-end, professional-grade shears might run $70-$150 or even more, but you absolutely don't need to start there. Sometimes you can even find fantastic quality shears for $10-$15 at a thrift store; just check for sharpness and alignment before you buy!
Can I Sharpen My Fabric Scissors Myself with a Home Sharpener?
For everyday craft scissors, a home sharpener is probably fine. But for your good fabric shears, I really recommend taking them to a professional. The blade angle on fabric shears is very specific, and it's easy to damage it with a generic home sharpener, making them cut worse. A pro will know exactly what they're doing.
What's the Real Difference Between Tailor's Shears and Dressmaker's Shears?
While often used interchangeably, tailor's shears are usually heavier, stronger, and have two pointed tips, making them ideal for cutting through tougher, thicker fabrics like wool and denim. Dressmaker's shears are typically lighter, often have one rounded tip, and are great for a wider range of medium-weight fabrics, like cotton and linen, especially for garment sewing. You'll probably start with dressmaker's shears.
My Scissors Feel Sticky After Cutting Fusible Interfacing. What do I Do?
Ah, the dreaded fusible residue! This happens because the heat-activated adhesive from the interfacing transfers to your blades. You can clean this off with a little rubbing alcohol on a soft cloth, or a dedicated adhesive remover product. Just be gentle and make sure to wipe them completely dry afterward to prevent rust.
Is It Okay to have Multiple Pairs of Fabric Scissors?
Absolutely, it's more than okay—it's encouraged! I have my main dressmaker's shears for general cutting, a smaller pair of snips for threads, and a rotary cutter for quilting. Many sewers keep separate pairs for different fabric types (e.g., one for synthetics, one for cottons) or even for different tasks. It just helps keep them specialized and sharp for their intended use.
Do I Really Need Pinking Shears? What do They Actually Do?
You don't strictly need pinking shears for every project, but they're incredibly useful! They cut a zigzag edge that helps to slow down fraying on woven fabrics, especially for projects where you're not finishing seam allowances with a serger or zigzag stitch. They also give a neat, decorative edge to things like felt or certain seam finishes. I wouldn't rush to buy them first, but they're a great addition down the road.
The Bottom Line
Look, I get it. When you're just starting out, or even when you've been crafting for a while, it's easy to overlook the seemingly small things like good scissors. You might think it's an unnecessary expense, or that your cheap pair is "good enough."
But trust me on this: good quality fabric scissors are an investment that pays off exponentially. They save you time, reduce frustration, and give your handmade projects a cleaner, more professional finish. They truly make a measurable difference in your sewing experience. ❤️
So, next time you're at the craft store, don't just grab any old pair. Take a moment to consider your projects, feel the handles, and maybe even test them out. Your hands, your fabric, and your finished projects will be so much happier for it. Happy cutting, friends! 👋
Related Posts

Sandpaper Grits Demystified: When to Stop Going Finer
The grit progression that actually matters, where to start, where to stop, and why finer is often...
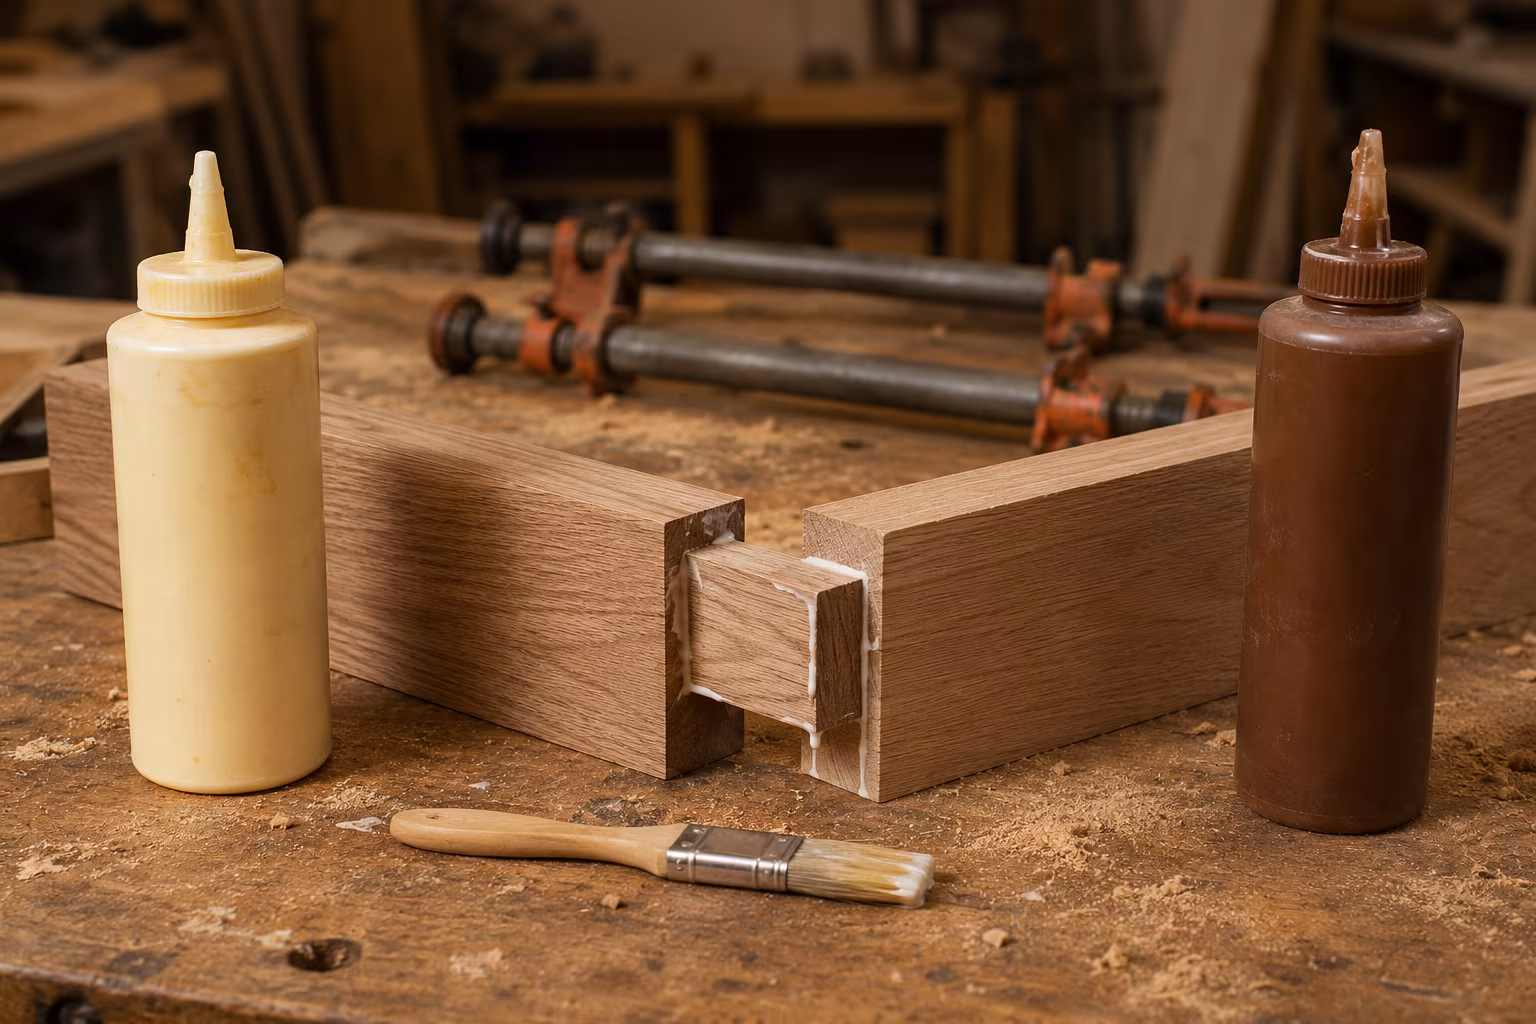
PVA vs Polyurethane Wood Glue for Indoor Furniture
Which wood glue wins indoors: a clear-eyed look at joint strength, open time, gap-filling claims,...
Why Beeswax and Mineral Oil Are the Safest Wood Finishes for Food
Wondering how to protect your wooden kitchenware without harsh chemicals? Beeswax and mineral oil...
Why Brad Nailers Are the Most Versatile Power Tool for Craft Rooms
Think power tools are just for big woodworking projects? Think again! A brad nailer might just be...