How to Arrange Art Above a Sofa Using the Right Proportions
Art above a sofa fails in two predictable ways: it hangs too high, floating away from the furniture, or it is too small and gets swallowed by the wall. Both are proportion problems, and both are fixable with a tape measure before a single hole goes in the wall. The two numbers that matter are how wide the art is relative to the sofa, and how high its center sits off the floor. Get those right and almost any piece looks intentional.
The two measurements that decide everything
Standard gallery height places the center of a piece 57 to 60 inches from the floor, which matches average eye level. Above a sofa, that guideline bends: the bottom edge of the art should sit about 6 to 10 inches above the top of the sofa back, close enough that the eye reads furniture and art as one grouping rather than two unrelated objects.
Width is the second rule. Your art, or the full span of a grouping, should cover roughly two-thirds to three-quarters of the sofa's width. The table below translates that into real numbers so you can shop with a target rather than a guess.
| Sofa width | Target art span (2/3–3/4) | Bottom edge above sofa back |
|---|---|---|
| 72 in (loveseat) | 48–54 in | 6–10 in |
| 84 in (standard) | 56–63 in | 6–10 in |
| 96 in (large) | 64–72 in | 6–10 in |
| 108 in (sectional run) | 72–81 in | 6–10 in |
One large piece or a grouping
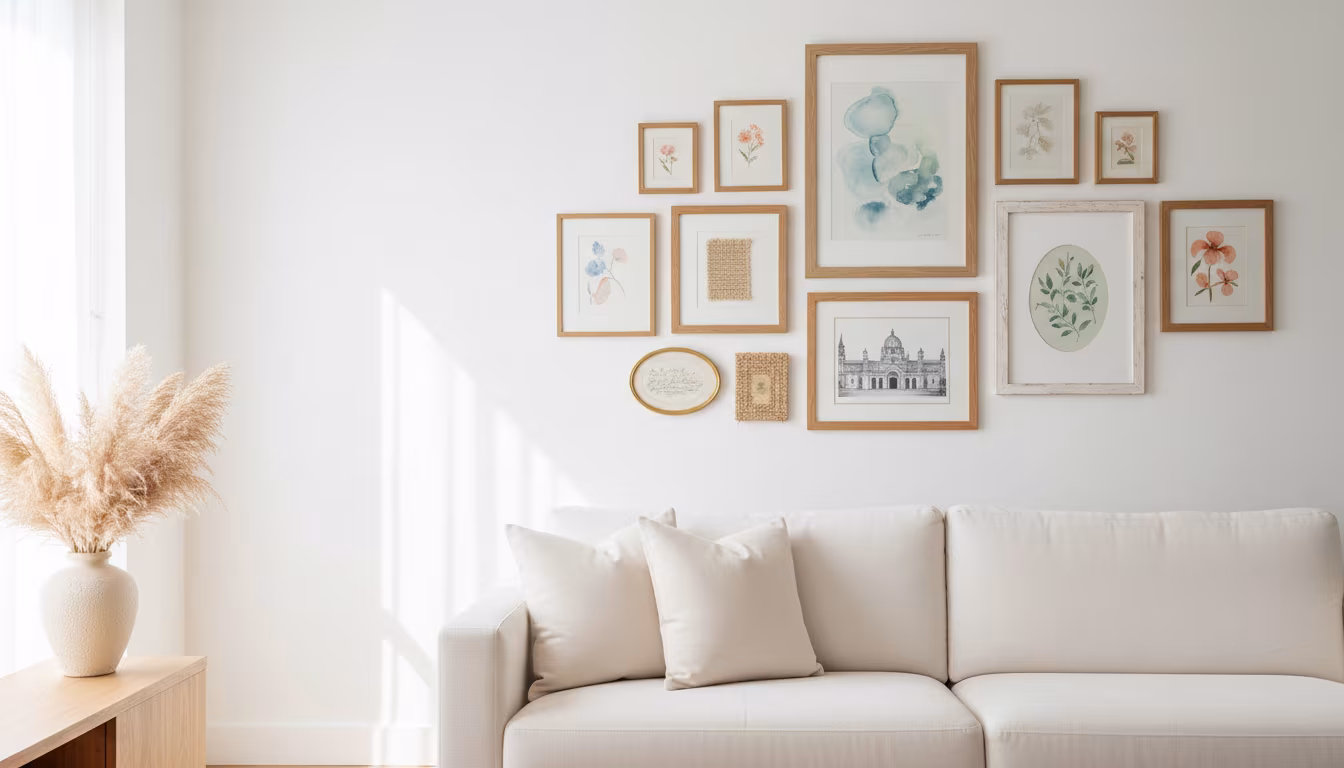
A single statement piece is the simplest way to fill the span. For an 84-inch sofa, that means a canvas or frame around 56 to 63 inches wide. If you cannot find one large enough, a grouping does the same job: a diptych, a triptych, or a full gallery wall read as one visual unit as long as the overall footprint hits the width target.
When you group smaller frames, keep the gaps between them consistent, generally 2 to 4 inches. Uneven spacing is what makes a wall look like random pictures instead of a composition. Lay the whole arrangement out on the floor first, measure the total width and height including the gaps, and treat that outer rectangle as your single "piece." For tighter guidance on those gaps, see this walkthrough on gallery wall picture spacing. Leave breathing room on both sides too; the art should not run to the edges of the wall or crowd a floor lamp.
Measuring and marking before you drill
Work out the placement on paper, then on the wall, before committing to hardware.
- Measure the sofa width and the art (or the laid-out grouping) width. Confirm the art hits the two-thirds to three-quarters range.
- Find and mark the horizontal center of the sofa on the wall with a light pencil line. The center of the art aligns to it.
- Set the bottom edge 6 to 10 inches above the sofa back and mark that height.
- Cut a paper template, newspaper or craft paper, to the exact size of the frame and tape it in place. This lets you judge scale from across the room before making any holes.
To place the nail precisely, flip the frame over and measure from the top of the frame down to the hanging wire or D-ring, often 3 to 5 inches. Subtract that distance from where the top of the frame will sit to find the nail height. For a 20-inch-tall piece centered at 60 inches, the top lands at 50 inches; a hanger 5 inches down means the nail goes at 45 inches.
Hanging hardware and weight
Match the hardware to the weight and to what is behind the drywall. A frame under about 10 pounds holds on a single nail into drywall. Heavier pieces need to catch a wall stud, found with a stud finder, or a proper wall plug or drywall anchor rated above the frame's weight. Err high on the rating; an anchor rated for 25 pounds under a 15-pound frame is cheap insurance.
Level every piece with a small bubble level, and level each frame in a gallery wall individually, since a single crooked frame throws off the whole grid. If a frame tips forward on its wire, a dab of museum putty on the two bottom corners holds it flush and keeps it from drifting out of level over time.
Matting and frame depth change the read
Two frames of the same outer dimension can fill the wall very differently depending on the mat. A wide mat, 2 to 4 inches of white or off-white board around the image, makes a modest print feel more substantial and buys you span toward that two-thirds width target without buying larger art. If a single piece is falling short of the sofa width, a generous mat and a chunkier frame profile can close the gap by several inches on each side.
Frame depth matters for balance too. A deep, heavy frame reads as a stronger anchor and suits a large sofa, while thin gallery frames keep a grouping feeling light. Keep the framing consistent within a single wall: matching frame color and mat width across a gallery grouping is what makes mismatched images look like a deliberate collection rather than leftovers. When mixing sizes, repeat one element, all black frames or all the same mat, so the eye still reads a unified block.
Adjusting for tricky sofas and ceilings
A very low-profile sofa needs the art brought closer, around 4 to 6 inches above the back, so the grouping still reads as connected without appearing to rest on the cushions. A sectional can be treated two ways: hang one wide piece or gallery wall above the longest straight run as if it were a standalone sofa, or break the wall into zones with a main arrangement over the long section and a smaller accent near the chaise. With a low ceiling, drop the center slightly below the standard 57 to 60 inches and avoid oversized pieces, which visually push the ceiling down further. In every case the underlying test is the same: measure the sofa, size the art to two-thirds or three-quarters of it, and anchor the bottom edge within a hand's width of the sofa back before you reach for a hammer.
Related Posts
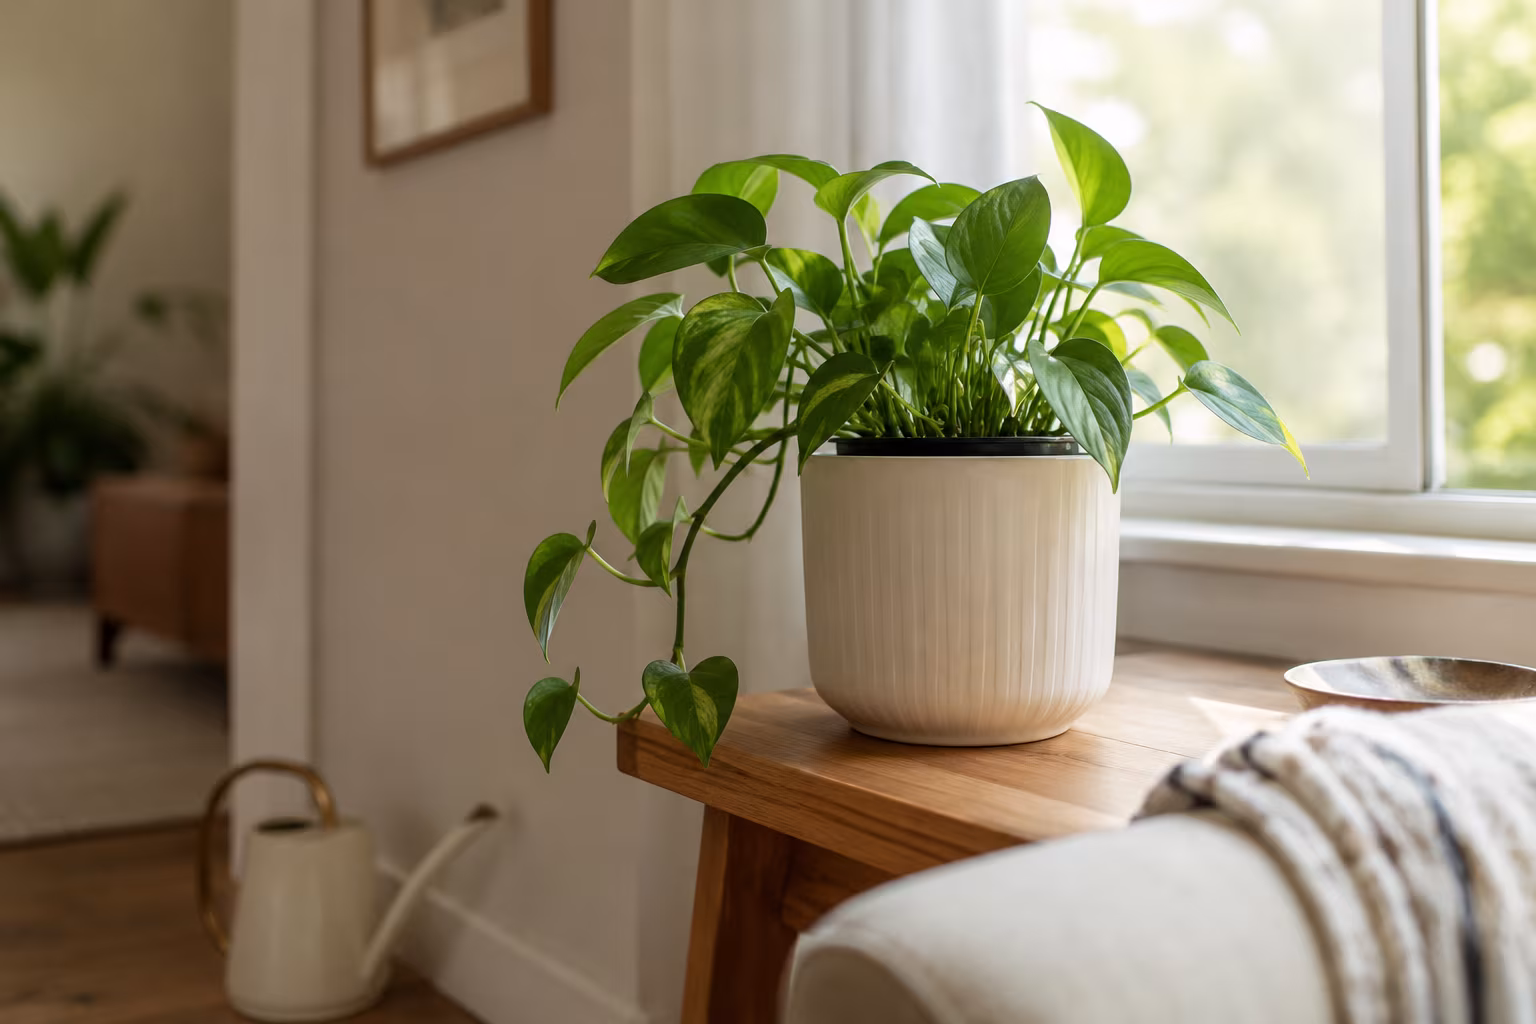
Indoor Plant Pot with No Drainage Hole: How to Make It Work
A no-drainage pot rots roots fast. Use the double-pot method, skip the gravel myth, pick...
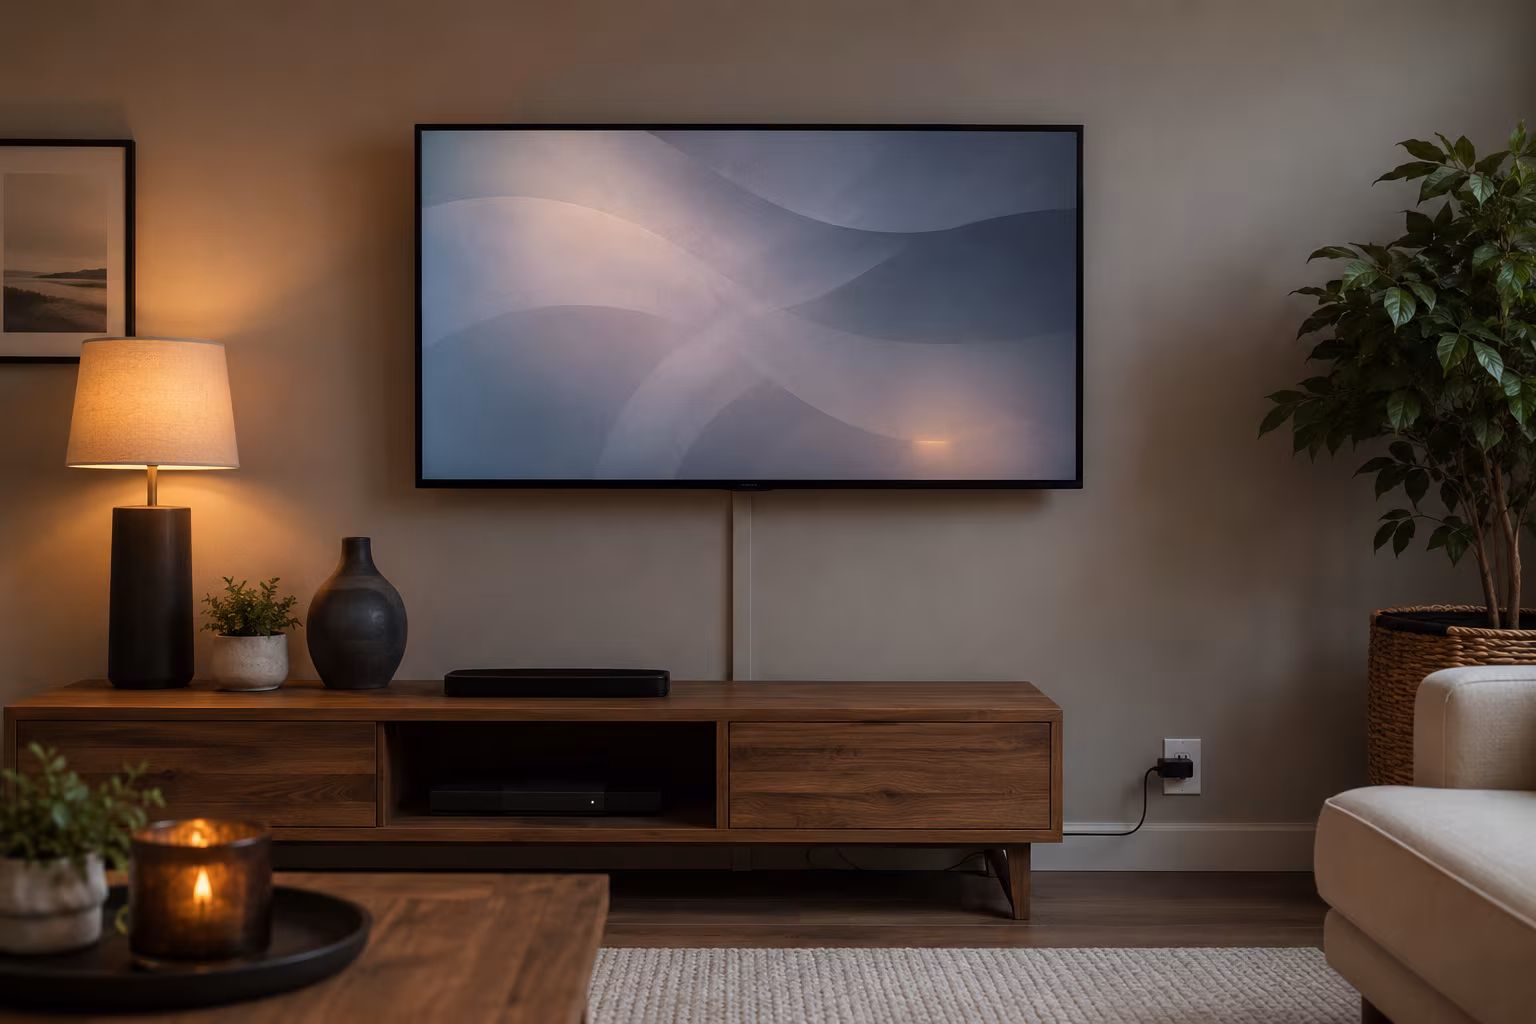
Hide TV Cable Clutter Renter-Safe Without Drilling
Hide a wall-mounted TV's cables without drilling: a paintable adhesive raceway to the outlet, a...
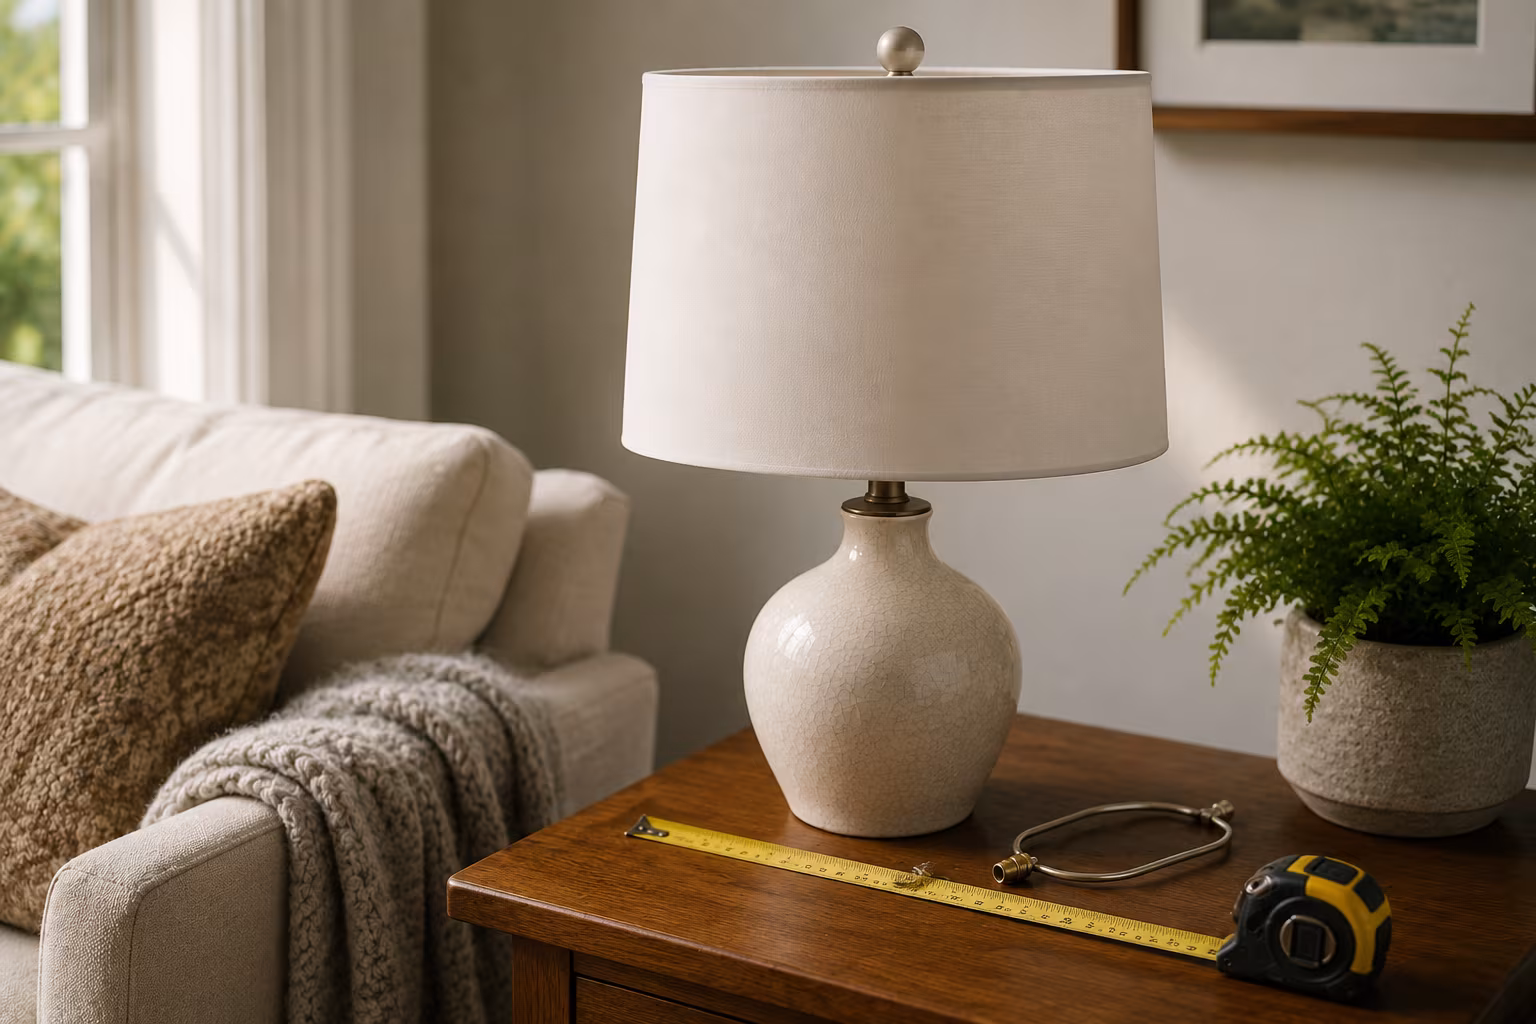
Lampshade Sizing: Harp, Bulb, and Drum Math Explained
Lampshade fit is three numbers: harp height near shade height, 3.5 inches of bulb clearance, and...
Color-Match Trim Paint to Existing Off-White Walls
Matching trim to aged off-white walls is about undertone, not lightness: cut a real chip, have...