Why Woven Wall Hangings Work Better Than Framed Art in Bedrooms
Why Woven Wall Hangings Work Better Than Framed Art in Bedrooms
You know that feeling when you're trying to make your bedroom a cozy sanctuary, but something just isn't quite clicking with the decor? Maybe you’ve got a framed print or a big canvas above your bed, and it looks nice, but it doesn't feel right. It’s a common decorating struggle, trust me.
I’ve definitely been there, staring at my bedroom wall, wondering why it felt more like a gallery and less like a hug. Turns out, the answer for me wasn't another framed piece, but something soft, something textile. Something woven.
Today, we're diving into why woven wall hangings are truly the unsung heroes of bedroom decor. We'll chat about the magic they bring to a space, why they beat out framed art every time for coziness, and then I’ll walk you through how you can easily make one yourself. Even if you think you’re not "crafty," you totally can. 👋
Why This Actually Matters
Your bedroom isn't just a place to sleep, right? It’s your quiet corner, your personal escape from the world. It’s where you start your day and where you unwind at night, so the vibe in there is super important.
I learned this the hard way. For years, I had a framed poster of a beautiful landscape above my bed. It was colorful, it was visually interesting, but sometimes I’d wake up and just feel… meh. It was pretty, but it felt a little cold, a little rigid.
We spend about a third of our lives sleeping, you know? That’s a huge chunk of time! So making sure that space feels utterly perfect, utterly calming, and utterly you is a big deal. It impacts your mood, your rest, and just how you feel in your own home.
When I finally swapped out that framed print for a woven wall hanging I’d made, the difference was immediate and surprising. The whole room just seemed to exhale. It felt softer, quieter, and so much more inviting.
It’s not just about aesthetics; it’s about creating a sensory experience. Framed art, with its glass and sharp edges, can sometimes contribute to a more formal or even stark feeling. Woven art, on the other hand, just radiates warmth and comfort, which is exactly what a bedroom needs.
Woven Magic: More Than Just Decor
So, what exactly is it about woven wall hangings that makes them so perfect for bedrooms? It comes down to texture, softness, and even sound. They just offer something framed art can’t, especially in a room meant for relaxation.
Think about it: a picture frame is hard. It's often glass, which reflects light, or a rigid canvas that's flat and smooth. It demands attention with its visual impact, sometimes feeling a bit like it's "on display."
Woven art, though? It’s all about fibers. It's chunky yarn, soft roving, natural cotton. It has depth, shadows, and a tactile quality that invites you to look closer and maybe even reach out and touch it. It’s cozy just to behold.
They’re not just pretty objects; they're pieces of comfort. They add a layer of organic texture that instantly softens a room, making it feel less like a showpiece and more like a warm embrace. That’s a game-changer for a bedroom, right?
The Secret Sauce of Softness
This "secret sauce" isn’t really a secret; it’s just good old textile science and human psychology. We're wired to find soft, natural textures comforting. It's why we gravitate towards plush blankets and comfy sweaters.
Imagine walking into a room with stark white walls and a single glass-framed picture. Now, imagine walking into that same room, but instead of the framed picture, there’s a big, fluffy, hand-woven tapestry. The feeling is totally different, isn't it?
The woven piece immediately adds a sense of warmth and invitation. It literally absorbs some of the "coldness" of the room, both visually and audibly. It’s pretty incredible how much impact a change like that can make.
- Sound Absorption - This might sound a little technical, but it’s a huge benefit for bedrooms. Fabric, especially thick, textured textiles, absorbs sound waves. If your bedroom ever feels a bit echo-y or noisy, a large woven piece on the wall can actually help dampen those sounds. It creates a quieter, more peaceful environment, which is perfect for sleeping or just chilling out. Framed art, with its hard surfaces, can actually reflect sound, potentially making a room feel louder.
- Tactile Comfort - Even if you’re not physically touching the wall hanging, just the sight of soft, pliable textures can make a space feel more inviting and relaxing. Our brains associate these textures with warmth, safety, and coziness. Think about the feeling a chunky knit blanket gives you versus a sleek, modern table. It’s that same subconscious comfort. Woven art taps into that primal need for softness.
- Visual Warmth - The varied textures, natural fibers, and often earthy or muted color palettes of woven pieces add an organic, cozy feel that flat, smooth art simply can't replicate. The way light hits the different strands of yarn creates subtle shadows and highlights, giving the piece a living, breathing quality. It adds a visual warmth that can transform a cold room into a comforting retreat. Framed art can be beautiful, but it often lacks this depth and softness.
These elements combine to create a bedroom atmosphere that actively promotes relaxation and comfort. It's not just about filling a blank space; it's about crafting an environment that supports your well-being. And honestly, isn't that what we all want from our bedrooms?
Crafting Your Calm: How to Make a Simple Wall Hanging
Okay, so you're thinking, "Sounds great, Laura, but I can barely sew a button, let alone weave something." I totally get it! I stared at my first weaving project for a good 15 minutes before I even knew where to begin. But trust me, you don't need a fancy loom or years of experience for this. We're going to make a simple piece that looks amazing and feels incredibly rewarding.
The beauty of this project is its forgiving nature. There's no "right" or "wrong" way for it to look, and every little imperfection just adds to its handmade charm. It's truly a craft where you can just relax into the process.
My first one was a total experiment, made with some leftover yarn and a stick I found in the park. It wasn't perfect, but it instantly brought so much personality to my space. Yours will too!
Step 1: Gathering Your Treasure Trove (supplies)
This is my favorite part – hitting the thrift store, or even your own backyard! You don't need to spend a ton of money to get started, and using upcycled materials makes it even more special.
For your dowel, look for a nice, straight branch in your yard or local park. Make sure it's dry and clean. You could also use a bamboo stick, a piece of dowel rod from the craft store, or even an old ruler.
For yarn, this is where thrift stores shine. Look for bags of yarn scraps, old sweaters you can unravel, or even chunky scarves you can cut into strips. Don't be afraid to mix and match colors and textures!
Beyond that, you'll need a sharp pair of scissors and a tapestry needle. These are big, blunt needles that are easy to thread with yarn. If you don't have one, a strong piece of wire bent into a loop can work in a pinch.
A comb or a fork can also be handy for pushing your rows of weaving down, but your fingers work just fine too. See? Super simple supplies!
Step 2: Setting up Your (no-loom) Loom
Alright, no fancy loom required here! We're going to make a super basic setup that's perfect for beginners. My go-to method is using a sturdy piece of cardboard.
Grab a piece of cardboard that's roughly the size you want your finished weaving to be, plus a few inches on either side. Cut small notches along the top and bottom edges, about 1/4 to 1/2 inch apart. These notches will hold your "warp" threads.
Now, take a strong piece of non-stretchy string – cotton kitchen twine works great. This is your warp thread. Tie one end to the first notch on the top, pull it down to the corresponding notch on the bottom, loop it around, and bring it back up to the next notch on the top. Continue this until all your notches are strung.
You're basically creating a simple frame of vertical lines for your weaving. Don't pull the warp too tight, or your finished piece will be distorted. Just snug. Secure the end, and you've got your "loom."
Another option is to simply tie your warp threads directly to your chosen branch or dowel, leaving enough length to tie them to a second stick later, or to loop them back up. This gives a very organic, free-form feel.
Step 3: Weaving Your First Rows (the Plain Weave)
Time to start weaving! This is where the magic happens. We're going to start with the most basic weave: the plain weave, also known as tabby weave. It's essentially an over-under pattern.
Cut a long piece of your chosen yarn – not too long, or it'll get tangled. Thread your tapestry needle. Now, starting from one side, pass your needle over the first warp thread, under the second, over the third, and so on, all the way across your warp.
Once you reach the end, gently push the yarn down with your fingers (or a comb) so it sits snugly at the bottom. Don't pull it too tight at the sides, or your weaving will start to pull in and get narrower. Leave a small loop at the edge, a bit like a gentle curve.
For the next row, you'll do the opposite. If you went over the last warp thread on the previous row, you'll now go under it. So it's under, over, under, over across the row. Keep alternating your over and under pattern for each row.
You’ll get into a rhythm, I promise! Just keep the tension even, and remember to gently push each row down. This basic weave will form the foundation of your wall hanging.
Step 4: Adding Texture and Fringe (the Fun Stuff)
Once you’ve got a few inches of plain weave, you can start experimenting with textures! This is where your woven piece truly comes to life and gains that lovely softness that framed art lacks. Don't be afraid to switch things up.
Try incorporating different types of yarn. Use a chunky wool roving for a few rows, then switch to a thinner cotton. You can even cut strips from an old t-shirt or an old pair of jeans to weave in – they add a wonderfully unique texture.
To add fringe within your weaving, you can use a technique called Rya knots. Cut several pieces of yarn, each about twice the length you want your fringe to be. Take two pieces, fold them in half, and loop them around a couple of warp threads, pulling the ends through the loop. This creates lovely little tassels that stick out.
You can create blocks of Rya knots, or scatter them throughout your design for a more whimsical look. This is also a great way to use up those smaller yarn scraps you have lying around!
Remember, there are no rules here. I love adding little bits of old t-shirts I've cut into strips, or even some rustic twine. You know that feeling when you just want to add more? Go for it! The more varied your textures, the richer your wall hanging will feel.
Step 5: Shaping Your Piece (getting Creative)
Don't feel like your weaving has to be a perfect rectangle! One of the beautiful things about hand-weaving is the ability to play with shape and form. Your piece can be organic and flowy, which adds to that soft, relaxed bedroom vibe.
To create a tapering effect or curves, you can stop weaving some sections while continuing others. For example, if you want your weaving to get narrower, simply stop weaving a few warp threads on each side for a few rows, then pick them up again later.
You can also weave sections that are higher or lower than others, creating little peaks and valleys. This adds incredible visual interest and movement to your piece, making it feel more dynamic and less rigid than a flat framed print.
My first one was a bit lopsided and definitely not symmetrical, but I just called it "organic" and everyone believed me. It truly embraced the handmade aesthetic. Let your intuition guide you here; sometimes the best designs emerge from just letting the yarn lead the way.
You can also create areas of open warp threads, leaving gaps in your weaving to show off the bare warp. This adds a lightness and airiness that can be very striking, especially when combined with chunky textures elsewhere.
Step 6: Finishing up (the Big Reveal)
This is the moment! Once you're happy with your weaving and it's reached the desired length, it's time to take it off your makeshift loom. This part can feel a little nerve-wracking, but it's really quite simple.
If you used a cardboard loom, carefully cut the warp threads at the bottom notches. Then, gently slide the loops off the top notches. Now you have your woven piece with loops of warp threads at the top and cut threads at the bottom.
Take the loops at the top and carefully thread your chosen branch or dowel through them. If your loops are too tight, you can carefully unthread them from the cardboard and re-tie them around the stick individually, securing each one with a knot.
For the cut warp threads at the bottom, you can tie them in small pairs or groups to create a natural fringe. Trim any uneven ends to your desired length. Some people like to leave the bottom warp threads long and just let them hang loose for a very minimalist fringe.
You can also knot these bottom threads to create tassels or decorative elements. This is your chance to really personalize the finish. Once it's all tied off and hanging on your stick, attach a strong piece of string or twine to each end of the stick for hanging.
Step back and admire your handiwork! Seeing your creation come to life, especially after you've put your own time and effort into it, is just the best feeling. It instantly transforms into a unique piece of art for your bedroom.
Making It Stick: Avoiding Common Weaving Woes
Like any new craft, weaving can have its little quirks and frustrations. But honestly, most of them come from trying to be too perfect or getting ahead of yourself. I've been there, pulling out rows of yarn because I thought it wasn't "right."
The biggest insight I can share, and it applies to almost any DIY project, is this:
"The best part of handmade? It doesn't have to be perfect. Its unique quirks tell your story."
That little crooked line or slightly uneven fringe isn't a mistake; it's a signature. Embrace it! It’s what makes your piece truly one-of-a-kind, totally different from anything you could buy in a store.
Here are a few common things that might trip you up and how to navigate them with ease.
Mistake 1: Too Much Tension. This is probably the most common beginner error. If you pull your weft (the yarn you're weaving with) too tightly, your weaving will start to pull in at the sides, creating an hourglass shape. It's frustrating to watch your beautiful rectangle turn into something else!
Solution: When you lay down a row of yarn, don't pull it taut. Instead, create a little arch or gentle curve with the yarn across the warp threads. Then, gently push it down. This gives the yarn enough slack to sit straight without pulling the sides in. Practice makes perfect here!
Mistake 2: Not Enough Texture. Sometimes, beginners stick to just one type of yarn or one color, and while it can be clean, it might lack that cozy, inviting depth. The goal here is a soft, warm vibe, remember?
Solution: Mix it up! Experiment with different weights of yarn – chunky wool next to thin cotton. Incorporate different materials like ribbon, fabric strips, or even raffia. Play with color gradients or bold color blocks. The more variety you introduce, the more visually interesting and tactile your wall hanging will be.
Mistake 3: Overthinking the Design. Trying to plan every single detail before you even start can stifle your creativity. You might get stuck trying to find the "perfect" pattern or color combination, leading to analysis paralysis.
Solution: Let it evolve naturally. Start with a basic plain weave, then just grab whatever yarn scraps speak to you in the moment. See what happens! Some of my favorite pieces have been born from just improvising as I go. It’s liberating, and often leads to the most unique results. Think of it as painting with yarn.
Mistake 4: Giving Up Too Soon. Weaving can be repetitive, and sometimes you just hit a wall. Maybe a section isn't looking right, or you're just not feeling it anymore. That's totally normal, and it happens to everyone.
Solution: Take a break! Step away from your project for an hour, a day, or even a week. I once put a half-finished piece in a drawer for a month because I just couldn't get the colors right. When I came back to it, I saw exactly what it needed. Fresh eyes often make all the difference. Don't be afraid to unravel a section if you truly hate it; it's just yarn, after all.
Frequently Asked Questions
Do I Need a Real Loom to do This?
Nope, absolutely not! I started with a piece of cardboard I cut from a moving box. You can even rig up a simple frame with some nails and a piece of scrap wood, or just use a couple of sticks. A "real" loom is for advanced projects, not for making cozy bedroom art.
What Kind of Yarn is Best for Beginners?
Honestly, whatever you have or can find cheaply! Acrylic yarns are super forgiving, affordable, and come in tons of colors. But don't be afraid to snip up an old cotton t-shirt, unravel a thrift store sweater, or use some rough twine. That's where the real texture and personality happens in my opinion.
What if My Wall Hanging Looks Messy or Uneven?
Oh, sweet friend, that's what makes it yours! Handmade pieces have character. It's not supposed to look machine-made and perfectly uniform. Embrace those little "happy accidents" – they tell the story of your creative process and give your piece a soulful, artistic feel. It’s part of the charm!
How Long does a Simple Wall Hanging Take to Make?
For a small piece, say 8x10 inches, you could probably whip it up in an afternoon, maybe 2-3 hours of focused weaving time. If you're going bigger or adding more intricate textures and fringe, it might be a weekend project you do in stages. But you can always pick it up and put it down!
Is This Really Budget-friendly, or Will I Spend a Fortune on Supplies?
This is one of my favorite budget-friendly crafts, truly! The core supplies can often be found for free or super cheap. Think fallen branches for dowels, yarn scraps from other projects or friends, or old clothes you'd otherwise donate. I made my first few pieces for under $10, including a thrift store bag of yarn and a stick from my backyard.
The Bottom Line
So, if your bedroom is feeling a little… rigid, a little cold, or just not quite the cozy haven you dream of, maybe it's time to swap out that framed print for something soft. Woven wall hangings don't just decorate a space; they transform it into a calming, comforting retreat, full of texture and warmth.
It's not about being a perfect weaver; it's about the act of creating something with your own hands that brings a sense of peace and personalization to your most intimate space. And trust me, that handmade touch makes all the difference.
Grab some yarn scraps, find a stick, and just play. You might be surprised at the cozy haven you create and how much more at home you feel in your bedroom. Happy weaving, friends! ❤️
Related Posts
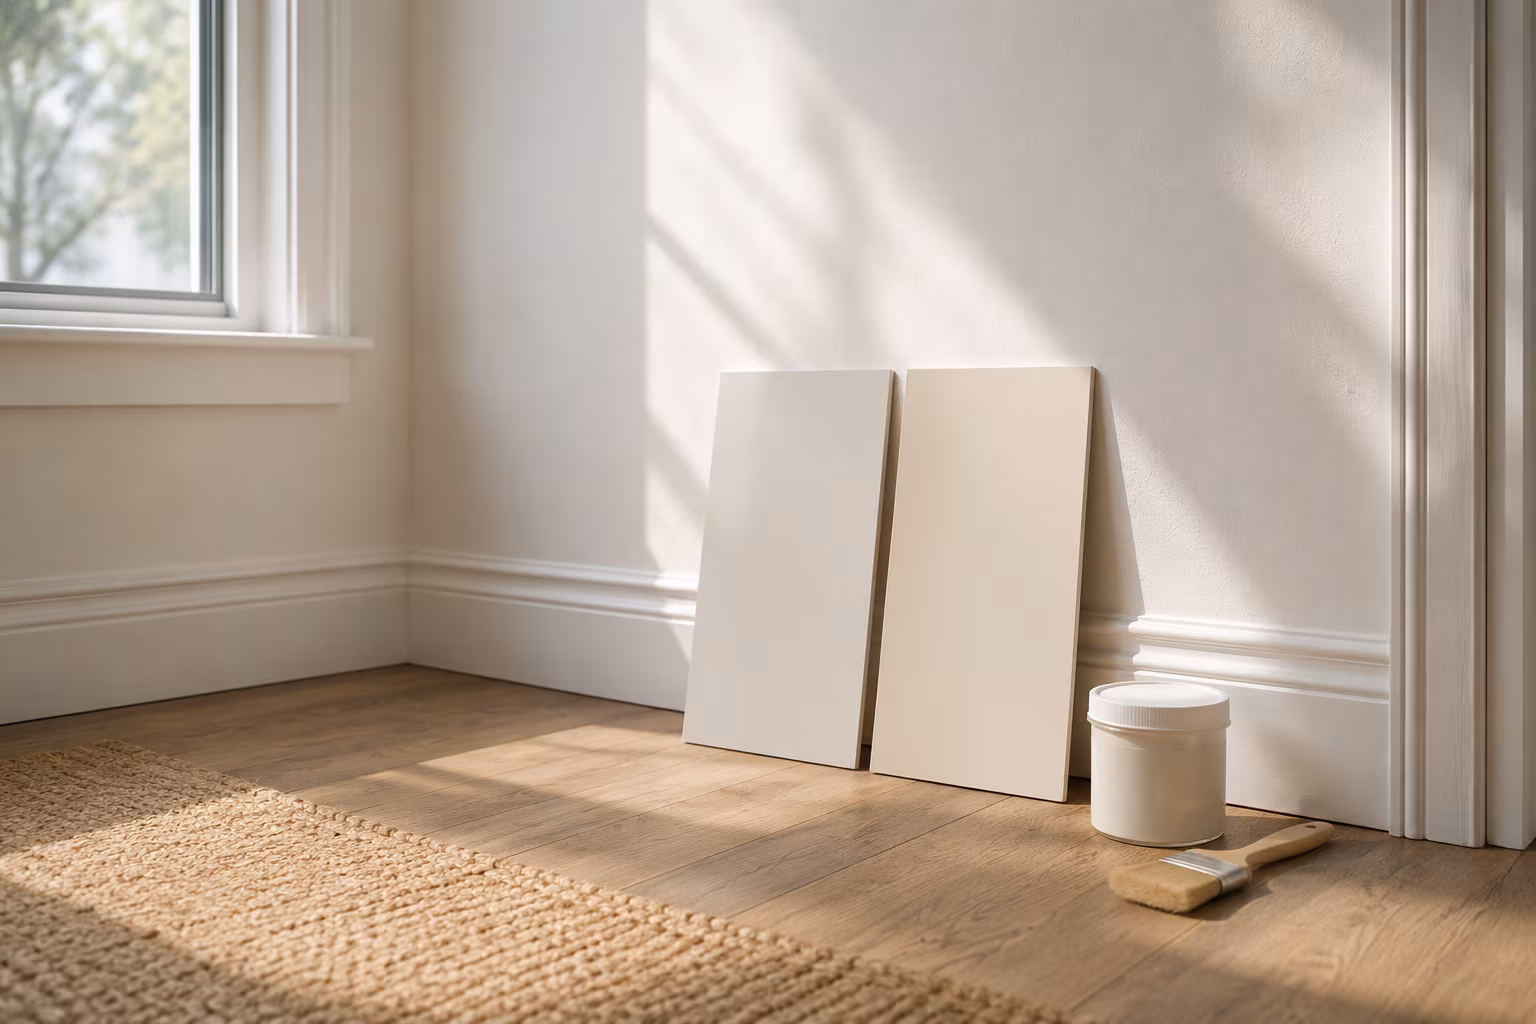
Color-Match Trim Paint to Existing Off-White Walls
Off-white walls hide three or four different undertones. The routine for matching new trim paint ...
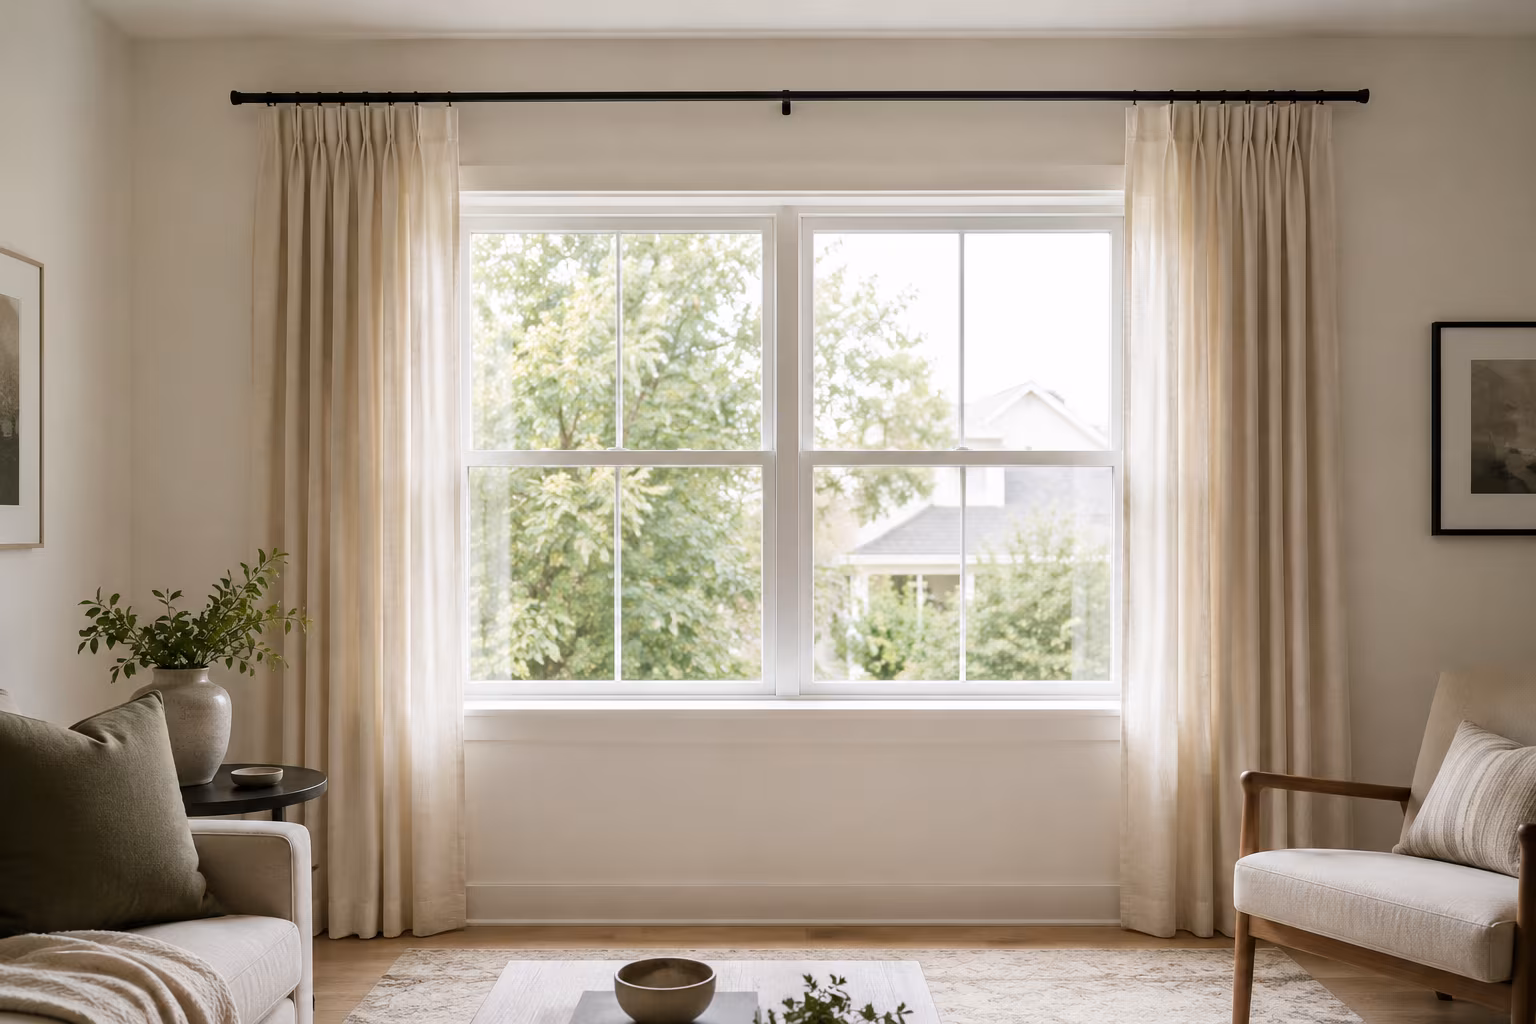
How Far to Extend Curtain Rods Past the Window Frame
How far the rod should reach past each side of the window, why the extension matters more than ro...
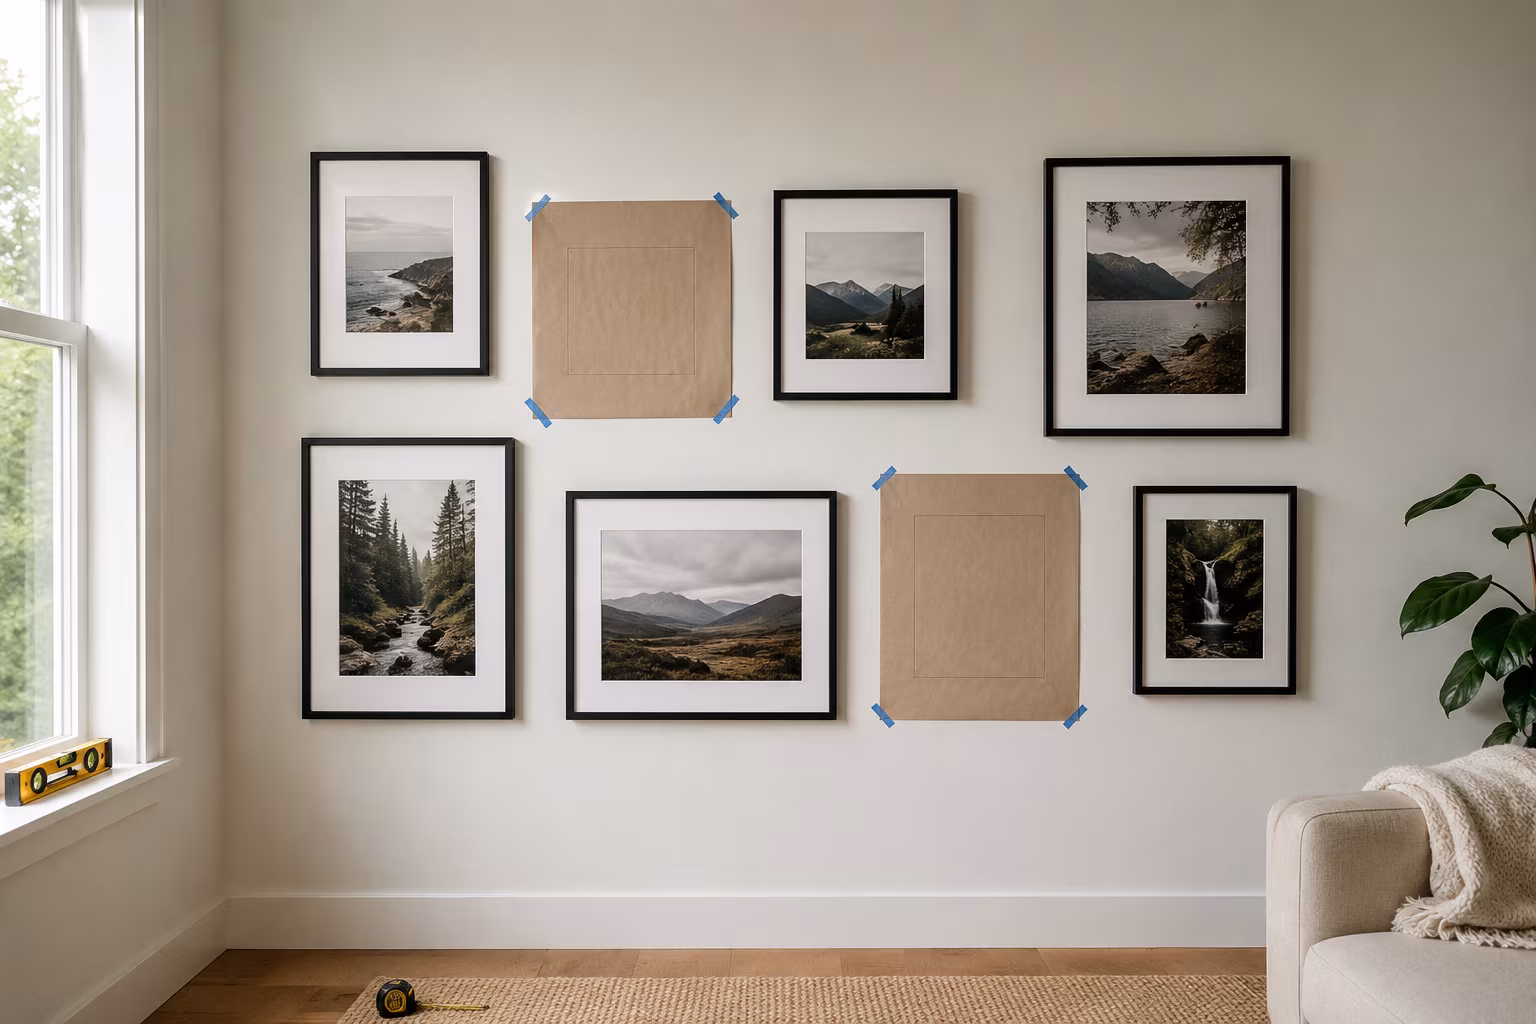
Gallery Wall Picture Spacing: The Repeatable Method
Stop eyeballing it — the exact spacing, center height, and paper-template routine that turns a pi...

The Secret to Making Your Home Smell Amazing Without Artificial Sprays
Tired of chemical-laden air fresheners? Learn how to fill your home with beautiful, natural scent...