
Bench Vise Sizing and Mounting for First-Time Buyers
The short answer
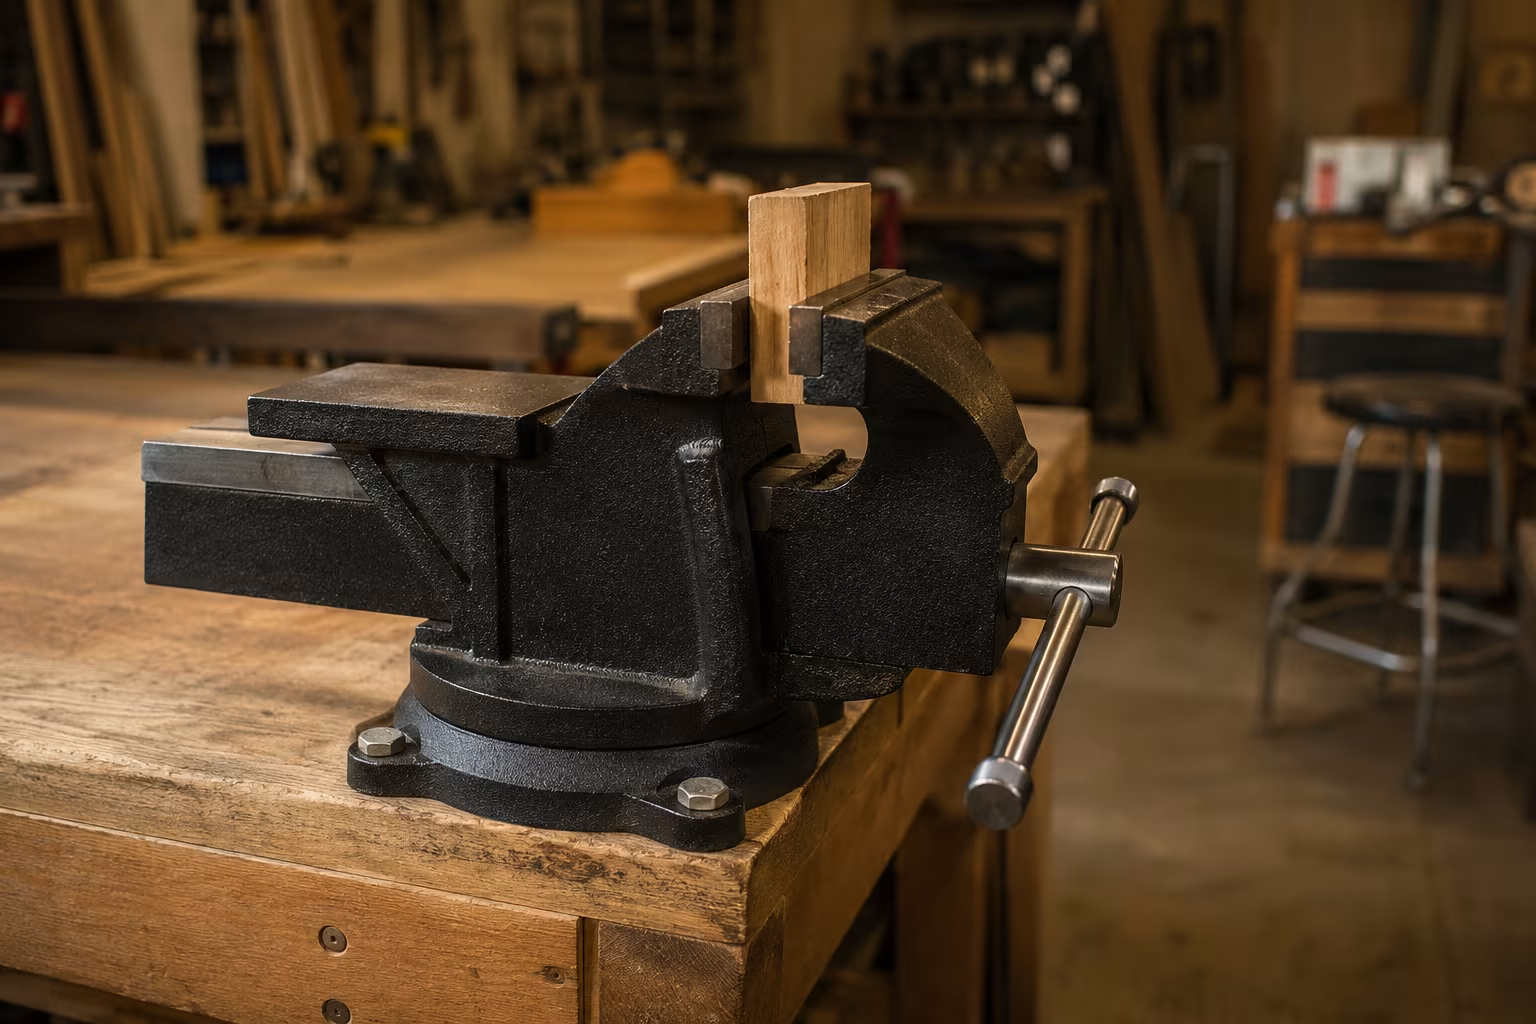
For most home workshop use, a 4-inch or 5-inch bench vise is the right size. The 4-inch handles smaller work and fits comfortably on most workbenches; the 5-inch covers heavier work without overwhelming the bench. Going larger (6-inch or above) is appropriate for shops doing significant metalworking on heavy structural pieces, but oversized vises take up bench space, weigh significantly more, and cost much more than smaller vises.
Mounting matters as much as size. A bench vise needs three or four 3/8-inch or 1/2-inch bolts through the bench top into a backing plate underneath. A bench top thinner than about 1-1/2 inches needs the backing plate (a piece of 2x6 lumber or 3/4-inch plywood) to distribute the load and prevent the bolts from pulling through. Without the backing plate, the bench top cracks or the bolts pull out the first time you really lean into the vise.
Skip the budget vises sold for under-$50. They look like the real thing but have cast-iron bodies that crack, jaws that twist when loaded, and screw threads that strip within months. A quality vise from Yost, Wilton, or Bessey costs more upfront but performs reliably for decades.
Sizing principles
Bench vise size is described by the jaw width — the length of the gripping surface in inches. A 4-inch vise has 4 inches of jaw width; a 5-inch vise has 5 inches; and so on.
Jaw width matters because it determines what work the vise can grip without overhanging the jaws. A 4-inch vise grips a piece up to 4 inches wide securely; pieces wider than the jaws can be held but with less stability.
The other relevant dimension is throat depth — the distance from the top of the jaw down to the screw spindle. Deeper throat allows holding tall pieces vertically. A 4-inch vise typically has 2-3 inches of throat; a 6-inch vise might have 3-4 inches.
For most home shop work:
4-inch vise. Right for small joinery, model making, jewelry work, small repairs, light metalwork. Fits on smaller workbenches without dominating them. Lower price point than larger vises.
5-inch vise. The most common size for general-purpose shop use. Handles most common work without the bulk of a 6-inch. The right starting choice for most first-time buyers.
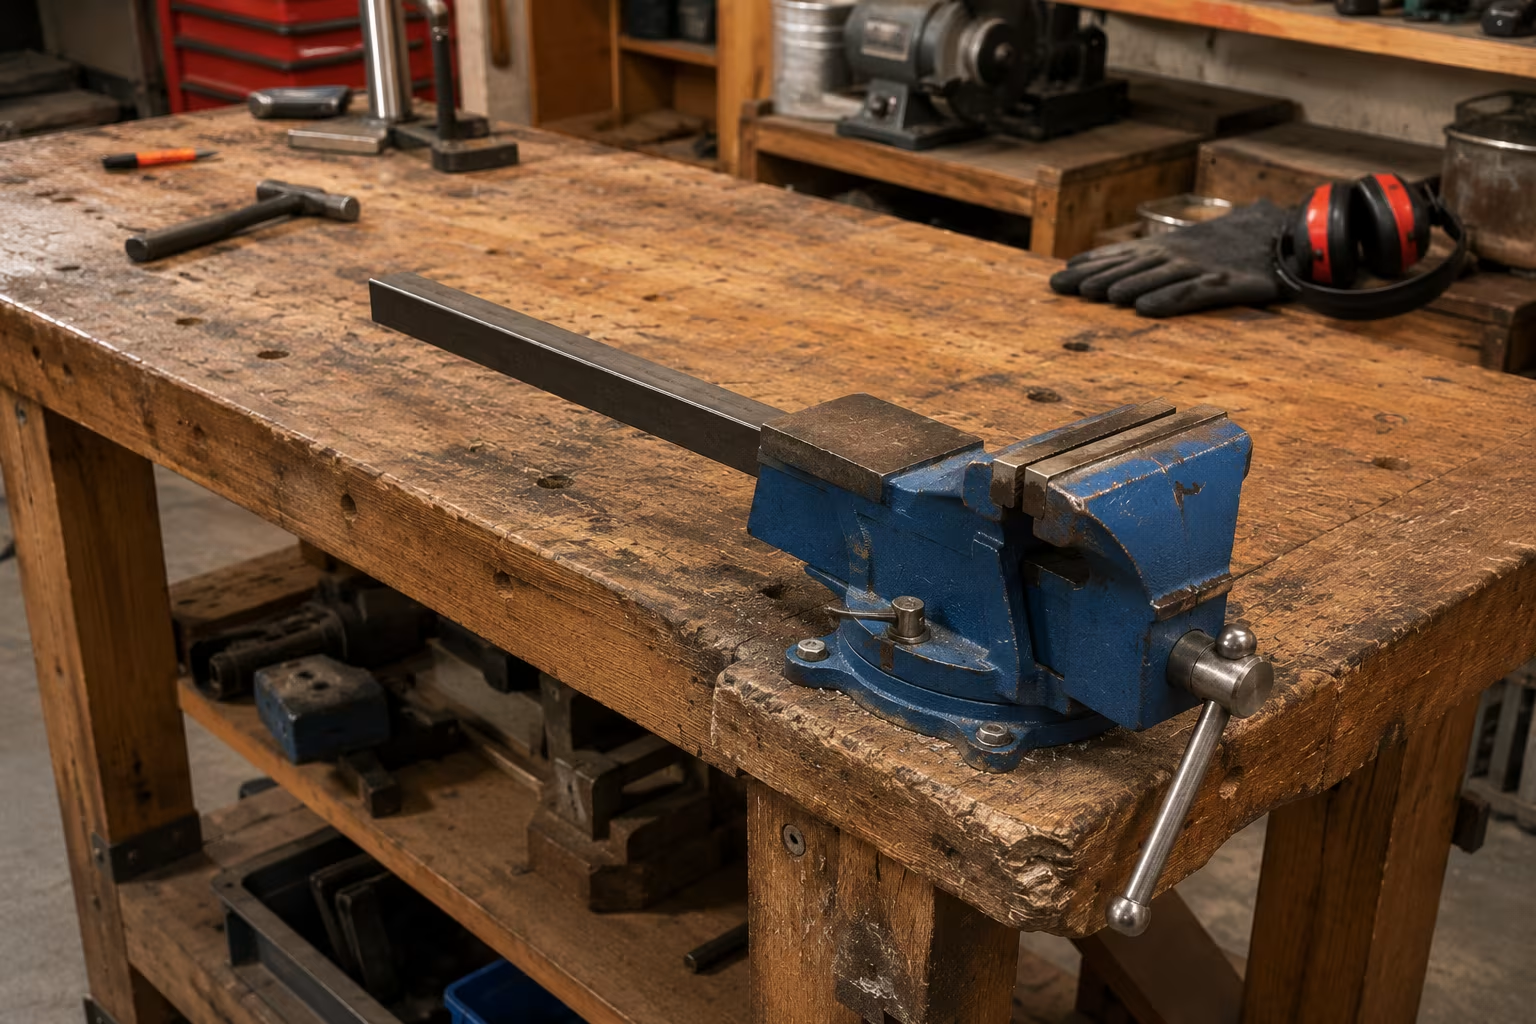
6-inch vise. Appropriate for shops doing significant metalwork (heavy steel pieces, welding work, structural fabrication). Takes more bench space; substantially heavier; substantially more expensive.
Above 6-inch. Specialized industrial use. Rarely needed in home shops. The mounting requirements escalate (heavier benches, larger bolts).
A common mistake is buying a larger vise than the work requires. The larger vise impresses but the daily use is identical to a smaller vise — and the bench space lost is significant.
Bench top considerations
The bench beneath the vise determines whether the vise mounts securely.
Bench top thickness. A 3/4-inch plywood bench top is too thin for a heavy vise without a backing plate. The vise's mounting bolts will pull through the plywood under load, or the plywood will crack around the holes.
For 3/4-inch tops, add a backing plate (a piece of 2x6 lumber or a thick plywood pad) underneath the bench, with the mounting bolts passing through both the top and the backing plate. The combined thickness distributes the load.
Bench top material. Plywood, MDF, solid wood, and steel all work as vise mounting surfaces. Solid hardwood and steel are the strongest. Plywood and MDF need backing plates for heavy use.
Bench top size. The vise mounting position needs to be at the corner or edge of the bench, not in the middle. The work being held in the vise extends past the bench edge; trying to work on a vise centered on the bench leaves no room for the work piece.
Bench stability. The bench itself needs to be heavy enough that vise forces do not move it. A light bench shifts when you lean into the vise; a heavy bench (or one bolted to the wall or floor) stays in place.
For first-time buyers building or buying a workbench specifically for vise use, the bench should weigh at least 150-200 pounds, have a 1.5-inch or thicker top, and be tall enough that the vise's top jaw sits at the user's elbow height.
Mounting hardware and technique
The mounting hardware determines whether the vise stays attached under heavy use.
Bolt size. 3/8-inch or 1/2-inch diameter bolts depending on the vise size. Smaller vises use 3/8-inch; larger vises use 1/2-inch. The vise's documentation specifies the bolt size.
Bolt length. Long enough to pass through the bench top, the backing plate (if used), and engage at least 3-4 threads on the nut. For a 1.5-inch bench top with a 1.5-inch backing plate plus the vise base, expect 5-6 inch bolts.
Bolt type. Hex-head bolts with washers under both the head and the nut. The washers distribute the clamping force without crushing the wood.
Backing plate. A piece of 2x6 lumber or 3/4-inch plywood under the bench top, aligned with the vise's mounting hole pattern. The backing plate is the load-distributing layer that prevents bolt pull-through.
Carriage bolts versus hex bolts. Carriage bolts have a round head and a square shoulder that locks into the wood; they install from below the bench top and tighten from above. Carriage bolts are the traditional choice for vise mounting because the upper surface stays clean. Hex bolts work fine if you have access from both sides during installation.
The mounting sequence: place the vise where you want it, mark the mounting holes through the vise base onto the bench top, drill through the bench top (and backing plate, if separate) at the marked positions, install bolts, tighten with washers on top and bottom.
A properly mounted vise can handle hundreds of pounds of force without movement. A poorly mounted vise (single bolt, no backing plate, soft bench top) fails under moderate use.
Vise quality and what it buys
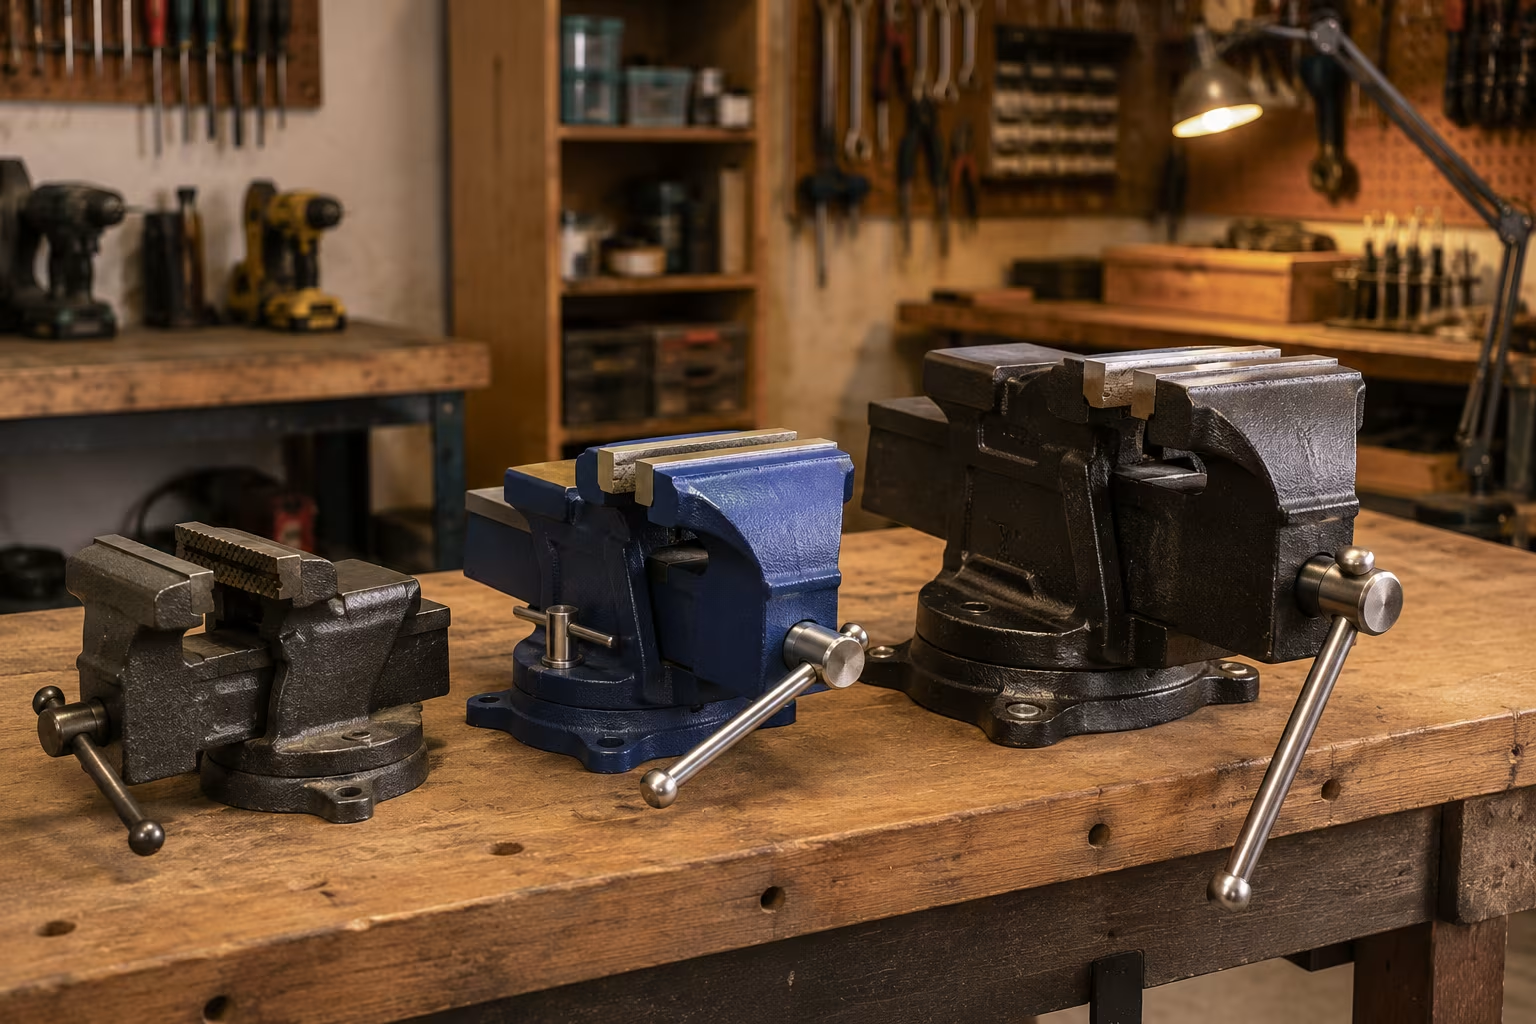
The vise market has products from $30 to $1000. The quality differences are real.
Budget vises ($30-$80). Cast iron body that may crack under impact, jaws that twist or misalign under load, screw threads that strip within months, no swivel base or limited swivel function. Acceptable for very light occasional use; fails under regular work.
Mid-tier vises ($80-$250). Ductile iron or steel body that handles impact, properly fitted jaws with even surfaces, hardened screws, full swivel base with locking. Yost, Bessey, Capri, and Forte are common brands in this range.
Premium vises ($250-$1000). Heavy-duty construction designed for daily professional use. Wilton, Reed, Yost premium lines, Eclipse, Charnwood. Lifetime tools.
For a first-time buyer in a typical home shop, mid-tier is the right starting point. The investment is moderate; the vise lasts decades of normal home use.
For comparison, the $30 vise that "looks like a real vise" gets replaced within a year of regular use, costing more total than buying mid-tier once.
Jaw inserts and protecting work
Bench vise jaws are hard steel with serrated surfaces. The serrations grip work pieces firmly but mark soft materials.
For work that should not be marked (finished wood, polished metal, plastic, soft material), use jaw inserts.
Magnetic soft jaws. Aluminum or brass faces with magnetic backing that stick to the steel jaws. Easy to install and remove. Protect soft materials.
Leather jaw covers. Soft leather flaps that drape over the jaws. Provide some protection; replaceable when worn.
Wood jaw caps. Custom-cut wood pieces clamped or attached to the jaws. Hold work without marking. Replaceable as they wear.
Plastic jaw inserts. Various commercial products. Lower cost than metal inserts; less durable.
For occasional soft-material work, the magnetic soft jaws are the most useful single accessory. Keep them in the vise drawer for the moments when steel-jaw marks would be unwelcome.
Swivel base versus stationary
Most quality bench vises have a swivel base — the vise rotates 360 degrees on its mount and locks at any angle. The swivel is useful: it lets you orient the work for best access without unmounting the vise.
Stationary vises (no swivel) are cheaper but less versatile. For a first vise, swivel is worth the small price premium.
The swivel locking mechanism is the weak point on many vises. Cheap vises have swivel locks that loosen over time, causing the vise to rotate under load. Quality vises have positive swivel locks that hold under heavy use.
When buying, test the swivel function in the store if possible. The swivel should rotate smoothly when unlocked and stay firmly in position when locked. Excessive play in either state is a sign of cheap construction.
Vise types beyond standard bench vises
The standard bench vise (with parallel jaws) is the most common. Several variations exist for specific applications.
Woodworking vises. Often mounted to the underside of the bench top, with large wooden jaws that protect work. The jaws move parallel to the bench length, allowing long pieces to extend along the bench. Specialized for woodworking; less useful for general purpose.
Drill press vises. Smaller vises designed to clamp to a drill press table. Hold work for drilling operations; not designed for heavy work.
Pipe vises. V-shaped jaws designed specifically for pipe and round stock. Some bench vises include pipe jaws below the standard jaws.
Anvil-back vises. Vises with a small anvil-style flat surface on the back of the body for light hammering work.
Multi-purpose vises. Combination tools including swivel base, pipe jaws, anvil, and other features in one product. Often a compromise (none of the functions are as good as a specialist tool) but useful in space-limited shops.
For first-time buyers, a standard bench vise with swivel base is the right choice. Specialty vises join the kit when specific work demands them.
Maintenance and care
A bench vise needs minimal maintenance but benefits from periodic attention.
Lubrication. A small amount of light oil on the screw threads keeps the screw turning smoothly. Apply annually or whenever the screw feels stiff.
Cleaning. Wipe down after dirty work. Wood dust, metal swarf, and finishing residues can accumulate in the threads and joints.
Jaw maintenance. Steel jaws develop wear and minor damage over years of use. Filing or grinding flat occasionally restores the gripping surface. Replacement jaws are available for most quality vises if the originals become severely worn.
Swivel base maintenance. Periodically check the swivel lock mechanism. Tighten any loose bolts; replace any worn parts.
Rust prevention. A vise in a humid shop will develop surface rust on uncoated surfaces. A light wipe with light oil prevents this. WD-40 is a common choice for quick wipe-downs.
A well-maintained bench vise lasts decades. The quality you buy initially plus the basic maintenance equals a tool that may outlast the owner.
Common bench vise mistakes
A few patterns separate vise success from vise frustration.
Buying too cheap. The budget vise fails early. Spending mid-tier once costs less over decades than budget vises repeatedly.
Mounting too lightly. Single bolts, no backing plates, soft bench tops. The vise comes loose under heavy use. Mount it as if you might lean your full weight into it.
Mounting in the middle of the bench. Work being held in the vise needs to extend past the bench edge. Center-mounting leaves nowhere for the work to go.
Using the vise as an anvil. Vises have anvil-style flat surfaces on some models, but hammering directly on the jaws or on parts of the vise not designed for impact damages the tool. Use a dedicated anvil for serious hammering.
Ignoring jaw alignment. Over years, the jaws may shift slightly out of parallel. Mis-aligned jaws hold work poorly. Check periodically and shim if needed.
A complete first vise setup
For a first-time buyer setting up a shop with a bench vise:
- A mid-tier 5-inch bench vise with swivel base from Yost, Bessey, or similar
- Four 3/8-inch hex-head bolts long enough to pass through bench top plus backing plate
- Washers for both ends of each bolt
- A piece of 2x6 lumber or 3/4-inch plywood as a backing plate
- Magnetic soft jaws for soft-material work
- Light machine oil for lubrication
The total investment is moderate. The vise should last 25-40+ years of typical home shop use. Few shop investments pay back as well over time.
Specialty bench vise applications
Beyond the standard bench vise, several specialized vises serve specific needs.
Woodworking-specific vises mount to the underside of the bench and have large wooden jaws that protect work. Popular for cabinet making and fine woodworking. The Veritas, Lee Valley, and Lie-Nielsen lines are highly regarded.
Machinist's vises are precision-ground vises with parallel jaws for metalworking. The jaws move precisely parallel under load, allowing precise machining work. More expensive and more precise than general bench vises.
Welding vises have heat-resistant features and often include heavy-duty anvil work surfaces. Designed for welding and metalworking shops.
Drill press vises clamp to a drill press table. Hold work for precise drilling operations. Smaller and lighter than general-purpose vises.
For a typical home shop, a general-purpose bench vise serves 90% of needs. Specialty vises join the kit when specialty work demands them.
Bench vise from inheritance or used purchase
Many home shops inherit a bench vise from a previous owner or family member. An old quality vise is often worth restoring.
Inspection: cracks in the body indicate serious damage. Surface rust and stuck threads are usually fixable.
Cleaning: penetrating oil on threads, gentle cleaning of all surfaces, light filing or grinding to restore minor jaw damage.
Lubrication: light oil on screw threads and pivots.
Mounting: install on the current bench properly with backing plate as described above.
A decades-old Wilton or Reed vise in functional condition is worth more than most current production vises. Restoration is rewarding and saves significant money compared to buying premium new.
For someone considering used vises, look for cast steel or ductile iron construction (not cheap cast iron that may have hidden cracks), full swivel function, and intact jaw faces. These signal a quality vise worth bringing back into service.
Vise sizing and mounting:
| Decision | Answer | Note |
|---|---|---|
| Size | 4-in (small work) or 5-in (heavier) | 6-in+ only for serious metalwork |
| Bolts | three or four 3/8 or 1/2-in through-bolts | never lag screws alone |
| Thin tops (<1.5 in) | backing plate: 2×6 or 3/4-in ply | spreads the load |
| Budget floor | skip vises under $50 | castings crack under real force |
Related Posts
Workshop Air Compressor Sizing: CFM and SCFM
Air compressor matched to your tools means smooth work; too small means constant waiting. CFM...

Workshop Dehumidifier Sizing for Tool Rust Prevention
Tools rust silently when shop humidity sits over 60%. The pint capacity that matches your shop...
Soundproofing a Basement Workshop on a Renter's Budget
Basement shop noise traveling up to the family room is how you lose workshop privileges. The...
Workshop Lighting Without Glare on Finished Surfaces
Bright workshop light reveals detail and bounces off fresh varnish into your eyes. The diffused...
Comments
No comments yet. Be the first to share your thoughts!