
Workshop Lighting Without Glare on Finished Surfaces
The short answer
Workshop lighting that does not glare uses three principles: diffused (not bare-bulb) light sources, indirect lighting that bounces off ceilings or walls before reaching work surfaces, and color temperature in the 4000-5000K range with high color-rendering-index (CRI 90+) fixtures. The combination produces bright shadow-free illumination without the harsh reflections that bare LED strips create on glossy varnished or wet finish surfaces.
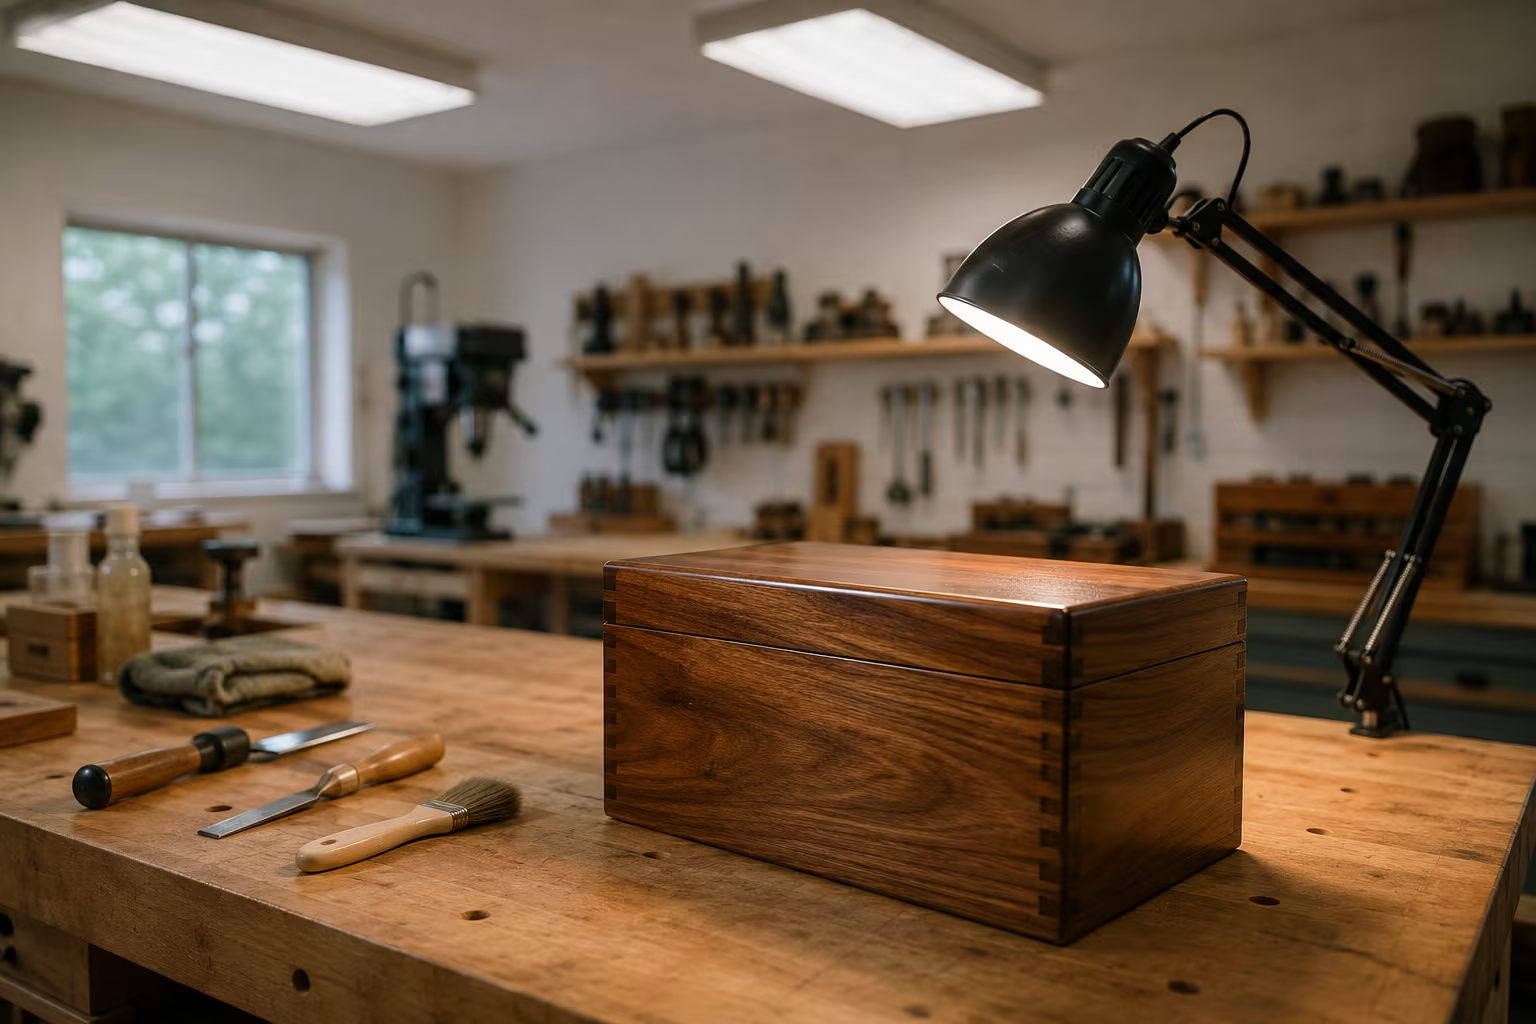
The single most impactful upgrade for most existing shops is replacing bare strip lights with LED fixtures that have prismatic or frosted diffuser lenses. The lens spreads the light across a wider area, soft-edges the shadows, and dramatically reduces the mirror-like reflections off finished surfaces. Cost is moderate; the visual comfort improvement is immediate.
For shops doing significant finish work, add a few indirect ceiling-bounce fixtures or wall-mounted lights that project light upward against the ceiling. The bounced light gives a soft general illumination that complements direct task lighting without competing with it.
Why glare matters in a workshop
Bright unfiltered light on a flat finished surface (varnish, lacquer, polyurethane, paint, even sanded bare wood) reflects back into the eye as a bright hot spot. The reflection is bright enough to wash out visual detail in the surrounding area.
The practical consequences:
Cannot see flaws. A small bubble in the varnish, a dust nib, a subtle scratch all become invisible when the bright reflection dominates the view. You miss problems that need fixing.
Eye fatigue. Persistent bright reflections cause the eyes to constantly adjust between bright and normal levels. After an hour of fine work, the eyes are tired and the work suffers.
Color perception distortion. Bright reflections shift apparent color of the surface beneath. A piece of wood that looks one shade under glare looks different under proper diffused light. Color-matching becomes unreliable.
Inconsistent finish quality. Surfaces look fine in glare but reveal imperfections under softer light when the piece is delivered to its eventual home. The shop quality bar drops to whatever the glare hides.
For shops that primarily produce structural work (framing, rough carpentry, basic builds), glare matters less. For shops doing finish work, cabinetry, fine furniture, or any project where surface quality is the point, glare is the enemy of quality.
Diffused fixtures versus bare LEDs
The cheap LED shop lights sold at home improvement stores often have bare LED strips visible behind a clear plastic cover. The clear cover transmits virtually all the light but does nothing to diffuse it. The result is bright direct light with visible hot spots from each LED chip.
Diffused fixtures use one of several techniques to spread the light:
Frosted or matte diffuser lenses. Translucent plastic that the light passes through. Spreads the light over a larger area, soft-edges the shadows, hides the individual LEDs from view. The most common diffuser type.
Prismatic lenses. Plastic with small angled facets that refract light in multiple directions. More expensive than frosted; produces similar diffusion with slightly higher light efficiency.
Indirect reflective fixtures. The LEDs face up or sideways into a reflector cup, and light exits through a diffuser. The LEDs themselves are not directly visible from the work area; only the reflected diffused light reaches the work surface.
When shopping for shop lights, look for descriptions like "diffused lens," "frosted cover," or "prismatic optics." Avoid descriptions like "high lumen output" without diffusion (the high lumens go straight into reflections rather than even illumination).
The cost difference between bare and diffused fixtures is moderate. The lighting quality difference is significant.
Color temperature for shop work
Color temperature describes the warmth or coolness of light, measured in Kelvins.
2700-3000K (warm white). The traditional incandescent appearance. Pleasant for living areas. Too warm for most shop work — colors look slightly yellow-shifted and fine detail blends together.
3500-4000K (neutral white). A good middle ground for general shop use. Colors appear close to natural; the light feels neither warm nor cold.
4000-5000K (cool white / daylight white). The recommended range for most workshop applications. Colors appear neutral-to-slightly-cool, fine detail shows clearly, the light feels alert and focused.
5000-6500K (daylight). Closely matches natural daylight. Best for color-critical work (paint matching, finish work where exact color matters). Some people find the bluer light cold or fatiguing for long sessions.
Above 6500K. Too cool for most applications. The blue cast distorts color perception and feels harsh.
For a general home shop, 4000K is the sweet spot. Add 5000K task lighting for color-critical work areas if needed. Avoid mixing dramatically different color temperatures in the same shop — the contrast creates visual disorientation.
Color Rendering Index (CRI)
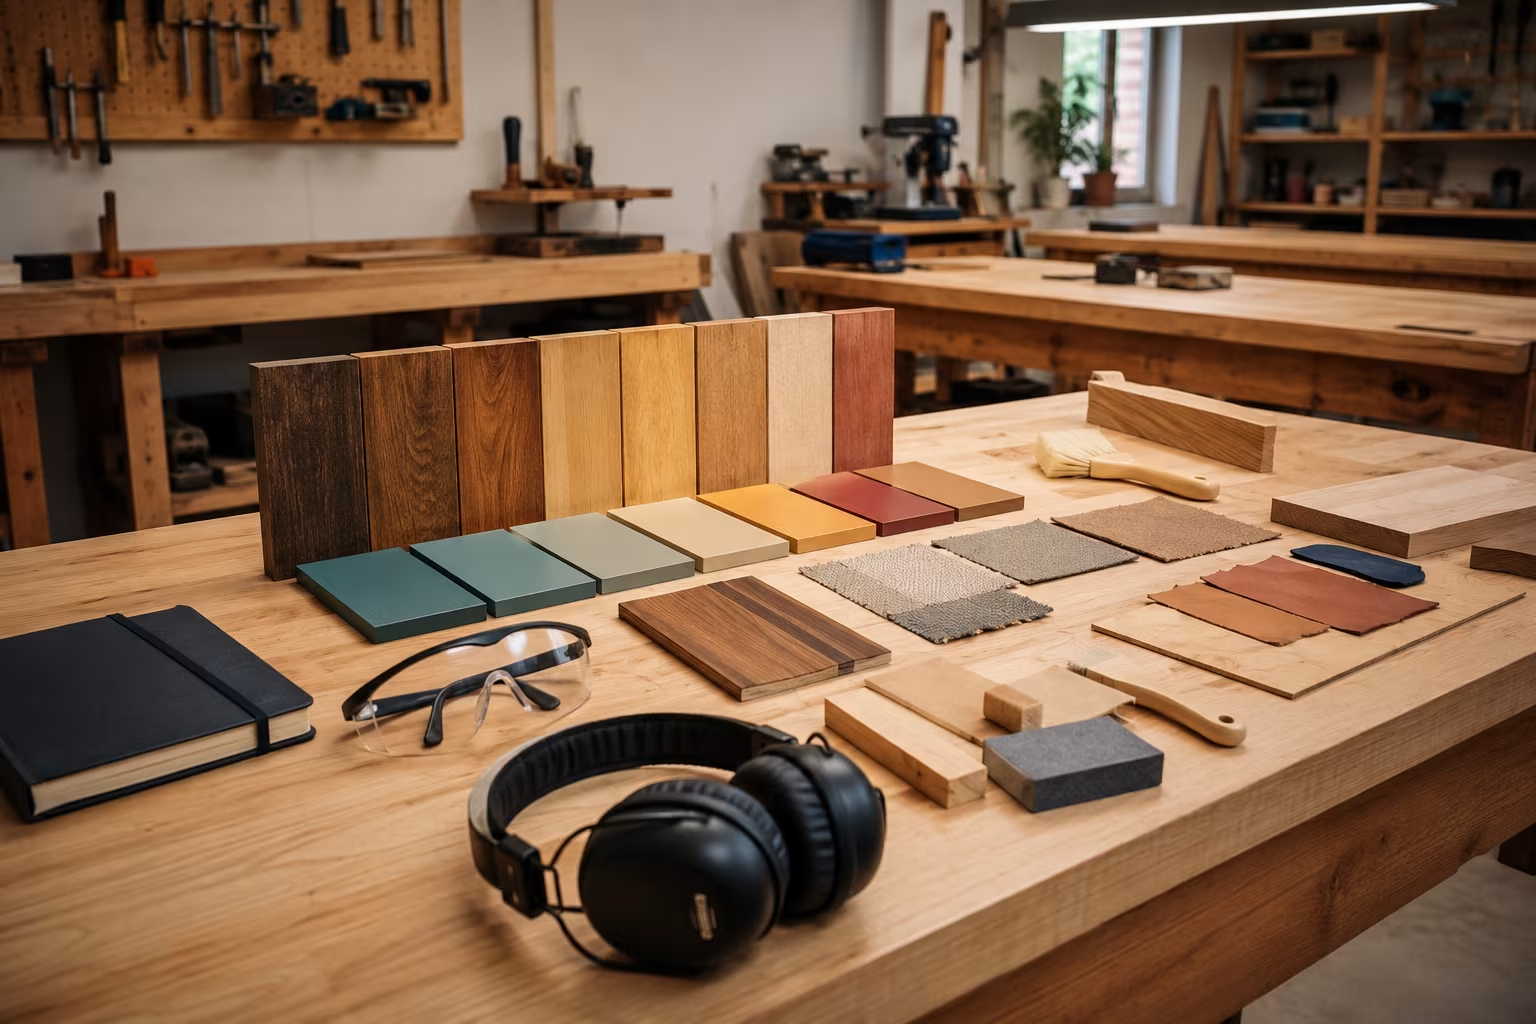
CRI measures how accurately a light source renders colors compared to natural sunlight. Maximum is 100 (sunlight); minimum acceptable for general use is around 80.
For workshop applications, CRI 90+ is the right target. The difference between CRI 80 and CRI 90 is visible to the naked eye when matching colors — at CRI 80, slight color shifts appear in fine work; at CRI 90+, colors render accurately.
Most basic LED shop lights have CRI 70-80. Premium fixtures (and most "high-CRI" marketed lights) achieve 90+.
For finish work specifically, CRI 95+ is the gold standard, equivalent to high-end photography and art studio lighting. The cost premium is real but the color accuracy is significant.
Layered lighting design
A shop lit well uses multiple layers of light rather than one giant ceiling fixture.
Ambient (general) lighting. Ceiling-mounted LED strips or panels providing baseline illumination across the entire shop. Sized to provide about 50-100 foot-candles at the work height.
Task lighting. Smaller fixtures positioned directly over specific work stations. Adjustable arm lamps over benches, undercabinet lights over countertops, ring lights for precision work. Provides 100-300 foot-candles at the immediate work surface.
Indirect lighting. Ceiling-bounce or wall-bounce fixtures that soften the overall light environment. Reduces shadow contrast, fills in dark corners.
Specialty lighting. Color-corrected task lamps for finish work, magnifier lamps for fine assembly, headlamps or movable spotlights for hard-to-reach areas.
The layered approach lets you adjust lighting to the task. Heavy framing work: ambient lighting alone is enough. Fine finishing: task plus indirect plus the right color temperature for color matching.
For a small home shop, two layers (ambient + task) cover most needs. Larger or more diverse shops benefit from all four layers.
Fixture types and where they belong
Different shop areas suit different fixture types.
4-foot LED shop lights. The standard ambient lighting for residential workshops. Two or three across a typical garage ceiling provide adequate general illumination. Look for diffused lenses, 4000-5000K color temperature, 4000+ lumens per fixture.
Recessed can lights with LED retrofits. For shops with finished ceilings (basement workshops, attic shops), recessed cans work well. The LED retrofit bulbs available now produce shop-appropriate light with low profile.
LED panel fixtures. Larger flat panels (2x2 feet or 2x4 feet) that mount flush to ceilings or hang in drop ceiling grids. Provide excellent diffused output. Higher cost than strip lights but cleaner installation.
Strip lighting under cabinets and along workbenches. Adhesive-backed or channel-mounted LED strips that light the work surface directly. Excellent task lighting at the workbench. Look for strips with built-in diffusers.
Articulated task lamps. Desk-lamp-style fixtures with adjustable arms. Position over specific work areas. Excellent for fine work, color matching, and any task requiring precise illumination.
Headlamps and clip-on lights. Portable lighting that follows you to work locations. Useful for working inside cabinets, in corners, or anywhere ambient lighting cannot reach.
The mix that works for most shops: 4-foot LED shop lights for ambient, articulated lamps over workbenches for task, undercabinet strips at finish workstations.
Glare reduction strategies for existing shops
If you already have a shop and want to reduce glare without replacing every fixture, several upgrades help.
Add diffusers to existing fixtures. Stick-on diffuser panels or replacement covers for many shop light models. Lower cost than replacement fixtures; significant improvement in glare.
Bounce light off the ceiling. Aim some fixtures upward at the ceiling instead of directly at the work area. The ceiling spreads the light and reflects it back as diffused illumination. Requires ceiling that is relatively light-colored (white or off-white) to reflect well.
Use light-coloured walls. Light walls bounce light around the shop. Dark walls absorb light, requiring more direct light to compensate. Painting shop walls a light color is a cheap visual upgrade with real lighting benefits.
Add a finish-work station with controlled lighting. A dedicated area for finish inspection and color matching, with high-CRI lighting at the right color temperature. Even if the rest of the shop has compromised lighting, the finish area provides accurate visual conditions.
Remove unnecessary reflective surfaces. Polished concrete floors, glossy painted walls, large mirrors all create extra reflections. Adding matte finishes or fabric panels reduces the reflective surface area.
A practical lighting upgrade path
For someone with existing budget shop lighting wanting to improve:
Phase one (small budget). Add diffuser panels to existing fixtures. Add one or two articulated task lamps over the main workbench. Paint shop walls light gray or off-white.
Phase two (moderate budget). Replace cheapest fixtures with mid-tier diffused LED shop lights. Add undercabinet strip lighting at the workbench. Add a high-CRI lamp at the finish station.
Phase three (significant upgrade). Replace remaining lighting with high-CRI LED panel fixtures. Add indirect ceiling-bounce lighting at finish work areas. Add dimmable controls for ambient lighting.
The upgrade does not need to happen all at once. Each phase improves the shop visibly; the cumulative improvement over years transforms a basic shop into one optimized for quality work.
Common lighting mistakes
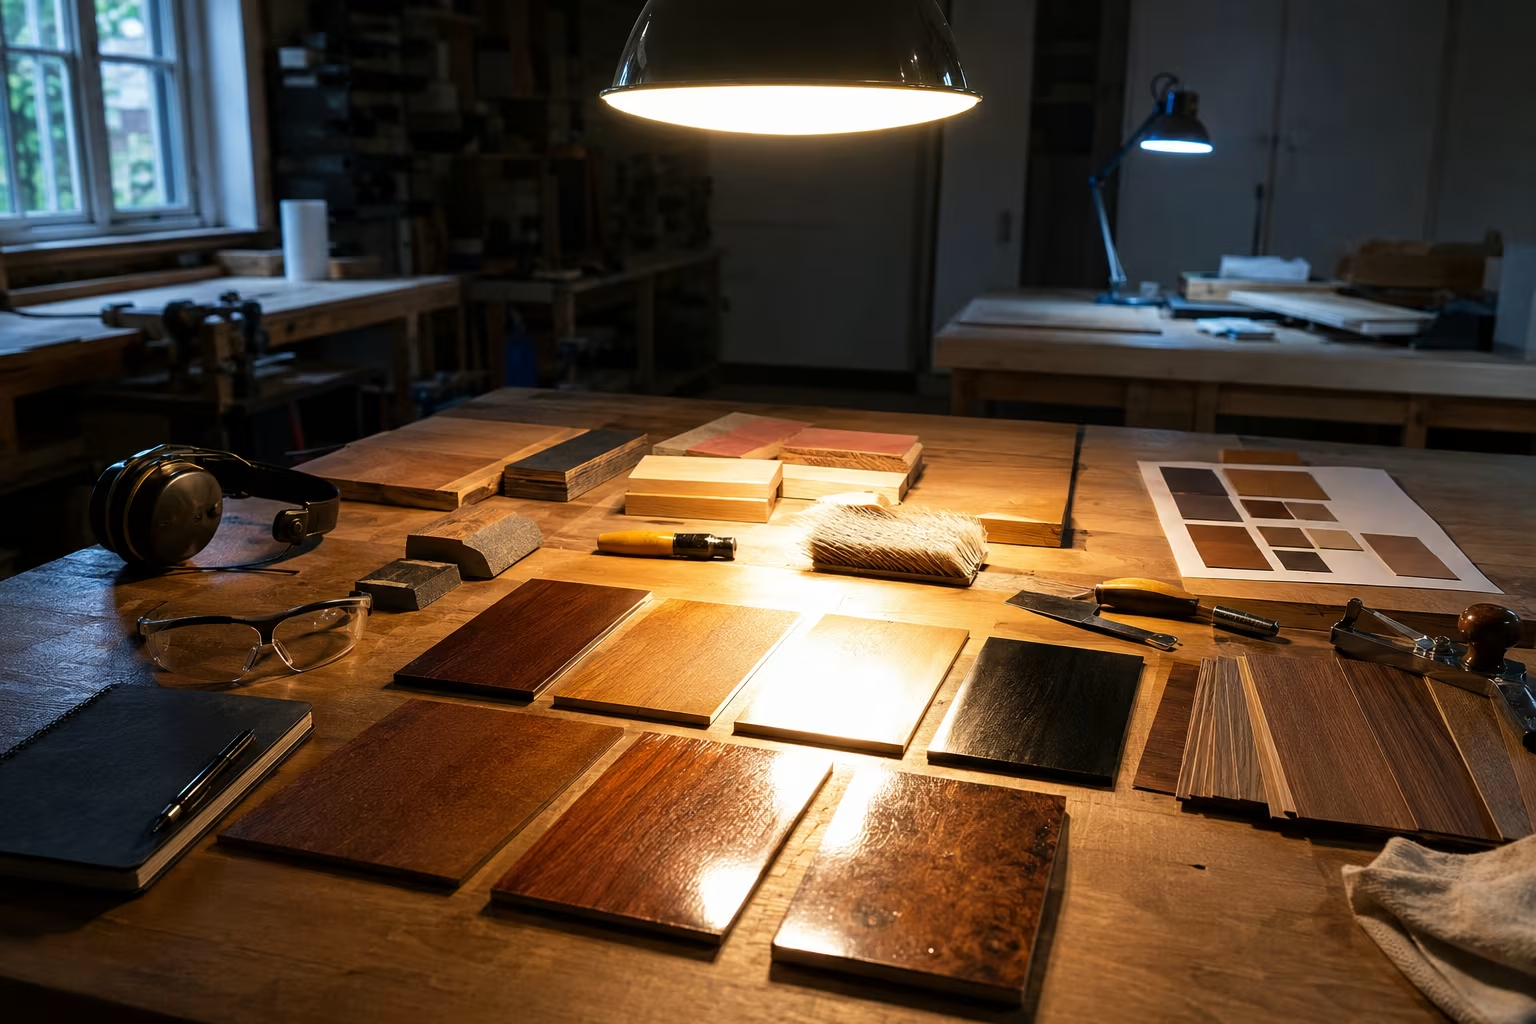
A few patterns separate good shop lighting from poor.
One giant bright fixture in the middle. Maximum lumens in one spot; harsh shadows everywhere else. The distributed lighting approach gives better visibility with less glare.
Mixing radically different color temperatures. A 3000K fixture next to a 5000K fixture creates competing color zones. Pick a target color temperature and use it consistently.
Skipping task lighting. Ambient ceiling lighting alone leaves shadows from the worker's own body during fine work. Task lights at specific work areas eliminate those shadows.
Ignoring CRI. Lights with CRI 70 produce slight color shifts that matter on finish work. Spending more on high-CRI fixtures pays back in finish quality.
No dimming. Some shop tasks want bright light; others want softer light for inspection or comfort. Dimmable controls allow adjustment; non-dimmable systems force a single level.
Long-term lighting investment
Shop lighting is one of the longer-lived shop investments. Quality LED fixtures last 50,000+ hours, which translates to 10-25 years of typical shop use.
Investing in quality lighting once pays back across that lifespan. Cheap fixtures with replaceable bulbs accumulate replacement cost; integrated LED fixtures avoid the recurring bulb purchase but commit to the fixture for its lifespan.
The right approach for most shops: invest in mid-tier to premium fixtures during initial setup or major remodels; live with the resulting lighting for years; upgrade incrementally as fixtures reach end of life.
The visual comfort and finish quality improvements compound over years. A shop with great lighting from year one produces better work for the entire time the shop exists.
Lighting for video and photography in the shop
For shops where photographing or videoing the work matters (instructional content, business documentation, social sharing), lighting design considerations expand.
Key light. A primary light source that illuminates the subject. Often a softbox or large diffused panel positioned at 45 degrees to the work.
Fill light. A secondary lower-intensity light from the opposite side that softens shadows from the key light. Often half the brightness of the key.
Background light. A separate light on the background that adds depth and separation from the subject.
For still photography of finished work, all three lights run during the photo session and turn off afterward. The lighting can be packed and stored when not in use.
For consistent shop documentation, fixed overhead lighting matters more. A shop with well-designed permanent lighting (CRI 90+, color-balanced, soft diffused) produces consistent photos and videos throughout the year.
Skylights and natural light
For shops with the option of skylights or large windows, natural light contributes significantly during daytime hours.
Skylights provide diffused overhead light that mimics what fluorescent fixtures attempt to create. Several skylights distributed across a roof give even daylight illumination through most of the day.
Large north-facing windows provide the most consistent natural light (north light does not vary as dramatically through the day as south or east/west light). Artist studios traditionally face north for exactly this reason.
Natural light limitations: it varies through the day, disappears at night, and changes color temperature from morning to evening. Permanent shop lighting must supplement natural light, not replace it.
For shops with significant natural light, the artificial lighting design should complement rather than compete with the natural sources. Position artificial lights to fill the areas natural light does not reach; turn them off when natural light is sufficient.
Kelvin bands for a workshop:
| Band | Name | Use |
|---|---|---|
| 2700–3000K | warm white | living spaces, not benches |
| 3500–4000K | neutral white | good general shop light |
| 4000–5000K | cool / daylight white | detail and finish inspection |
| 5000–6500K | daylight | color-critical checks |
| Principle | diffused + indirect beats bare bulbs | glare hides finish flaws |
Related Posts
Workshop Air Compressor Sizing: CFM and SCFM
Air compressor matched to your tools means smooth work; too small means constant waiting. CFM...

Workshop Dehumidifier Sizing for Tool Rust Prevention
Tools rust silently when shop humidity sits over 60%. The pint capacity that matches your shop...
Bench Vise Sizing and Mounting for First-Time Buyers
Bench vises bolted to scrap plywood pull right out. The right size for the work, the right...
Soundproofing a Basement Workshop on a Renter's Budget
Basement shop noise traveling up to the family room is how you lose workshop privileges. The...
Comments
No comments yet. Be the first to share your thoughts!