
Soundproofing a Basement Workshop on a Renter's Budget
The short answer
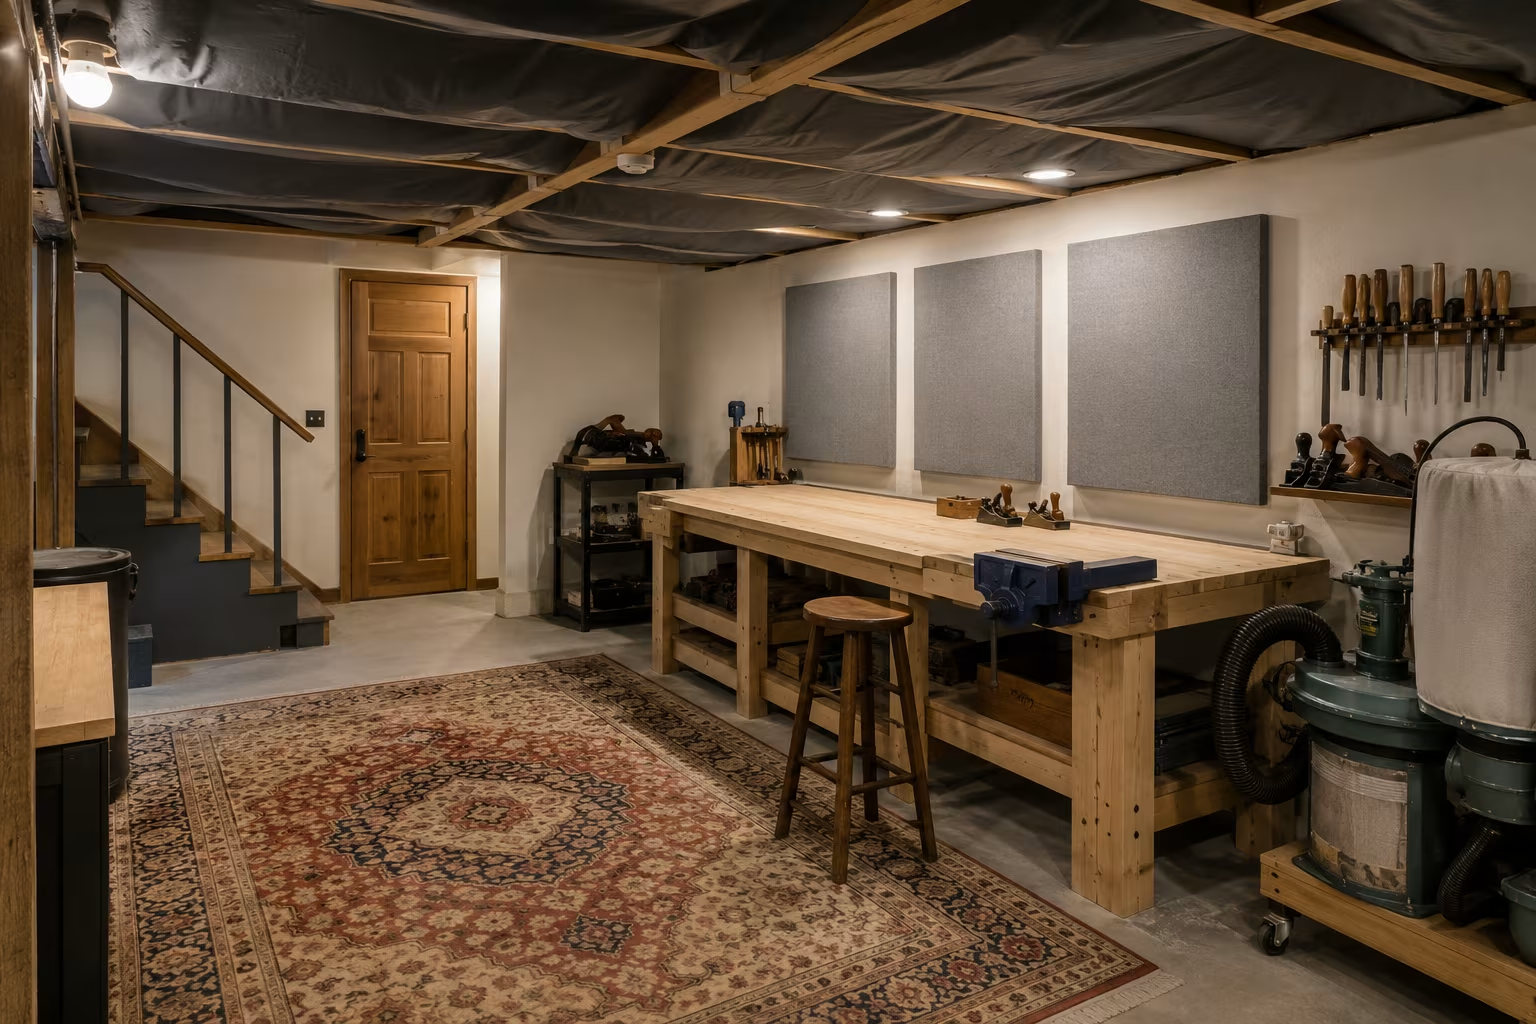
Reducing basement workshop noise to upper floors without construction work requires a layered approach: mass-loaded vinyl (MLV) draped or hung between joists in the ceiling, acoustic panels on walls and at noise sources, sealed gaps around pipes and ducts, area rugs and soft furniture to absorb mid-frequency sound, and a heavy door at the basement stairs. None of these techniques requires permanent alteration; all add up to meaningful noise reduction.
The single highest-impact item for most basement workshops is the floor above. Sound transmits through the joist cavity directly into the floor above; treating that ceiling reduces the bulk of noise complaints. Mass-loaded vinyl (a dense flexible material designed to block sound) hung between joists, combined with acoustic panels on the ceiling face, can reduce transmitted sound by 10-15 dB — meaningful difference.
The second highest is sealing every gap. Sound finds its way through any unsealed penetration — around pipes, around ducts, around electrical conduits, under doors. Each sealed gap adds another layer of attenuation.
For renters specifically, all the techniques here use removable products (adhesive, tension-fit, freestanding). At move-out, the basement returns to its original state. The investment is modest compared to construction-grade soundproofing but the result is real.
Why basement noise travels upstairs
Sound from a basement workshop transmits to the floors above through three primary paths.
Direct through the ceiling (floor of room above). Vibration in the air or in the basement structure passes through the ceiling assembly into the floor above. Structural elements (joists, subfloor) carry sound efficiently; the soft materials between them slow it but do not stop it.
Through gaps and penetrations. Ducts, pipes, electrical conduits, and gaps around any of these create paths that bypass the ceiling assembly entirely. Sound goes straight from one room to the next through these openings.
Through the stairwell. The open path from basement to upper floors via the staircase carries sound directly. Without a door (or with a poorly fitting door) at the top of the stairs, the stairwell is essentially an open speaker channel.
Effective soundproofing addresses all three paths. Treating only the ceiling while ignoring the stairwell and gaps means much less benefit than the ceiling effort suggests.
Mass-loaded vinyl and where to use it
Mass-loaded vinyl (MLV) is a dense flexible sheet material (typically 1 pound per square foot) designed to block sound transmission. The density and flexibility together create a barrier that vibrating air or structure has difficulty passing through.
MLV comes in rolls (usually 4 feet wide, 25-50 feet long) and various thicknesses. Higher mass (1 lb/sq ft) is the standard; double-mass (2 lb/sq ft) handles more demanding situations.
Hanging MLV between ceiling joists. Cut sections to fit between joists, staple or screw to the joist sides, leave the joist faces visible. The MLV blocks sound traveling vertically through the joist cavity. For renters, use tape or removable adhesive instead of staples or screws.
Covering walls with MLV. Hang MLV behind acoustic panels or behind drywall in walls between rooms. Reduces sound transmission through the wall structure.
Wrapping noisy equipment. Wrap MLV around the dust collector, the compressor, or any loud stationary tool. Reduces the radiated sound from that specific source.
Layering for higher attenuation. Two layers of MLV with a small air gap between them perform better than a single thick layer. The decoupling between layers prevents structural sound transmission.
MLV is the most effective acoustic mass product for the home soundproofing market. The material cost is moderate; the installation labor varies based on the application.
Acoustic panels and where they help
Acoustic panels are softer materials (rigid fiberglass, mineral wool, dense foam) designed to absorb sound rather than block it. The distinction matters: blocking prevents sound from passing through; absorbing reduces the sound that bounces around inside a room.
In a workshop context, acoustic panels reduce the build-up of sound inside the basement, which reduces the sound pressure level reaching the ceiling and other transmission paths. They also reduce the harshness of sound for the worker inside.
Wall-mounted acoustic panels. Fabric-wrapped acoustic panels mounted to walls absorb sound that would otherwise bounce around the room. For renters, use removable hooks or adhesive strips to mount.
Ceiling-mounted acoustic panels. Suspended below the joists or attached directly to drywall ceiling. Reduces sound reverberation in the basement and reduces sound transmission through the ceiling assembly.
Corner bass traps. Triangular acoustic panels positioned in room corners. Absorb low-frequency sound that other panels miss. Most useful for shops with significant low-frequency noise sources (large motors, compressors).
Acoustic blankets. Heavy mass-loaded blankets (sound blankets) that can be hung temporarily. Useful for spot treatment during noisy operations.
Acoustic panels alone do not block sound transmission to other rooms — they reduce the in-room sound level. Combine with MLV for the full effect.
Sealing gaps and penetrations
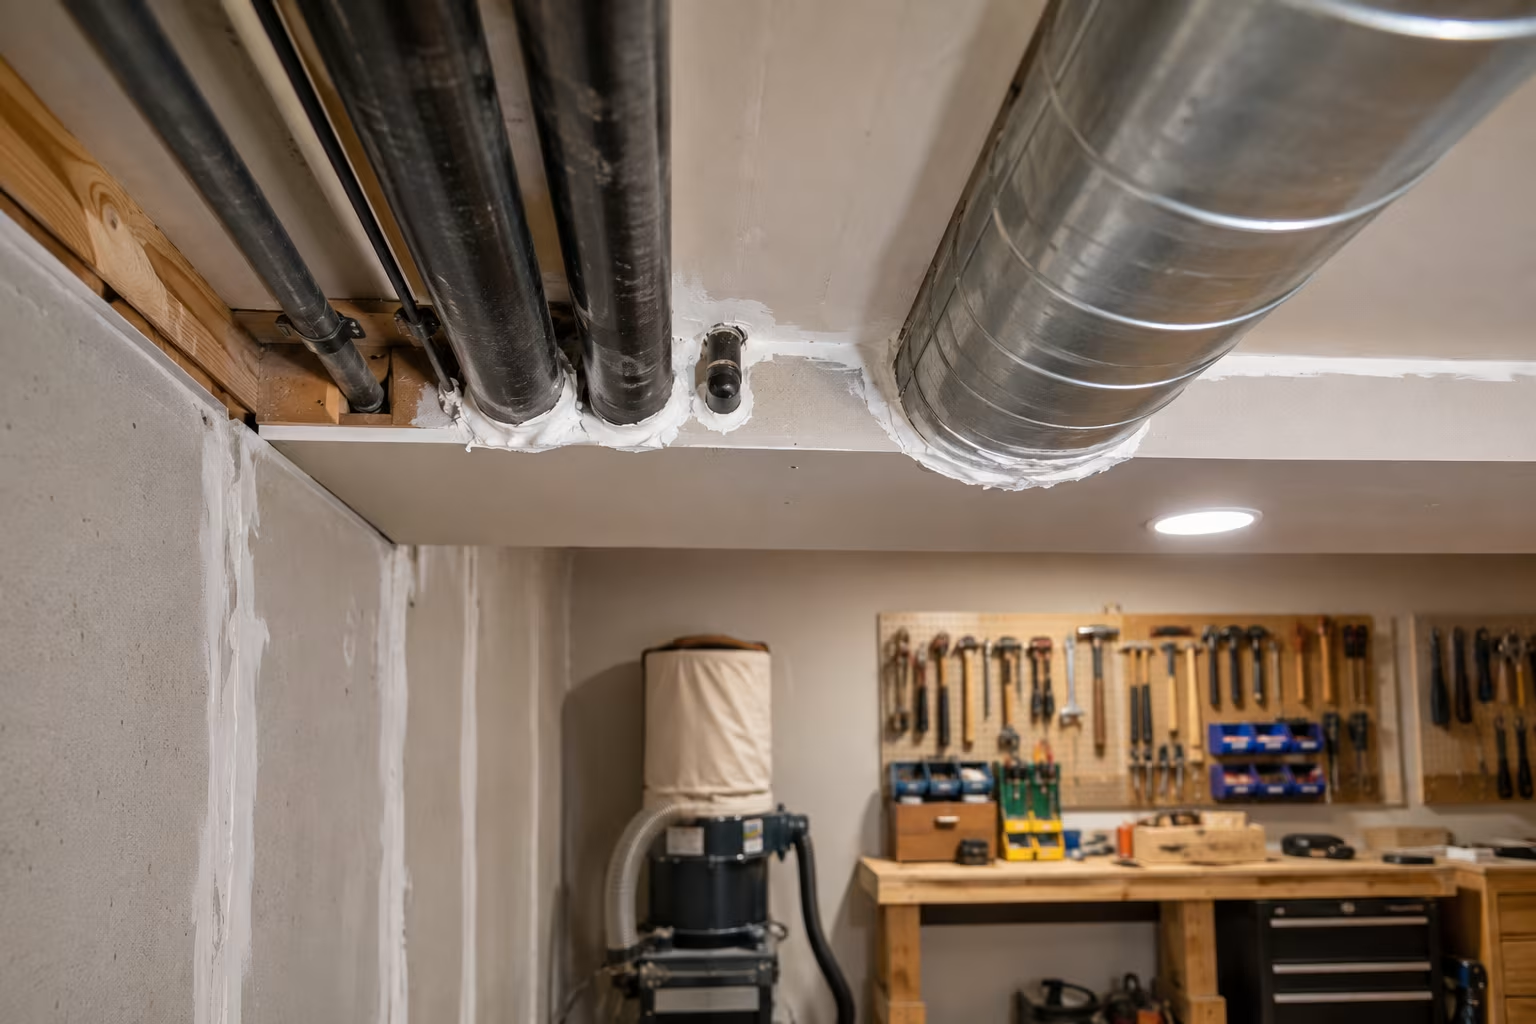
Every gap in the basement boundary is a sound path. Sealing systematically pays back significantly.
Around pipes through the ceiling. Where pipes pass through the ceiling drywall or framing, gaps usually exist. Pack the gap with acoustic mineral wool, then seal with acoustic caulk. The caulk stays flexible to accommodate small movements without losing its seal.
Around HVAC ducts. Duct penetrations through walls and ceilings need similar treatment. Some ducts also carry sound through their interior; flexible duct lining materials can reduce this if the duct is accessible.
Around electrical boxes. Boxes in shared walls let sound pass between rooms. Acoustic putty pads (sticky moldable material) pressed against the back of the box block this path.
Under doors. A gap under a door is a major sound leak. A door sweep (a fabric or vinyl seal that mounts to the door bottom) closes the gap when the door is closed. Door seals around the frame edges complete the package.
Door itself. A hollow-core interior door blocks much less sound than a solid-core door. For the basement stairs door specifically, replacing the door with a solid-core (or even an exterior-grade door) significantly reduces sound transmission. For renters, swapping the door is permitted at most rentals as long as the original is retained for reinstallation.
The gap-sealing work uses ordinary materials and can be completed in a few hours for most basements. The labor is the input; the materials are inexpensive.
Floor coverings and absorbers in the basement
Hard surfaces in the basement bounce sound around and increase the overall sound pressure level. Soft surfaces absorb it.
Area rugs. A large rug (or several rugs) on the basement floor absorbs mid- and high-frequency sound and reduces footstep impact noise. Renter-friendly; rolls up at move-out.
Soft furniture. Couches, upholstered chairs, fabric storage covers all absorb sound. A workshop with a few soft items absorbs more sound than a workshop with all hard surfaces.
Curtains over walls. Heavy curtains (blackout curtains, theatre-weight drapes) hung on a tension rod or on removable hooks add mass and absorption to walls. Multiple curtain panels along a wall provide significant treatment.
Wall hangings. Tapestries, fabric-wrapped foam pads, even decorative quilts on the wall add absorption. The decorative function and the acoustic function combine.
The principle: increase soft surface area, decrease hard surface area. The shop still functions for the tools and work surfaces it needs, but excess hard surface area gets covered with absorbing materials.
Tool-specific noise reduction
Specific tools generate the most workshop noise. Targeted treatments help.
Dust collector and shop vacuum. Two of the loudest stationary tools in many shops. Wrap with MLV blankets, place in a corner facing the wall, build a small open-front enclosure to direct the sound away from the ceiling. Place on a vibration-isolating pad (a piece of dense rubber mat) to reduce structural transmission.
Air compressor. Often the single loudest tool. Same treatment as dust collector: MLV wrap or enclosure, vibration pad, distance from the ceiling. Some shops install compressors outside or in a dedicated soundproofed closet.
Routers and trim routers. High-pitched whine that carries. Use ear protection during operation rather than trying to soundproof the whole tool. Schedule loud router work for times when noise upstairs is less disruptive.
Hand tools (planes, chisels, hammers). Lower noise overall. Less attention needed.
Stationary saws (table saws, mitre saws). Loud during cuts; quiet otherwise. The brief cut duration limits the soundproofing benefit; instead, schedule heavy sawing for tolerated noise times.
Schedule and family management
The non-technical part of basement workshop soundproofing is communication with the household.
Agree on noise hours. Define when loud work is acceptable (typically daytime, weekend mornings) versus when quiet work is the rule (evenings, early mornings, late nights). The shop respects the household schedule.
Identify quiet versus loud tasks. Hand tool work, finishing, assembly are quiet. Power tool use, sanding, sawing are loud. Schedule loud tasks for noise-acceptable hours; quiet tasks for any time.
Use ear protection consistently. Hearing damage is cumulative. Even with the best soundproofing, the worker is closest to the noise source.
Communicate before extended sessions. A heads-up before a long sanding session lets the household plan around the noise.
The technical soundproofing handles the average noise; the household communication handles the peaks.
A renter's soundproofing kit
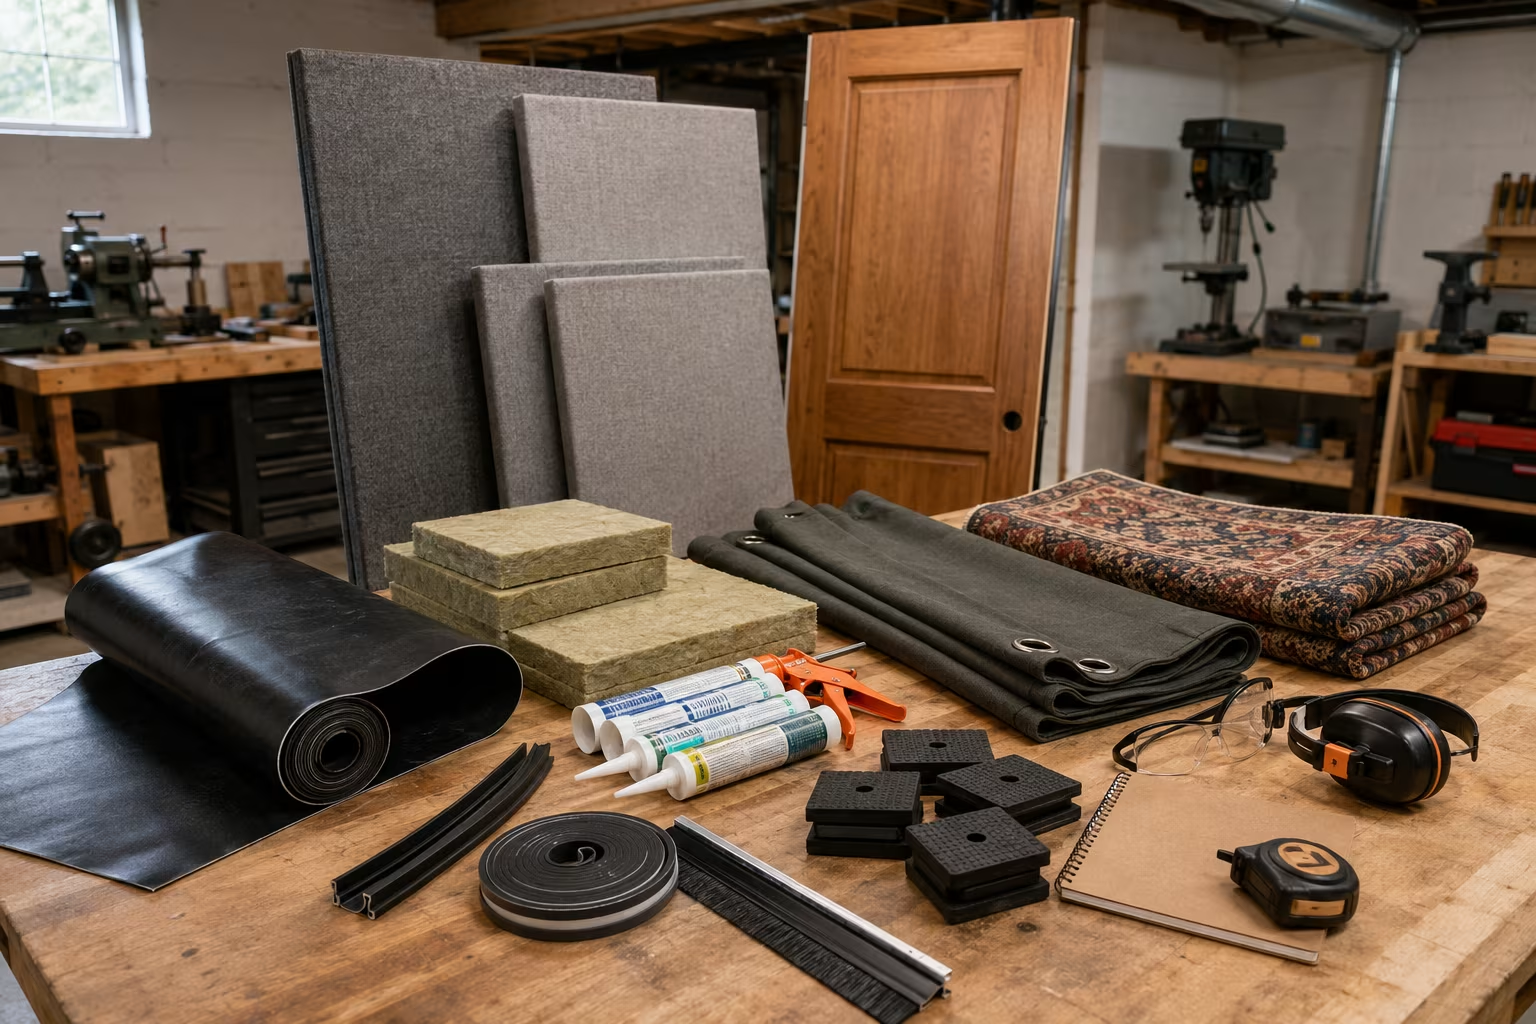
For a renter setting up a basement workshop with sound considerations:
- 50-100 square feet of 1 lb/sq ft mass-loaded vinyl for ceiling joist cavities
- Acoustic mineral wool batts for gap filling
- Acoustic caulk (multiple tubes)
- Door sweep and frame seals for the basement door
- Heavy area rugs for the basement floor
- 6-12 fabric-wrapped acoustic panels for walls
- Heavy curtains for the noisiest walls
- Vibration isolation pads for stationary tools
- A heavy door (solid-core) to replace the hollow-core basement door, with the original stored for move-out
The total investment is moderate. The noise reduction varies by initial conditions but typical reductions of 10-20 dB are achievable — enough to take a shop from "household-disrupting" to "noticeable but not disruptive" in most homes.
Long-term considerations
Soundproofing is rarely done all at once. The phased approach:
Phase one (immediate). Door sweep, gap sealing around pipes and ducts, area rug, ear protection for the worker. Costs little; reduces the worst transmission paths.
Phase two (moderate budget). MLV in the worst joist cavities (above main work areas), acoustic panels on walls behind tools, replacement of the basement door with solid-core.
Phase three (full treatment). MLV across all joist cavities, comprehensive acoustic panel coverage, dust collector and compressor enclosures, treatment of all penetrations.
Most home workshops live somewhere between phase one and phase two. Full treatment is overkill for most situations and is rarely cost-justified for renters.
The cumulative effect of moderate soundproofing is significant. Family complaints drop; the worker's hearing is preserved; the shop becomes usable at more hours of the day.
Vibration versus airborne sound
The soundproofing techniques discussed above primarily address airborne sound — the sound that travels through air from source to receiver.
A separate problem is structure-borne vibration — sound that travels through solid materials directly from one room to another. A loud machine bolted to the basement floor sends vibrations through the floor, up the building's structural frame, and into the walls and floors above.
Vibration is harder to address than airborne sound. The standard treatments:
Vibration isolation pads. Dense rubber or specialized acoustic mats under stationary tools. The pad absorbs the vibration before it transmits to the floor.
Floating workbenches. Workbenches not bolted directly to the floor. The mass of the bench plus the rubber feet absorbs hand-tool vibration.
Decoupled mounting. Some tools can be mounted on rubber-bushed brackets that decouple the tool from its mounting surface.
For a typical home shop with hand tools and small power tools, airborne sound is the dominant issue. Vibration becomes important only for shops with significant heavy machinery (large planers, large compressors, large mills).
When to give up and move the loud work
Some workshop activities are so loud that no reasonable soundproofing prevents them from disturbing the household.
For those activities (extended router work, large planer operation, sustained sanding sessions), the practical answer may be to do the work elsewhere — a friend's shop, a maker space, a rental workshop, or a dedicated outbuilding.
The basement shop becomes the location for everything except the loudest work. The loud work goes off-site or to a dedicated structure.
This is not a failure of the soundproofing. Some sounds require space and distance that no amount of treatment within a basement can replace.
The renter's sound kit:
| Item | Spec | Result |
|---|---|---|
| Mass-loaded vinyl | 1 lb/sq ft standard (2 lb for worse cases) | rolls 4 ft × 25–50 ft |
| Coverage | 50–100 sq ft between joists | plus acoustic panels |
| Expected reduction | 10–20 dB | enough to civilize a shop vac upstairs |
Related Posts
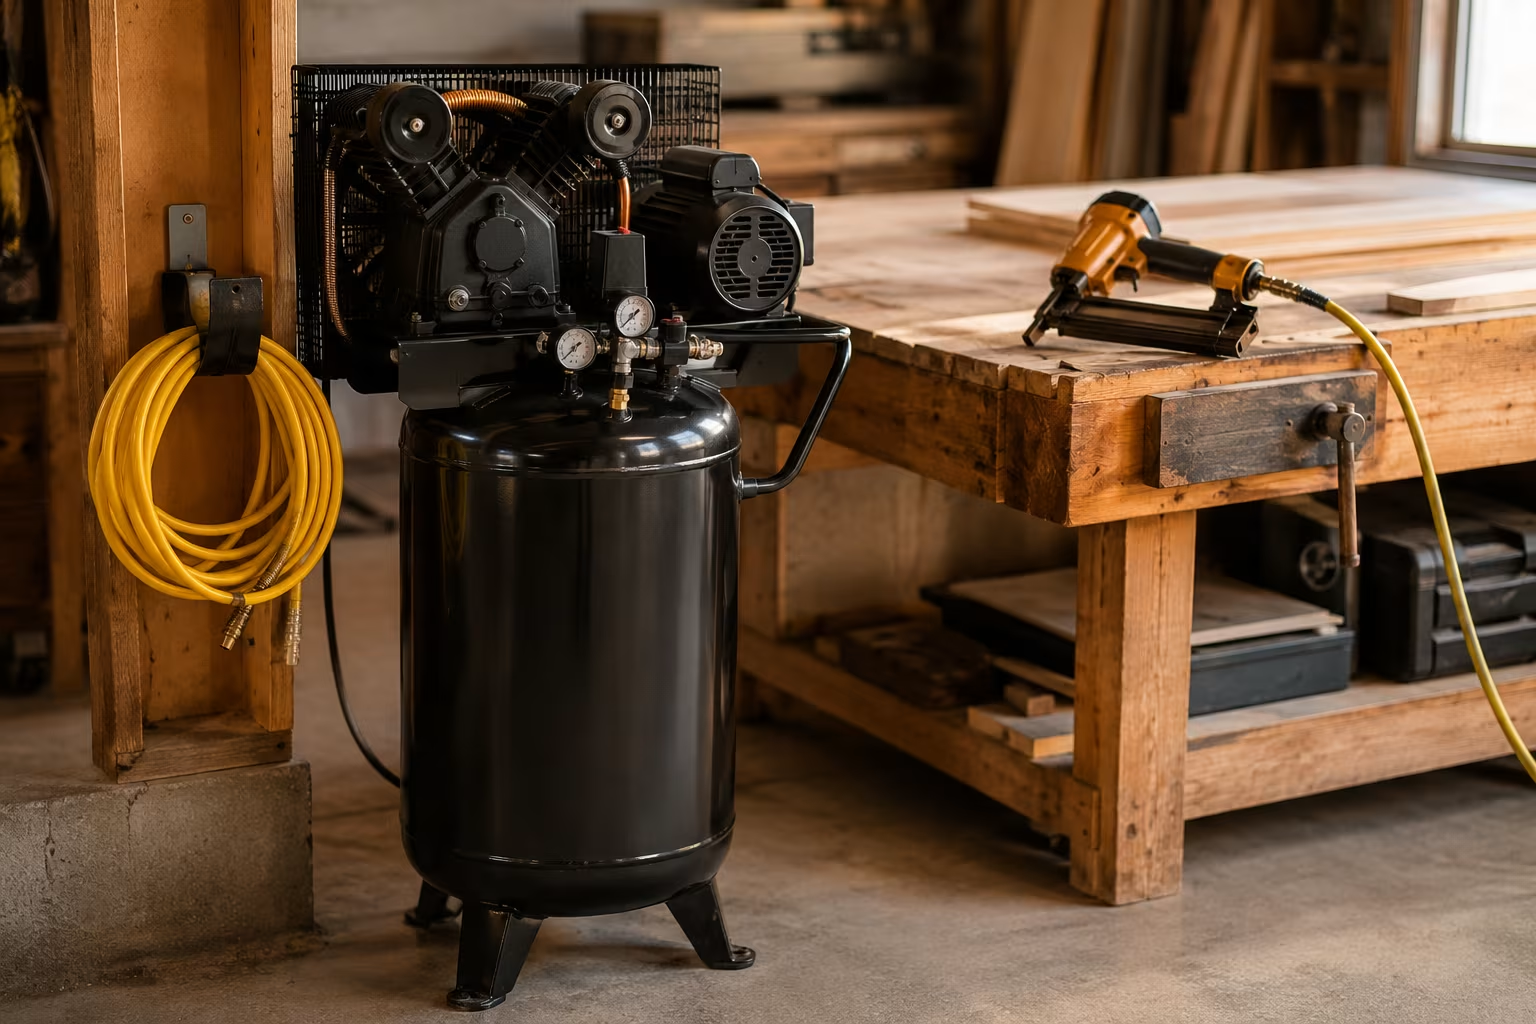
Workshop Air Compressor Sizing: CFM and SCFM
Air compressor matched to your tools means smooth work; too small means constant waiting. CFM...

Workshop Dehumidifier Sizing for Tool Rust Prevention
Tools rust silently when shop humidity sits over 60%. The pint capacity that matches your shop...
Bench Vise Sizing and Mounting for First-Time Buyers
Bench vises bolted to scrap plywood pull right out. The right size for the work, the right...

Workshop Lighting Without Glare on Finished Surfaces
Bright workshop light reveals detail and bounces off fresh varnish into your eyes. The diffused...
Comments
No comments yet. Be the first to share your thoughts!