The Beginner’s Guide to Eco-Printing on Cotton and Silk Fabrics

The Beginner’s Guide to Eco-printing on Cotton and Silk Fabrics
Hey there, fellow makers! 👋 I don’t know about you, but for the longest time, I thought eco-printing was one of those crafts reserved for experienced textile artists, folks with fancy studios and years of practice. I’d scroll through Instagram, seeing these gorgeous, ethereal botanical prints on fabric, and just figure, "Nope, that's way too complicated for me." Sound familiar?
Well, spoiler alert: it’s actually not! At least, not as intimidating as it looks. Today, I want to pull back the curtain on eco-printing, especially for us beginners who just want to experiment and create something beautiful without a massive learning curve. We’ll go through everything from gathering your materials to seeing those incredible prints emerge.
Why This Actually Matters
I've been tinkering in my workshop for years, doing everything from small woodworking projects to intricate paper crafts. But eco-printing? This particular craft felt different. It’s a way to really connect with nature, even if you’re just pulling leaves from your backyard or finding fallen petals on a walk.
There's something incredibly satisfying about taking a plain piece of fabric – maybe an old pillowcase from the thrift store or a scrap of silk – and transforming it with nothing but plants and a little steam. Each piece is truly one-of-a-kind. It's not just making something pretty; it's about capturing a moment of nature on cloth, a little memory of a specific leaf or flower.
I still remember the first time I got a really clear, perfect print of a maple leaf on a piece of cotton. I literally gasped! That single leaf, with all its delicate veins, transferred beautifully. It felt like a small, personal victory, and it immediately hooked me on the magic of it all. Plus, who doesn't love a project that uses natural, often free, materials?
The Basics of Eco-printing
So, what exactly is eco-printing? At its heart, it’s a essential-guide-to-natural-dyeing-with-kitchen-scraps" class="auto-link" target="_blank" rel="noopener">natural dyeing technique where you transfer the pigments and imprints from plants directly onto fabric using heat and pressure. Think of it like a natural botanical tattoo for your cloth. You’re literally coaxing the natural dyes and tannins from leaves, flowers, and even bark to leave their mark.
It’s a process that relies heavily on the plant material itself, the type of fabric you’re using, and a little something called a mordant. Don't worry, we'll break down that fancy word in a second. The beauty of it is that no two prints are ever exactly alike, even if you use the same leaves. The results are always a delightful surprise.
You're essentially creating a closed, steamy environment where the plant material is pressed firmly against your fabric. The heat helps to extract the color, and the pressure ensures that the plant's shape is imprinted. It’s a slow, gentle process that yields incredibly rich and often complex patterns. This isn’t about broad washes of color like tie-dye; it’s about detailed botanical impressions.
The Magic of Mordants
Okay, let's talk about mordants. This word sounds super technical, right? But it’s actually quite simple. A mordant is just a substance that helps the natural dyes "fix" or bond to the fabric fibers. Without a mordant, your beautiful plant prints would likely wash right out of the fabric after a few rinses.
Think of it like a primer for painting. It prepares the surface to accept and hold the color permanently. For eco-printing, the most common mordants are alum (aluminum potassium sulfate) and iron sulfate. Alum generally helps to brighten and clarify colors, often making them more vivid. Iron, on the other hand, usually saddens or darkens colors, often shifting them towards browns, purples, or grays. It can really add depth and a touch of earthiness.
I've learned the hard way that skipping the mordant step is a recipe for disappointment. My first attempts without it were pretty much invisible after the first rinse. Live and learn, right? Using these mordants safely is important, so we'll cover that. They aren't inherently dangerous, but you do want to wear gloves and work in a well-ventilated area, just like you would with any chemical.
Different mordants interact differently with various plant materials, too. This is where the real fun of experimentation comes in! You might get a vibrant yellow with alum from a particular leaf, but a deep olive green from the same leaf with iron. It’s a constantly unfolding discovery.
How to Actually do It
Alright, enough with the theory! You’re probably itching to get your hands dirty, and I totally get it. This is where the magic really happens. While it might seem like a lot of steps, none of them are particularly difficult. Just take your time, enjoy the process, and don’t be afraid to make a mess. That’s usually where the best learning happens, in my experience.
Remember, this isn't about perfection on your first try. It’s about understanding the technique and having fun with it. My initial prints were often blurry or uneven, but I still loved them because I made them! Every attempt, even the "failures," taught me something new about the plants, the fabric, or the process itself.
Step 1: Gather Your Goodies
Before you even think about putting plants on fabric, you need to collect everything. This is my favorite part because it feels like a treasure hunt! You'll need your fabric, your plant materials, and your mordants, plus a few household items.
For fabric, I almost exclusively use natural fibers: cotton and silk. These fibers have a natural affinity for absorbing plant dyes, which is why we choose them over synthetics like polyester. My go-to finds are old cotton sheets, pillowcases, or plain silk scarves from thrift stores. You can also buy plain cotton muslin or silk habotai if you prefer new material. Just make sure whatever you choose is pre-washed to remove any sizing or finishes that might prevent dye uptake.
Next, the plants! This is where you get to forage. Some of my favorites that give great prints include eucalyptus leaves (they have amazing color and detail!), maple leaves, oak leaves, rose petals, and even onion skins (they give lovely oranges and yellows!). Avoid anything toxic, super fleshy, or very thick that won’t press flat. Experiment with things from your garden or neighborhood. Remember to gather responsibly – only take what you need and leave plenty for nature.
Finally, your tools. You’ll need a large pot with a tight-fitting lid (dedicated for dyeing, not cooking!), a steaming basket that fits inside, some string or twine (cotton or natural fiber works best), and a dowel or a sturdy stick about the same width as your fabric. Gloves, a measuring cup, and a bucket are also super helpful.
Step 2: Prepare Your Fabric (mordanting)
This is the crucial step that ensures your prints actually stick around. Don't skip it! We're essentially opening up the fabric fibers so they can really grab onto those plant pigments. I usually mordant my fabric a day or two before I plan to print, letting it dry completely.
For alum mordant, dissolve about 15-20% alum by weight of your dry fabric (WOF) in hot water. For example, if your fabric weighs 100 grams, you'd use 15-20 grams of alum. Add this solution to a bucket of warm water, then submerge your pre-washed fabric. Let it soak for at least a few hours, or even overnight, stirring occasionally. Then, gently wring it out and let it air dry. It's often best to let it "cure" for a day or so after drying, too.
If you want to try an iron mordant, you can make an iron liquor. I just put a bunch of rusty nails or steel wool in a jar with vinegar and let it sit for a few weeks. To use it, dilute a small amount of this liquor in water (it’s strong!) and then either soak your alum-mordanted fabric in it for 15-30 minutes, or simply paint it onto areas of your fabric you want to darken. Just be aware that iron can sometimes make fabrics brittle if used in too high a concentration or for too long. Always test a small piece first.
You'll notice the fabric might take on a slightly different hue after mordanting – often a bit off-white or even faintly yellow for alum, or greyish for iron. This is totally normal and means it's ready to absorb those beautiful botanical colors! My first time using iron, I thought I'd stained my fabric, but it was just doing its job.
Step 3: Arrange Your Botanicals
Now for the fun, creative part! Lay your mordanted fabric out flat on a clean surface. Decide which side you want to be the "print" side. Sometimes, I spray the fabric lightly with water to make it slightly damp; this can help the leaves stick and ensure good contact.
Carefully arrange your chosen leaves, flowers, or plant materials onto one half of the fabric. Think about composition – do you want a dense pattern, or more sparse, isolated prints? How will the leaves overlap? What kind of texture will they create? Don't be afraid to press them down gently to ensure good contact. I've found that placing a few smaller, flatter leaves can often yield really intricate details.
Experiment with different sides of the leaves too! The front often gives a clearer outline, while the back can sometimes show more vein detail. If you're using something like onion skins, you can shred them a bit and sprinkle them. This is where your inner artist comes out. My favorite tip here is to not overthink it too much. Just enjoy the process of placing things.
Step 4: Roll It Up!
This step is critical for getting clear, crisp prints. Once your plants are arranged on one half of the fabric, fold the other half of the fabric over the top, creating a plant "sandwich." Then, lay your dowel or stick along one edge of the fabric sandwich.
Starting from that edge, begin to roll the fabric very, very tightly around the dowel. The tighter you roll it, the better the contact between the plants and the fabric, and the clearer your prints will be. This takes a bit of elbow grease! If your roll isn't tight, you'll end up with blurry, indistinct patterns, and nobody wants that after all this effort.
Once you have a nice, tight roll, secure it by tying it with strong natural fiber string or twine. Wrap the string tightly around the entire length of the roll, crisscrossing it in several places, to keep everything compact and secure during the steaming process. Imagine you’re trying to squeeze out every bit of air. My first roll was way too loose, and the results were super faint. Learn from my mistake: go for maximum tightness here!
Step 5: Steam Time
Now we cook! This is where the magic really happens, as the heat and moisture work to transfer those beautiful plant pigments onto your fabric. Set up your steaming pot by placing your steaming basket inside and adding a few inches of water – enough to create steam, but not so much that it touches your fabric roll.
Carefully place your tightly bound fabric roll onto the steaming basket, making sure it's elevated above the water. Put the lid on your pot, ensuring a good seal to keep all that steam trapped inside. Bring the water to a boil, then reduce the heat to a gentle simmer. You want a steady stream of steam, not a raging boil.
Steam your fabric roll for at least 1-2 hours for lighter, more delicate prints, or up to 3-4 hours for stronger, more saturated results. I usually aim for around 2.5 hours, keeping an eye on the water level periodically to ensure it doesn't dry out. If you need to add more water, make sure it's hot water to avoid shocking the pot and disrupting the steaming process. This can be a good time to tackle another project or just relax while nature does its work.
Step 6: the Reveal! (and Post-processing)
This is arguably the most exciting part! Once the steaming time is up, carefully remove the pot from the heat and let it cool down a bit before handling. Unroll your fabric slowly. The anticipation is real! You’ll start to see the ghostly outlines of your leaves and the stunning colors emerge. It’s like opening a present every single time.
After admiring your creations, gently remove all the plant material from the fabric. Then, it's time for rinsing. Fill a bucket or basin with cool, clean water and gently rinse your fabric. You'll likely see some excess dye wash away – that's totally normal. Continue rinsing until the water runs mostly clear. Avoid harsh scrubbing at this stage, as the colors are still setting.
Once rinsed, gently wring out the fabric and hang it to air dry completely. For best results and to help the colors fully set and become wash-fast, I always recommend letting your eco-printed fabric "cure" for at least a week or two before washing it again or using it for a project. Just leave it hanging somewhere out of direct sunlight. When you do wash it, use cold water and a very mild, pH-neutral soap, preferably by hand or on a delicate cycle.
My first reveal was a mix of awe and a bit of "huh, that's not what I expected." Some prints were super vibrant, others were barely there. But every single one was unique, and that's the real beauty of it.
Making It Stick / Common Mistakes
I’ve made just about every mistake in the book when it comes to eco-printing, so trust me, you’re not alone if things don’t go perfectly on your first try. Learning from these hiccups is a huge part of the fun, and it really helps you understand the nuances of the craft.
One of the biggest culprits for faint or blurry prints is not enough pressure or contact during the rolling and steaming process. If your roll isn't super tight, the plant material won't press firmly enough against the fabric to transfer its pigment clearly. My early attempts often looked like vague watercolor splotches for this exact reason. Take your time with the rolling!
Another common issue is insufficient mordanting. If your fabric isn't properly prepared with a mordant, the dye just won't adhere well to the fibers. It'll rinse right out or be incredibly faint to begin with. Don't skimp on this step; it's the foundation of lasting prints. I always double-check my mordant ratios now.
Using the wrong plants can also lead to disappointment. Some plants simply don't have enough dye content or the right chemical makeup to transfer a print. Others might have too much water content and just create a mushy mess. Do a little research, or better yet, just experiment! You'll quickly learn which leaves and flowers are your best friends. I’ve had beautiful blooms leave absolutely no mark, while a common weed produced stunning results.Finally, rushing the process can impact your results. Whether it's not steaming long enough, or not letting the fabric cure before rinsing, impatience can sometimes lead to less vibrant or less permanent prints. This is a craft that rewards patience and observation.
"Sometimes the most beautiful prints come from the plants you least expect. Embrace the surprises and the imperfect beauty they create."
Frequently Asked Questions
What Kind of Plants Work Best for Beginners?
For beginners, I always recommend starting with common, reliable plants like eucalyptus leaves (many varieties work great!), maple leaves, oak leaves, and rose leaves. Onion skins are also fantastic and give beautiful oranges and yellows. Marigold petals are another good choice for bright pops of color.
Can I Eco-print on Synthetic Fabrics Like Polyester?
Unfortunately, no. Eco-printing relies on the natural affinity between plant pigments and natural fibers. Synthetic fabrics like polyester, nylon, or acrylic don't have the same chemical structure to absorb and bond with natural dyes effectively, so you won't get good results.
My Prints are Very Faint, What did I do Wrong?
Don't worry, this is a common beginner experience! The most likely culprits are not enough mordant on your fabric, not rolling the fabric tightly enough to ensure good contact between plants and fabric, or not steaming for long enough. Sometimes, the plant material itself might just not have strong enough pigments. Try adjusting these factors for your next batch.
How Long do the Colors Last? Will They Fade?
Natural dyes, by their very nature, can fade over time, especially with prolonged exposure to direct sunlight. This is part of their organic beauty, much like an old photograph. Proper mordanting and gentle washing (cold water, mild soap, air dry) will help extend their life significantly. Embracing this subtle fading is part of the charm of natural dyeing.
Is Eco-printing Safe to do at Home?
Absolutely, yes! As long as you follow basic safety precautions. Use non-toxic plants, wear gloves when handling mordants (and ensure good ventilation), and always use a separate pot for dyeing that you won't use for food preparation. It's a wonderful, natural process that's very accessible for home crafters.
What's the Difference Between Cotton and Silk Results?
You'll often find that silk tends to yield more vibrant, sharper, and often richer colors and prints compared to cotton. Silk fibers are protein-based and can take up dyes a bit differently. Cotton, being a cellulose fiber, can produce beautiful, sometimes slightly softer or more muted prints. Both are gorgeous; it just depends on the aesthetic you're going for.
The Bottom Line
Eco-printing really isn't about perfection; it's about the connection you make with nature and the unique pieces you create. Every leaf, every petal, tells a story on your fabric, and those stories are always a little bit surprising and totally beautiful. Don't be afraid to experiment, to fail, and to try again. That's how we learn, right?
So, grab some leaves, find an old pillowcase, and give it a try. Start small, be patient, and enjoy the magical reveal. You might just find your new favorite way to make! 💖
Related Posts
Why Quilling Earrings Are the Most Profitable Craft to Sell Online
Thinking about starting a craft business? You might be surprised to learn that delicate, colorful...

How to Build a Tabletop Kiln for Small Ceramic Projects
Dreaming of firing your own small ceramic creations at home? This beginner-friendly guide shows y...
How to Make Custom Wax Seal Stamps for Wedding Invitations
Dreaming of a truly unique touch for your wedding invitations? Craft your own custom wax seal sta...
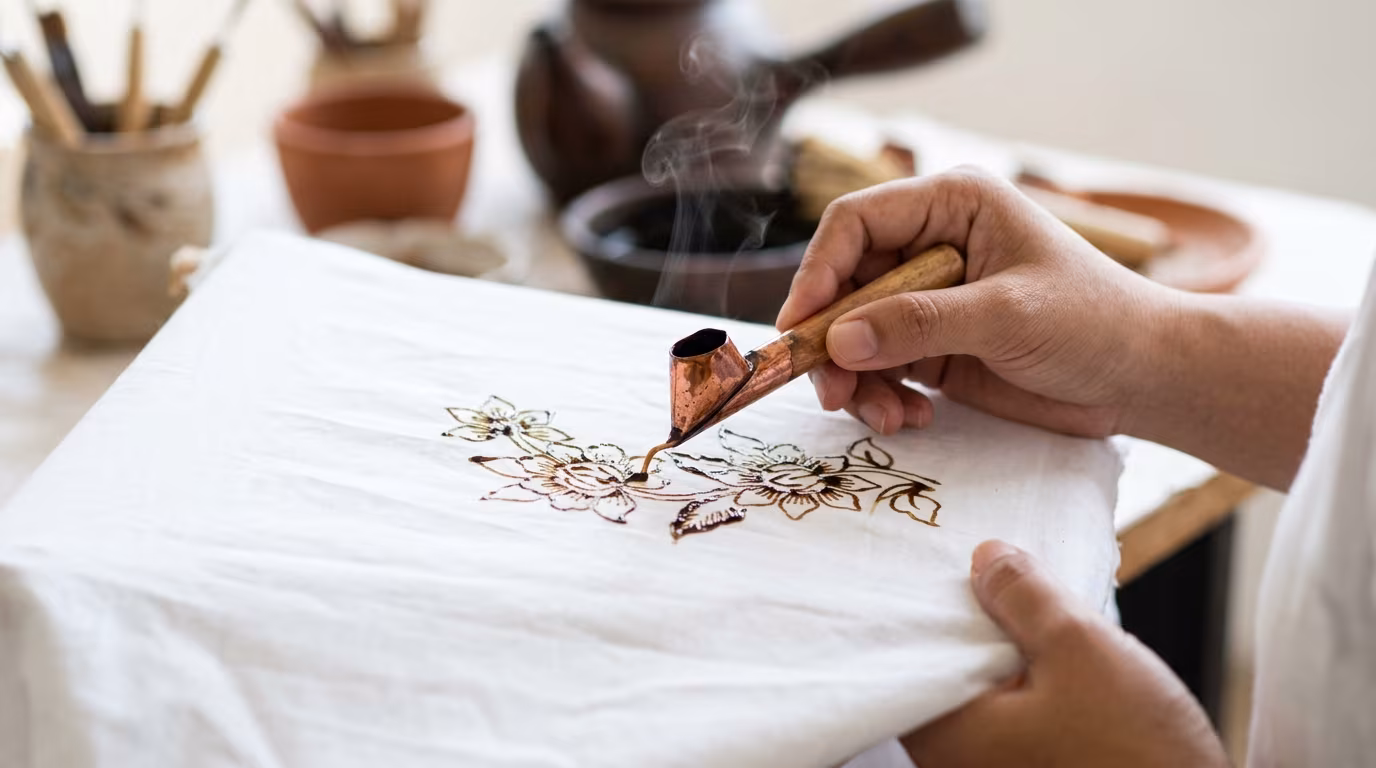
Why Batik Dyeing Creates the Most Unique Patterns on Cotton
Ever wondered how those intricate, one-of-a-kind designs appear on batik fabric? It's all in the ...