The Best Tools for Starting a Linocut Printmaking Hobby
Linocut is one of the cheapest printmaking crafts to start, and a complete beginner kit runs about $30–$50. You carve an image into a soft block, roll ink over the raised surface, and press it onto paper — a relief method where whatever you cut away stays the paper's color. This guide covers the specific tools worth buying first, the ones you can skip, and the print process from sketch to pulled print.
What Linocut Actually Is
The technique belongs to the relief printing family: the ink sits only on the surface you leave standing, so every cut becomes a white line in the final print. Because linoleum has no grain, it carves smoothly in any direction, which makes it far more forgiving than woodcut. Your final print is a mirror image of the block, so any text has to be carved in reverse — a mistake nearly every beginner makes at least once.
Carving Tools
Your carving set is the single most important purchase. Two handle styles dominate: a mushroom-shaped handle that fits in your palm, and a longer pen-style handle with interchangeable gouges that slot into the end. The interchangeable sets are usually more comfortable for beginners and cheaper to expand.
- V-gouge — cuts a narrow V-shaped channel, ideal for fine lines, outlines, and detail work. A small V is the tool you reach for most on intricate designs.
- U-gouge — cuts a wider, rounded channel and comes in several widths. Use it to clear the large areas you want to print white.
- Knife blade — included in some sets, useful for cutting the block's perimeter or making sharp straight edges. These are very sharp, so treat them carefully.
A basic Speedball linocut set with an interchangeable handle and a few gouges costs roughly $15–$25 and is the standard starting point. Keep the blades sharp; a dull gouge forces you to push harder, which is exactly when the tool slips. A cheap honing strop or fine sharpening stone extends blade life considerably.
Blocks, Ink, and the Brayer
The material you carve into matters as much as the tools. Traditional battleship-gray linoleum is stiff, holds the finest detail, and demands more pressure — it can be unforgiving early on. Soft-Kut and easy-carve blocks are a rubbery material that cuts with far less resistance and hand fatigue, which is why they suit beginners best. Softer still are rubber blocks like Speedball's Speedy-Carve, roughly the density of a firm eraser; they are very forgiving but hold less fine detail. Start with a small pack of soft blocks and keep your first design around 4x6 inches.
For ink, water-based block printing ink is the right beginner choice. It cleans up with soap and water, dries reasonably fast, and needs no solvents. Oil-based inks give richer color and stay workable longer on the block, but cleanup requires mineral spirits — save those for later. The distinction mirrors the tradeoff you see with water-based versus oil-based wood stains: water for easy cleanup, oil for depth and working time. Begin with a single tube of black; it shows your carved lines and contrast most clearly, and you can mix in white for gray.
A brayer — a rubber roller — is non-negotiable. It picks ink off a flat plate and lays an even film across the block's raised surface; a brush or sponge simply cannot do this evenly. A 4-inch soft rubber brayer covers most beginner blocks. For the inking plate, any smooth, non-absorbent surface works: a sheet of plexiglass, a glass cutting board, or an old ceramic tile. A scrap of acrylic from a hardware store costs a few dollars.
Paper and the Small Extras
Paper choice visibly changes the print. You want a smooth, absorbent sheet that grabs ink and picks up detail. A quality drawing paper in the 80–100 lb range works well and is inexpensive. Japanese printmaking papers such as kozo are thin, strong, and highly absorbent, producing delicate prints — worth trying once you have the basics down. Avoid heavily textured watercolor paper, where ink skips over the dips, and thin printer paper, which buckles and shows through. A 9x12 inch pad of smooth drawing paper leaves room around your image.
A few inexpensive extras make the work easier and safer. A pencil and tracing paper handle design transfer. A bench hook — a simple wooden ledge that braces the block against your table — keeps the block from sliding while you carve, which is the main safety measure in this craft; clamping the block down works as a substitute. A palette knife scoops ink from the tube, and a drying rack or clothesline keeps finished prints from smudging before they set.
The Printing Process, Step by Step
- Design and reverse. Sketch a simple image, deciding which areas print black and which get carved away. Reverse any text.
- Transfer to the block. Rub the back of your tracing-paper sketch with a soft pencil, lay it face-down on the block, and burnish the front with a spoon. The graphite transfers your design already reversed.
- Carve. Always cut away from your body and your free hand. Outline with the small V-gouge, then clear the white areas with U-gouges. Take shallow, controlled cuts — deep, fast strokes are where slips happen.
- Roll the ink. Squeeze a pea-sized amount onto the plate and roll the brayer in every direction until you get a thin, even film. A faint sticky, "tacky" sound means it is ready. Too much ink fills your carved lines and muddies the print.
- Ink the block. Roll across the carved surface from several directions for even coverage on all raised areas.
- Print. Lay the paper down and do not shift it. Burnish the back firmly and evenly with a spoon, a baren, or a clean rolling pin for 30–60 seconds, working into the detail.
- Reveal and clean. Peel the paper from one corner, set it aside to dry, and wash the brayer, plate, and block with soap and water — clearing ink from the carved grooves before it dries in.
Common Beginner Mistakes
Three problems account for most bad early prints. Rushing the carving causes the tool to skip past a detail you wanted to keep — or into your finger. Ink balance is the second: too much and fine lines blob together, too little and the print looks faded and patchy, and finding that even film takes practice. The third is forgetting to reverse the image, which turns text and directional elements backward. Triple-check the design before the first cut, and keep your non-carving hand behind the blade at all times.
Common Questions
Is linocut hard to learn?
No — it is among the most accessible printmaking methods. The basic technique is straightforward, and satisfying results come with minimal tools. The learning curve is mostly patience with carving and dialing in ink consistency.
Can I use regular printer paper?
You can, but it is too thin and not absorbent enough, so ink bleeds through and the sheet wrinkles. A cheap pad of smooth drawing paper produces a noticeably crisper transfer.
Do I need a press or a baren?
No. The back of a wooden spoon, a smooth rock, or a clean rolling pin all work for hand-burnishing. The requirement is firm, even pressure across the whole sheet, not expensive gear.
What does a full beginner setup cost?
A carving set ($15–$25), a pack of soft blocks, a tube of black water-based ink, a 4-inch brayer, and a pad of drawing paper together run about $40–$65 — one of the most budget-friendly crafts to enter.
Related Posts
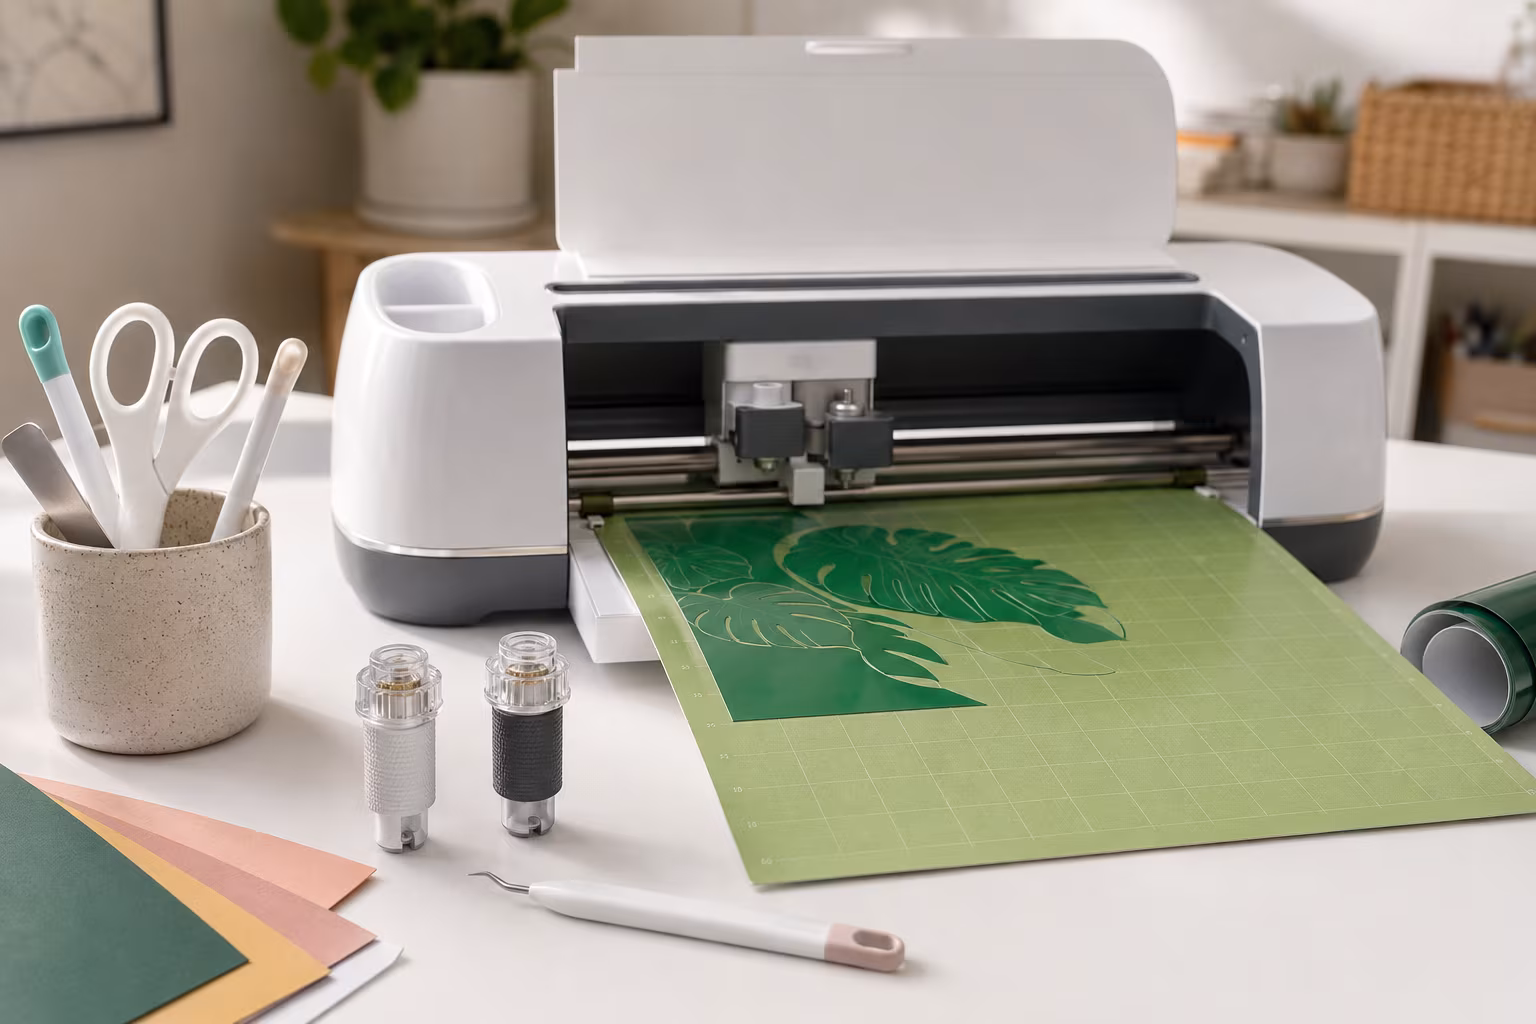
Beginner Cricut Blade Set: What You Actually Use Daily
The Cricut starter blade list is longer than most beginners need. The two or three blades that...
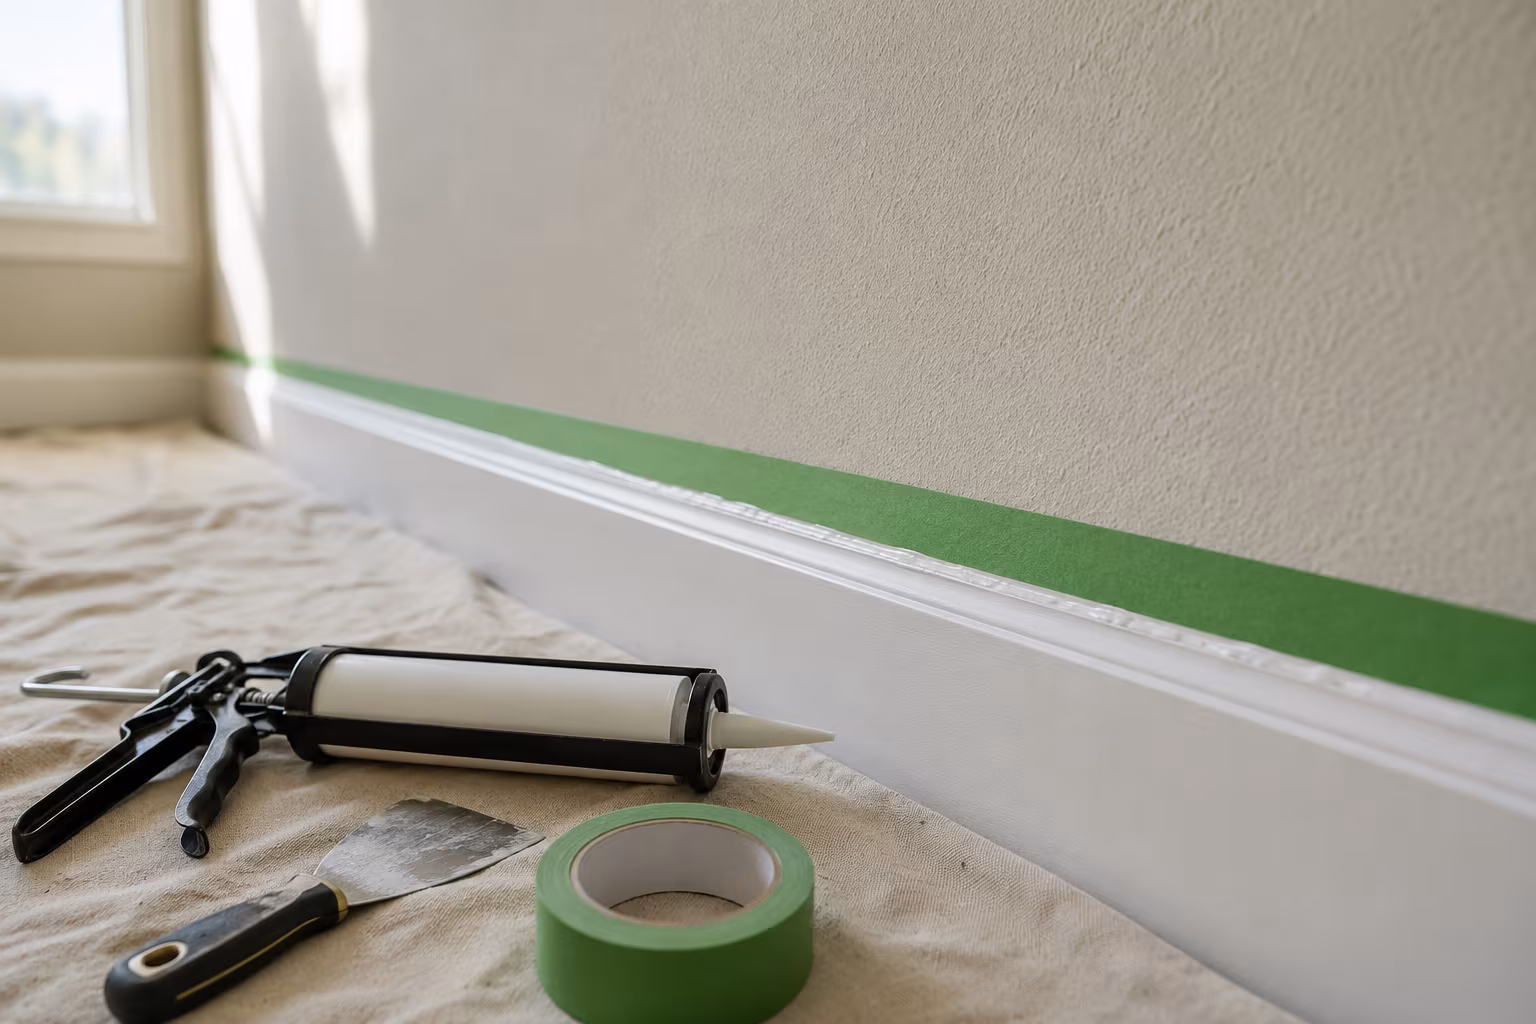
Painter's Tape for Crisp Lines on Textured Wall Surfaces
Standard blue tape bleeds on textured walls. The specialty tapes, caulk-edge-seal step, and...
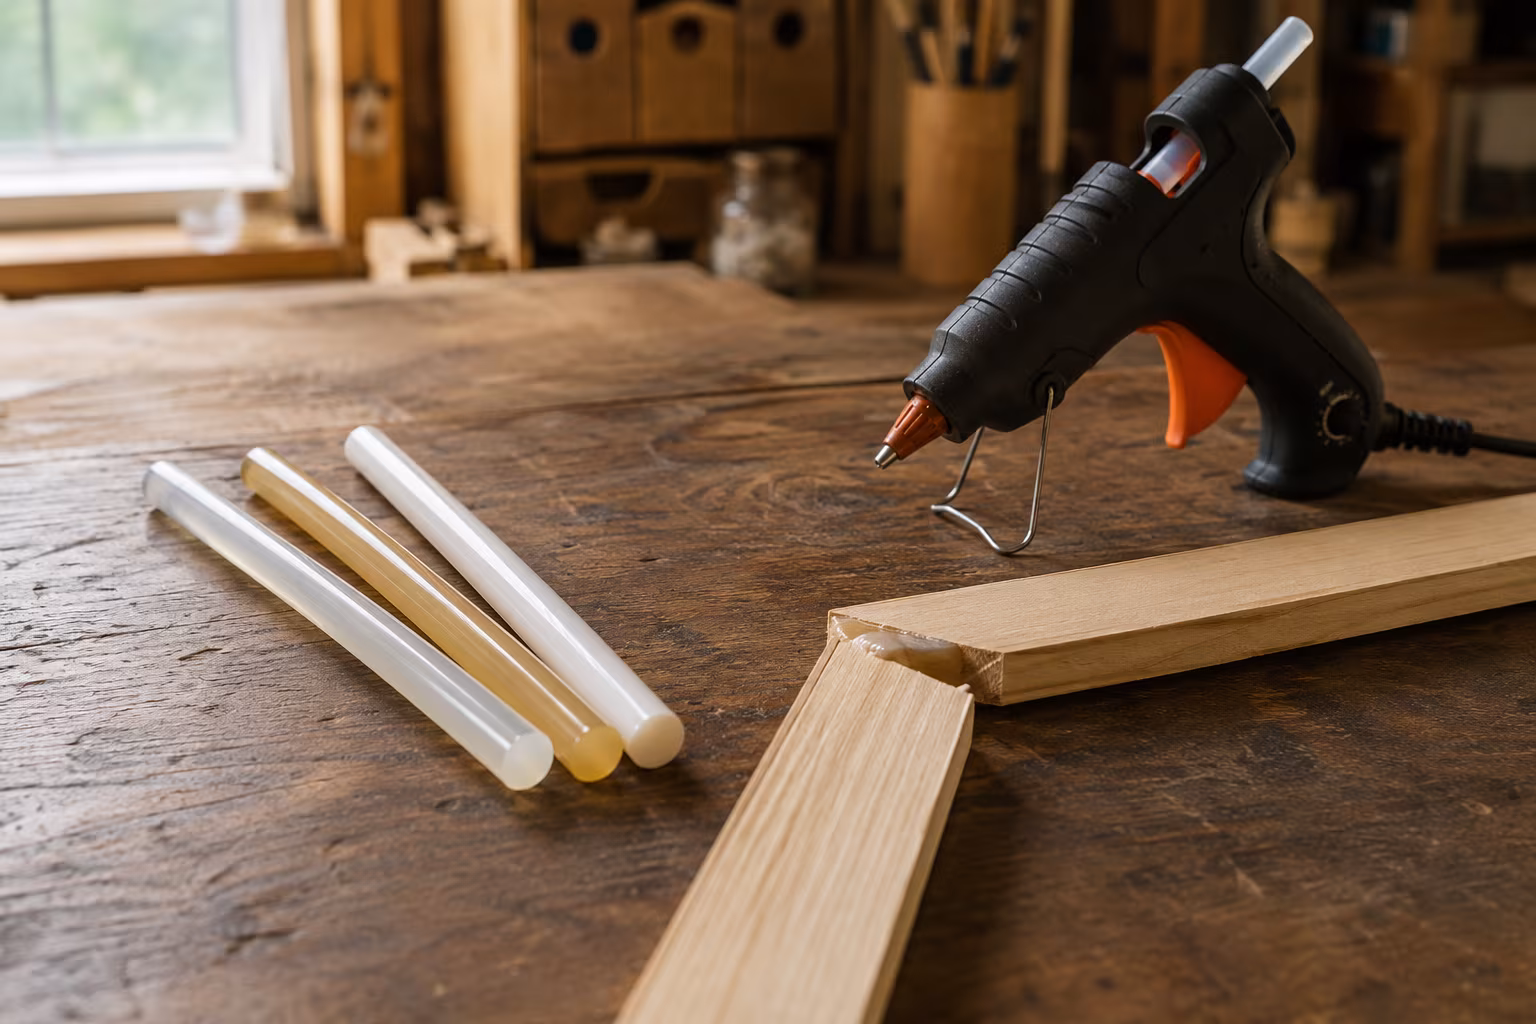
Hot Glue Sticks Compared: Low-Temp, High-Temp, Specialty
Low-temp glue sticks melt near 250°F, high-temp near 380°F. Compare stick types, specialty...

Sandpaper Grits Demystified: When to Stop Going Finer
Sand 80 to 120 to 180 for film finishes, 220 for oil, and stop there: finer burnishes wood and...