The Best Way to Digitize Your Hand-Drawn Craft Designs
The Best Way to Digitize Your Hand-drawn Craft Designs
Hey there, fellow makers! 👋 You know that feeling, right? You've spent hours sketching out the perfect design for your next project – maybe it's a intricate paper cut template, a unique woodworking inlay, or a sticker design for your planner. Your hands are covered in graphite, but your heart is full of pride.
Then you realize you need to actually use that design. And suddenly, your beautiful, tangible creation needs to exist in the digital world. Cue the panic! How do you get it from paper to pixels without losing all that handcrafted charm?
I’ve been there so many times. I used to just hold my drawings up to my phone camera in questionable lighting and hope for the best. Spoiler: "the best" usually meant blurry lines and weird shadows. After a lot of trial and error (and some truly awful digitized designs), I've finally figured out a system that works, and I can't wait to share it with you.
Today, we're going to talk about the best, most straightforward way to digitize your hand-drawn craft designs. We'll cover what tools you actually need (and what you can skip), how to prepare your artwork, and the simple steps to get a crisp, clean digital file. Ready to dive in?
Why This Actually Matters
Okay, so why bother with all this digitization stuff in the first place? Isn't the whole point of hand-drawn to keep it... well, hand-drawn? Absolutely, and I love a good physical sketch.
But transferring your art to a digital format opens up a whole world of possibilities for your crafts. Think about it: once it's digital, you can resize it without distortion, print it on different materials, or even share it with friends who live across the country.
For me, it's been a total game-changer for my paper crafts. I love designing intricate SVG files for my cutting machine. I start with a detailed pencil sketch, digitize it, refine it in a design program, and then my machine cuts it perfectly every time.
It also means you can easily create multiple copies of a design for things like personalized gift tags or a series of matching cards. Imagine drawing one detailed pattern and being able to print it on 50 different items for a craft fair. That's a huge time-saver right there.
Plus, it's a fantastic way to archive your work. My physical sketchbooks get pretty beaten up, but having a digital backup means my favorite designs are safe forever. It’s peace of mind, really.
The Digital Toolbox: What You Actually Need
When you start looking into digitizing art, it can feel like you need a whole studio full of expensive equipment. I remember seeing artists with fancy light pads, professional scanners, and drawing tablets that cost more than my first car.
Honestly? You don't need all that to get started. You probably already have most of what you'll use, or you can find budget-friendly alternatives that work just as well.
The Essentials: Not as Much as You Think
Let's break down the core components. Think of this as your minimum viable setup. We're keeping it simple and practical.
- A Good Drawing: This might sound obvious, but the clearer and cleaner your original drawing is, the easier the digitization process will be. Use dark lines, minimal smudges, and solid fills where you want them. Don't worry about perfection, but try for your best work.
- A Scanner OR a Smartphone Camera: This is where your physical drawing becomes digital. A dedicated scanner will give you the best quality, but modern smartphone cameras are incredibly capable. I mostly use my phone these days for quick projects, but I do pull out my flatbed scanner for anything super detailed.
- Basic Photo Editing Software: You'll need something to clean up your scanned or photographed image. Don't panic – this doesn't mean Photoshop. Free options like GIMP, Paint.NET (for Windows), or even the built-in photo editor on your phone or computer can do exactly what you need. I mostly use the free version of Canva for simple edits these days, and it works great.
- A Computer or Tablet: This is where you'll do your editing. A laptop or desktop computer generally gives you more screen real estate and processing power, which is helpful for detailed work. But you can absolutely do a lot on a tablet or even your phone if that's all you have.
See? Nothing too wild there. I bet you've got at least three of those things sitting around right now!
Getting Your Drawings Ready: Prepping for Digitization
This is where a little bit of effort upfront saves you a lot of headache later. Trust me, I've tried to skip these steps and ended up with designs that look like they were photographed during an earthquake. Don't be like me!
Step 1: Clean up Your Lines
Before you even think about pointing a camera or scanner at your drawing, give it a good once-over. Are there any faint pencil marks you want to erase? Smudges from your hand? Bits of eraser dust hanging around?
Use a clean eraser to gently remove anything you don't want to see in the final digital version. If your main lines aren't dark enough, go over them with a fine-point pen or a darker pencil. Contrast is key here – you want a clear distinction between your lines and the paper.
I find a good black permanent marker (like a fine-point Sharpie) is fantastic for making lines pop. If I'm doing a design that needs to be perfectly black and white, I’ll ink it. If it’s something I want to color digitally later, I’ll stick with crisp pencil lines.
Step 2: Good Lighting is Your Friend
This is probably the single most important step if you're using your phone camera. Shadows and uneven lighting can make your drawing look dull, introduce weird color casts, and make your lines appear less crisp.
The best light source is natural daylight. Find a spot near a window (but not in direct harsh sunlight, which can create glare). Lay your drawing flat on a neutral-colored surface, like a white table or a plain piece of cardboard.
If natural light isn't an option, use two lamps placed on either side of your drawing, aiming their light at an angle. This helps to minimize shadows. Avoid using just one overhead light source, as it usually creates strong, unflattering shadows.
Step 3: Keep It Flat and Still
Whether you're scanning or photographing, your drawing needs to be as flat as possible. If it's curled or wrinkled, your digital image will have distortions that are really hard to fix later.
For photography, I sometimes use a couple of books to hold down the corners of larger drawings if they want to curl. Just make sure the books aren't casting shadows on your art. For scanning, obviously, you'll place it directly on the scanner bed.
And for phone photography, hold your phone directly above the drawing, parallel to the paper. Don't shoot at an angle. I know it sounds fiddly, but taking an extra 30 seconds to get this right saves you so much time in post-editing. I’ve definitely learned that the hard way with wonky perspective!
Bringing It to Life: the Digitization Process Itself
Okay, your drawing is prepped and ready for its digital debut. Now it's time to actually capture that image. We've got two main routes here: scanning or photographing. Both work, and the "best" one really depends on your specific needs and what tools you have available.
Step 4: Scanning for Serious Crafters
If you have access to a flatbed scanner, this is generally going to give you the highest quality, most evenly lit image. Scanners are designed for this exact task, so they tend to capture details really well.
Place your drawing face down on the scanner glass, aligning it carefully. Close the lid gently to keep light out and ensure the paper stays flat. Most scanners come with their own software, or you can use your computer's built-in scanning utility.
When it asks for settings, choose a high resolution – at least 300 DPI (dots per inch) for most craft designs, or 600 DPI if you plan to print it much larger than the original. Save the image as a TIFF or PNG file if possible, as these are "lossless" formats that retain all the image data without compression. JPEG is okay for general use, but it does compress the image, which can sometimes lead to a slight loss of detail.
Step 5: the Phone Camera Method (budget-friendly!)
Don't have a scanner? No problem! Your smartphone camera can do an amazing job, especially with good lighting and a steady hand. Many crafters (myself included) use this method almost exclusively.
First, make sure your camera lens is clean – a smudgy lens is a fast track to a blurry photo. Hold your phone directly above your drawing, trying to get as little of the background in the shot as possible. Tap the screen to focus on your drawing, and make sure the exposure looks good (not too dark, not too bright).
If your phone has a "document" or "scanner" mode, try that out. Some of these modes automatically correct perspective and enhance contrast, which can be a huge time-saver. Otherwise, a standard photo will work just fine.
Take a few shots, slightly adjusting your position or focus each time, just to be safe. You can always delete the bad ones later. I always take at least three photos, just to make sure I get one with crisp focus.
Step 6: Choosing Your Software – Free Vs. Paid
Once you have your digital image, it's time to clean it up. You don't need fancy, expensive software for this. Seriously, don't feel pressured to buy Photoshop right away unless you know you'll use it for other things.
Free Options: GIMP (GNU Image Manipulation Program): This is a powerful, open-source alternative to Photoshop. It has a bit of a learning curve, but it can do almost anything Photoshop can. It’s perfect for detailed cleanup. Paint.NET (for Windows): A simpler, user-friendly image editor for Windows users. It's great for basic cropping, straightening, and adjusting levels. Canva (free version): Super user-friendly, browser-based, and surprisingly capable for basic photo edits like cropping, adjusting brightness/contrast, and adding filters. This is my go-to for quick edits. Your phone’s built-in editor: Don't underestimate these! Most phones let you crop, rotate, adjust brightness, contrast, and even remove shadows. For quick, simple designs, this is often all you need.
Paid Options (if you're ready to invest): Adobe Photoshop / Illustrator: The industry standard. Photoshop is pixel-based (great for photos), Illustrator is vector-based (great for scalable designs like SVG files). If you're serious about digital art and design, these are worth exploring. Affinity Photo / Designer: Excellent, one-time purchase alternatives to Adobe products. They offer professional-level features without a subscription. Procreate (for iPad): If you have an iPad, Procreate is an incredible app for drawing, painting, and editing. It’s super intuitive and powerful.
Step 7: Basic Editing – Cleaning and Cropping
No matter which software you choose, the goal here is to get a clean, crisp, usable image. Here are the core edits you'll likely make:
- Crop: Get rid of all the unnecessary background. You just want your drawing. Use the cropping tool to select only your artwork.
- Straighten/Rotate: If your photo isn't perfectly straight, use the rotation or straighten tool. Many programs have an "auto-straighten" feature that works surprisingly well.
- Adjust Brightness/Contrast: This is where you make your lines pop. Increase contrast to darken your lines and lighten your paper. Increase brightness if the image is too dark overall. Play around with these sliders until your background is a clean white and your lines are a solid black (or whatever color you used).
- Levels/Curves: These are slightly more advanced tools but incredibly powerful for fine-tuning brightness and contrast. They allow you to target specific tonal ranges (shadows, mid-tones, highlights) to clean up backgrounds and enhance lines even further. I learned to use these pretty early on, and it made a huge difference.
- Eraser Tool: If there are any stray marks, dust, or tiny smudges that survived the original cleanup, use a small eraser tool to carefully remove them. Zoom in really close for precision.
Remember, the goal is clarity and simplicity. You want your digital design to be as clean and defined as possible, ready for its next life as a stencil, a sticker, or whatever amazing thing you're planning!
Common Pitfalls and How to Dodge Them
Even with the best intentions, digitizing can sometimes throw you a curveball. I've encountered almost every problem imaginable, from weird color casts to blurry edges that just wouldn't go away. Here are some of the most common issues and how to tackle them.
One major frustration is when your "white" paper turns out gray or yellowish in the digital file. This usually happens because of poor lighting during scanning or photography. The solution? Go back to Step 2 and ensure your lighting is bright and even. Then, use your editing software's brightness/contrast or levels tools to really push the whites to pure white.
Another common one is blurry lines. This usually means your camera wasn't in focus, or it moved slightly during the shot. If you're using a phone, tap to focus on your drawing before taking the picture. If using a scanner, make sure your drawing is perfectly flat against the glass. There's only so much software can do to sharpen an originally blurry image, so good capture is essential.
Sometimes, despite your best efforts, you get a strange color cast – your white paper might look faintly blue or green. This is often due to mixed light sources (e.g., natural light mixed with an incandescent lamp). Try to stick to one type of light, preferably natural daylight. In your editing software, look for a "white balance" tool, or manually adjust color temperature if available. Many phone editors have this too.
"The best digital art starts with the best analog capture. Don't rush the photo; you'll regret it during the edit."
Finally, a big one I see is trying to fix everything with one magic button. Photo editing isn't usually a one-click wonder. It's often a series of small, incremental adjustments. Increase contrast a little, then brightness a little, then maybe a levels adjustment. Be patient and make small tweaks until it looks right.
Frequently Asked Questions
Can I Digitize a Drawing with Colors, or Just Black and White?
You absolutely can digitize drawings with color! The process is the same – good lighting, clear capture, and then cleaning it up. Just be aware that colors can sometimes shift slightly when transferred from paper to screen, so you might need to make small color adjustments in your editing software to match the original. I usually take a mental note of how the original looks so I can compare it to the digital file.
Do I Need a Special Drawing Tablet to do This?
Not at all for the basic digitization process! A drawing tablet (like a Wacom or Huion) is fantastic if you want to digitally draw or refine* your designs using software, but it's not necessary for simply capturing your hand-drawn work. Your mouse and keyboard are perfectly fine for the editing steps we talked about.
What if My Drawing is Really Big? Can I Still Digitize It with My Phone?
For very large drawings, using a flatbed scanner might mean scanning in sections and "stitching" them together in your software, which can be tricky. With a phone camera, you can photograph sections too, but it's easier to capture the whole thing if you can get high enough above it. I sometimes stand on a chair (carefully!) to get enough height for larger pieces. Just make sure to keep the phone parallel to the paper to avoid distortion.
How Long does This Whole Process Usually Take?
It really depends on the complexity of your drawing and your familiarity with the software. For a simple, clean drawing and someone who's practiced these steps, it might take 5-10 minutes from photo/scan to a clean digital file. If it's a very detailed drawing with lots of fine lines and a few smudges, or if you're new to the software, it could easily take 30 minutes to an hour of careful editing. My first few times took me forever, but now I can zip through it.
Is This Worth It if I Only Plan to Make One Copy of My Design?
Even for a single copy, it can be worth it! Digitizing ensures you have a pristine backup of your design, and it allows you to manipulate it in ways you can't with a physical drawing. For example, you can print it on different types of paper, scale it up or down perfectly, or even just have it for your digital portfolio. It's like having a master template you can always refer back to.
What Kind of Paper is Best for My Initial Drawing?
For best results, use smooth, white paper that isn't too thin. Thin paper can show through marks from the other side, and textured paper can create unwanted shadows when scanned or photographed. Standard printer paper works fine, or a good quality drawing paper. Avoid anything glossy, as it can cause glare.
The Bottom Line
Digitizing your hand-drawn craft designs doesn't have to be a scary, complicated, or expensive process. It’s actually pretty straightforward once you get the hang of it, and it unlocks so many possibilities for your creative projects.
Focus on getting a clear, well-lit initial capture, and then use basic editing tools to clean up your image. Don't aim for perfection on your first try; just aim to get a usable digital file. The more you do it, the faster and better you'll get.
So grab that amazing sketch you've been sitting on, and give it a try. You might be surprised at how easy it is to bring your analog art into the digital realm and expand your crafting horizons! Happy making! ❤️
Related Posts
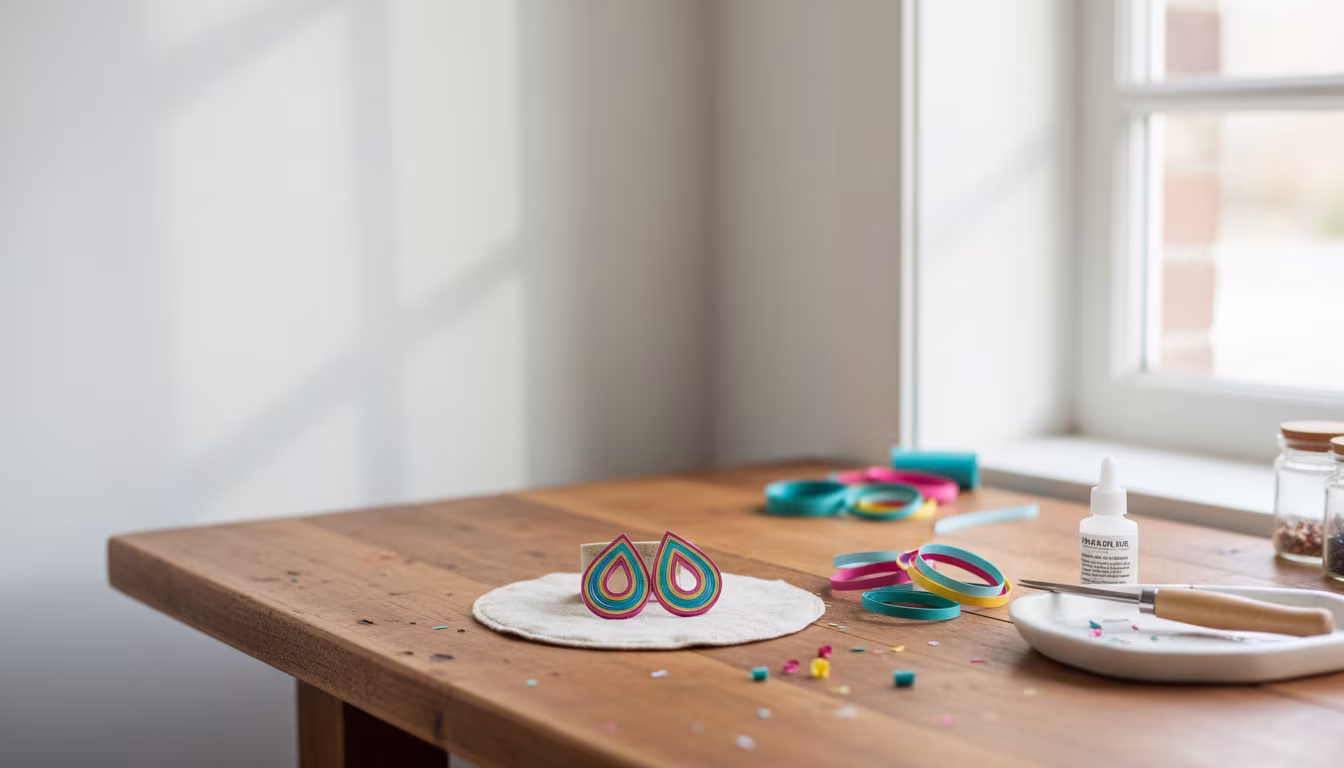
Why Quilling Earrings Are the Most Profitable Craft to Sell Online
Thinking about starting a craft business? You might be surprised to learn that delicate, colorful...
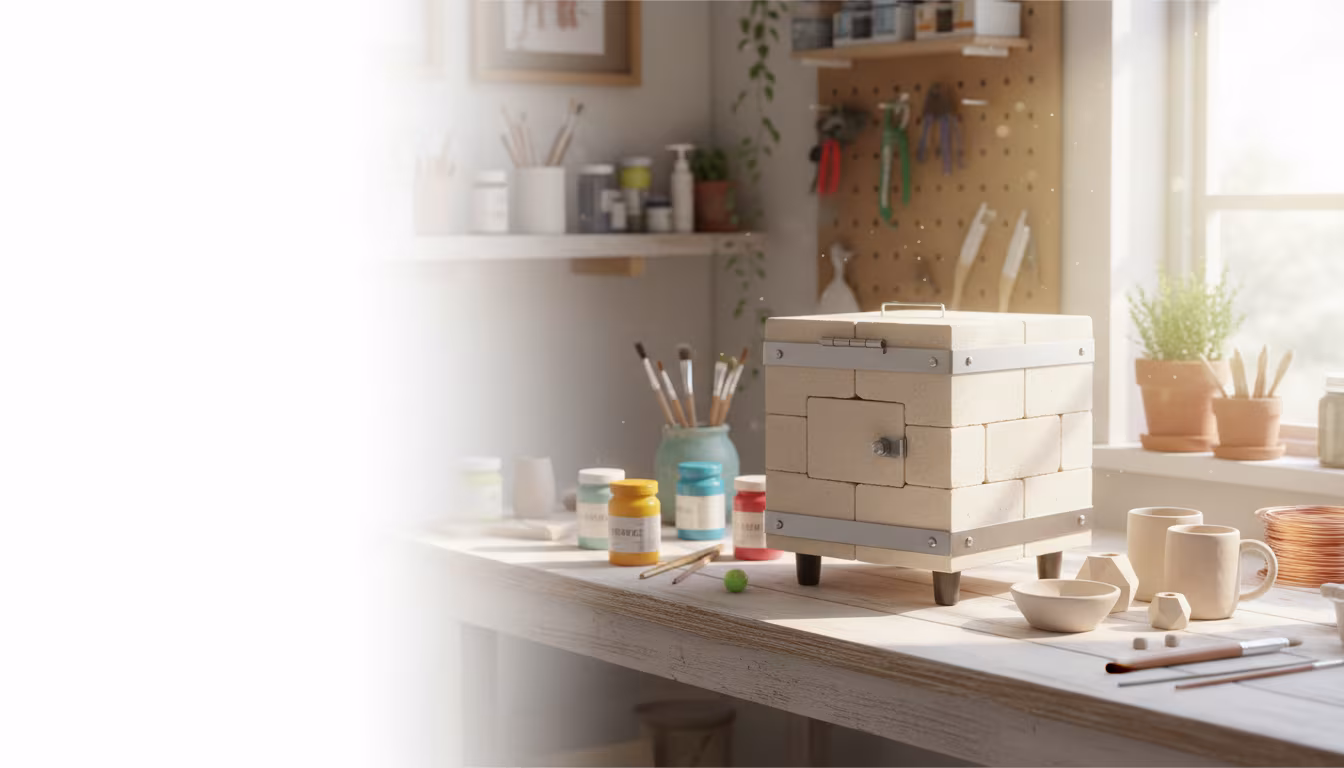
How to Build a Tabletop Kiln for Small Ceramic Projects
Dreaming of firing your own small ceramic creations at home? This beginner-friendly guide shows y...
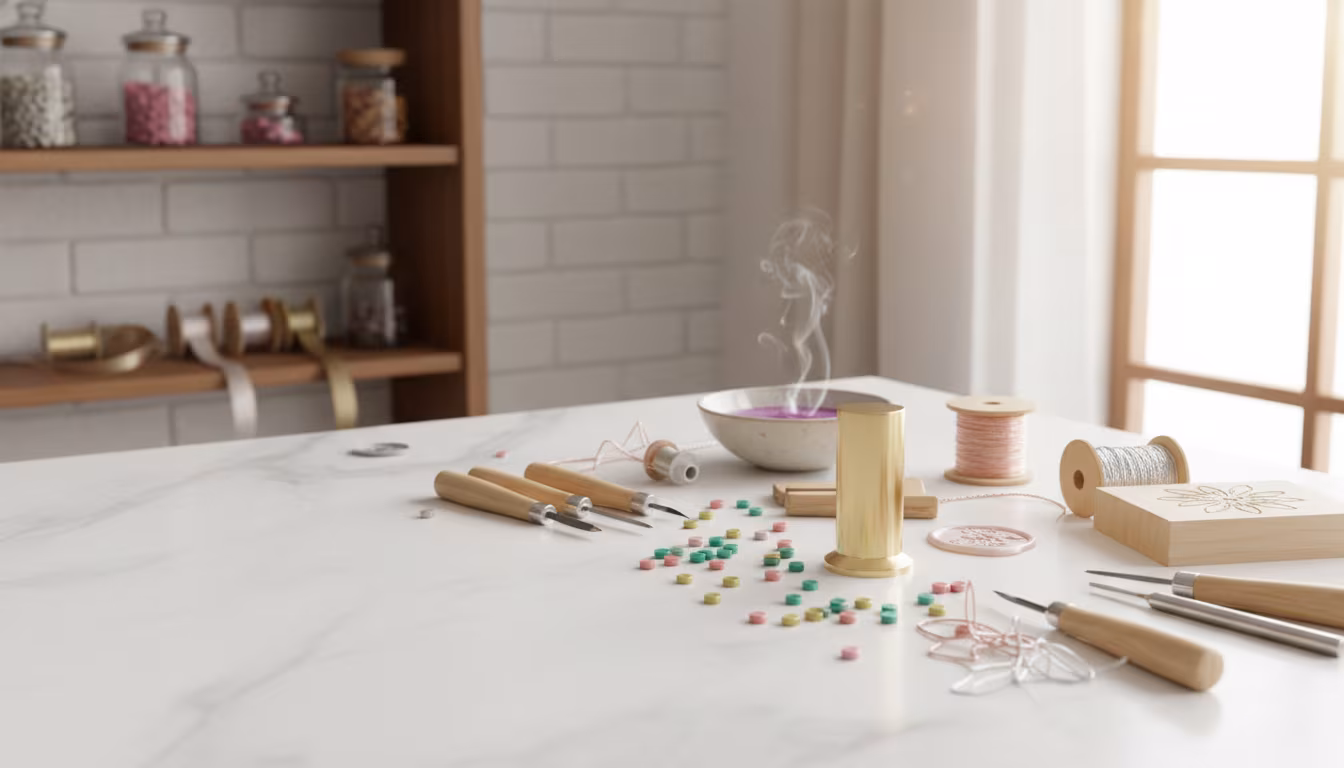
How to Make Custom Wax Seal Stamps for Wedding Invitations
Dreaming of a truly unique touch for your wedding invitations? Craft your own custom wax seal sta...

Why Batik Dyeing Creates the Most Unique Patterns on Cotton
Ever wondered how those intricate, one-of-a-kind designs appear on batik fabric? It's all in the ...