
DIY Paper Crafts: Fun and Easy Projects for All Ages

Paper is one of the cheapest and most forgiving materials in any craft cupboard. A single 500-sheet ream of 20 lb printer paper costs a few dollars, and a pad of 60 sheets of 6-inch origami paper runs under ten. That low barrier is why the same medium works for a five-year-old folding a first airplane and an adult rolling tight quilling coils. This guide covers the supplies worth owning, projects sorted by difficulty, and the small techniques that separate a crisp fold from a soggy one.
Supplies Worth Keeping on Hand
You do not need a kit. Most projects use paper in three weights, one cutting tool, and one adhesive. The weight of the paper is the detail beginners overlook: it is measured in gsm (grams per square meter), and picking the wrong weight is why a card curls or a fold cracks.
- Printer paper (75-90 gsm): airplanes, chains, practice folds.
- Origami paper (60-70 gsm): thin enough for many-layered models like cranes.
- Construction paper (120 gsm): kids' cut-and-glue work; takes a crayon well.
- Cardstock (200-300 gsm): greeting cards, 3D sculptures, anything that must stand up.
For tools, a pair of 8-inch scissors, a craft knife with snap-off blades, a metal ruler, and a bone folder (or the back of a butter knife) handle almost everything. Glue sticks are clean for light paper; PVA craft glue holds cardstock; double-sided tape gives the flattest bond for cards. A self-healing cutting mat protects your table and keeps blade cuts straight.
One property worth knowing is grain direction. Machine-made paper has fibers aligned in one direction, and it folds cleanly along the grain but cracks and resists across it. To find the grain, gently bend a sheet both ways; it flexes with less resistance parallel to the grain. Fold along that line whenever the design allows, and score first on heavier stock. This single habit prevents most ragged, fibrous fold lines on cards and boxes.
Projects by Skill Level
Sorting projects by difficulty keeps frustration low. The table below groups common paper crafts by the skill they demand, the paper that suits them, and a realistic time to finish one piece.
| Project | Level | Best paper | Time |
|---|---|---|---|
| Paper airplane | Beginner | Printer, 80 gsm | 2-5 min |
| Paper chain garland | Beginner | Construction | 15-20 min |
| Origami crane | Beginner-plus | Origami, 60 gsm | 10 min |
| Layered greeting card | Intermediate | Cardstock | 30-45 min |
| Rolled paper beads | Intermediate | Magazine pages | 1-2 hr |
| Quilled flower panel | Advanced | Quilling strips, 3 mm | 3-6 hr |
| Pop-up card mechanism | Advanced | Cardstock | 2-4 hr |
Beginner Folds and Cuts
Start with paper airplanes and chains because they teach the two core habits: a sharp crease and an even cut. Run the bone folder along every fold to flatten the fibers; a well-set crease is what makes a dart plane fly straight instead of veering. For chains, cut uniform strips about 3/4 inch wide and 6 inches long, loop, and glue. Origami cranes are the natural next step, they use only valley and mountain folds and reward precise corners.
Intermediate Builds
Greeting cards move you from folding to composition. Score the fold line first with a bone folder against a ruler so cardstock bends without cracking the surface. Rolled paper beads turn magazine pages into jewelry: cut long triangles, roll from the wide end around a skewer, and seal with a coat of PVA or clear varnish so they hold their shape. A paper trimmer speeds up cutting repeated strips and keeps edges square.
Advanced Techniques
Quilling uses narrow strips (usually 3 mm wide) wound around a slotted tool into coils, then pinched into teardrops, marquises, and scrolls that build up into flowers or lettering. Paper mache works on the opposite principle: torn strips dipped in a flour-and-water paste (roughly one part flour to two parts water) layered over a balloon or bowl mold, dried fully between coats, then painted. Pop-up cards add basic paper engineering, a single central cut and fold creates a box that springs forward when the card opens.
Common Mistakes and Fixes
Most failed projects trace back to a few repeat errors. Fixing them costs nothing.
- Warped, wet-looking glue lines: too much liquid glue on thin paper. Switch to a glue stick or apply PVA with a thin brush.
- Cracked folds on cardstock: you folded without scoring. Always score heavy paper first.
- Uneven origami: corners not meeting. Slow down and align edges before creasing, not after.
- Curling cards: paper too light for the design. Move up a weight to 250-300 gsm cardstock.
Safety scales with the tool. Children should use blunt-tip safety scissors and non-toxic glue; craft knives and hot tools belong to adults. Keep beads and small quilling strips away from toddlers, who treat them as snacks.
Seasonal and Cultural Ideas
Paper crafting maps neatly onto the calendar and onto traditions worth exploring. Spring suits pastel origami flowers and Easter baskets; summer fits folded paper fans and kites; autumn calls for cut-paper leaves and wreaths; winter is snowflakes and pop-up trees. Three long-running traditions are worth learning from directly: Japanese origami, Mexican papel picado banners cut from tissue paper, and Chinese jianzhi paper cutting. Each uses the same cheap material you already have, and studying their folds and cuts is a fast way to sharpen your own. Keep finished flat pieces in plastic sleeves and store dimensional work upright so it does not crush, and a modest paper habit will keep producing cards and gifts for years.
Related Posts

Beginner Pottery Wheel Speed for Centering
Centering clay needs high wheel speed and firm pressure. Most beginners use too low speed.

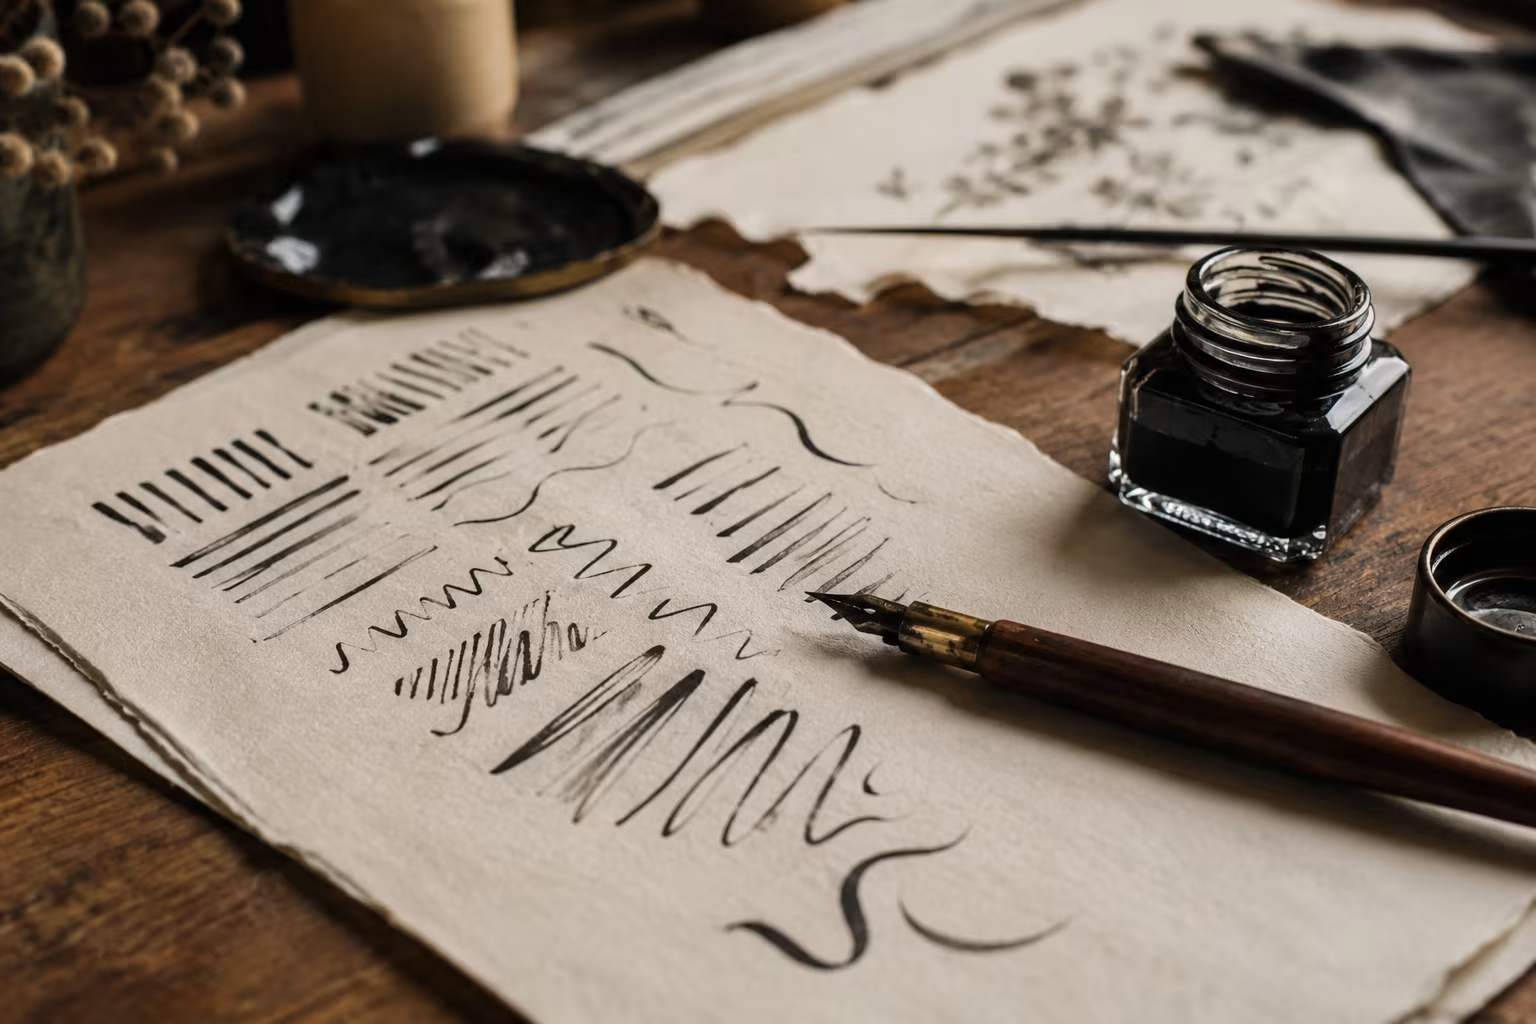
Calligraphy Ink Comparison for Cotton Paper
Modern dip pen calligraphy needs ink that doesn't bleed on absorbent cotton paper. India ink...
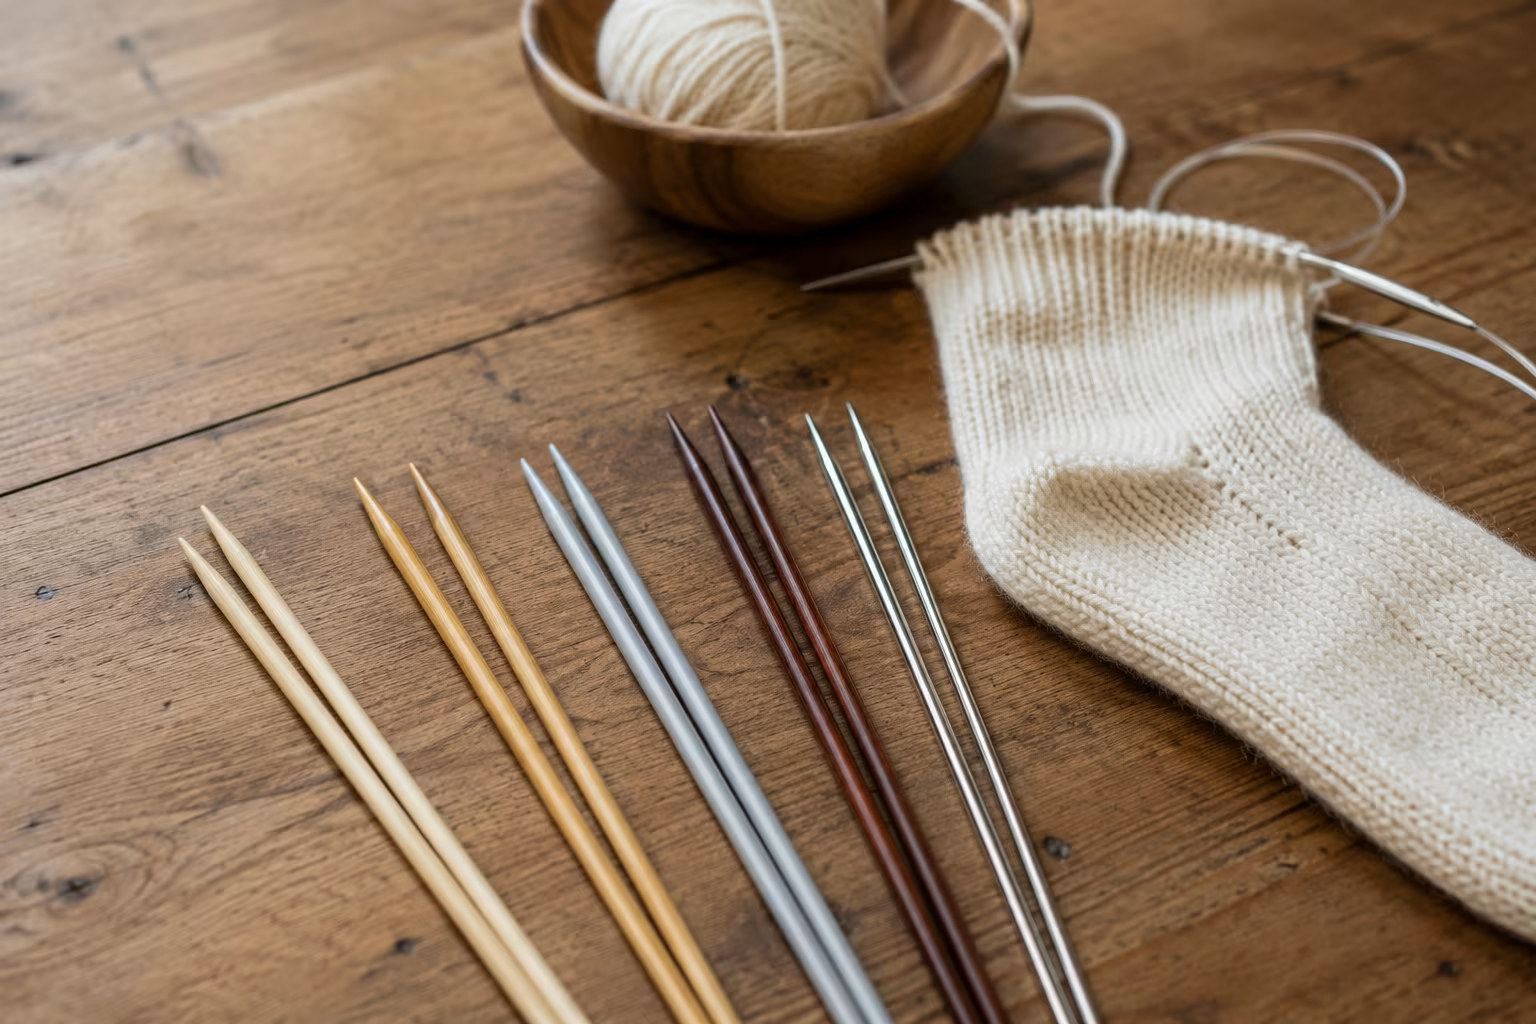
Knitting Needle Materials Compared: Wood vs Metal vs Plastic
Knitting needle material changes how stitches slide, how cold or warm the needle feels, and how...
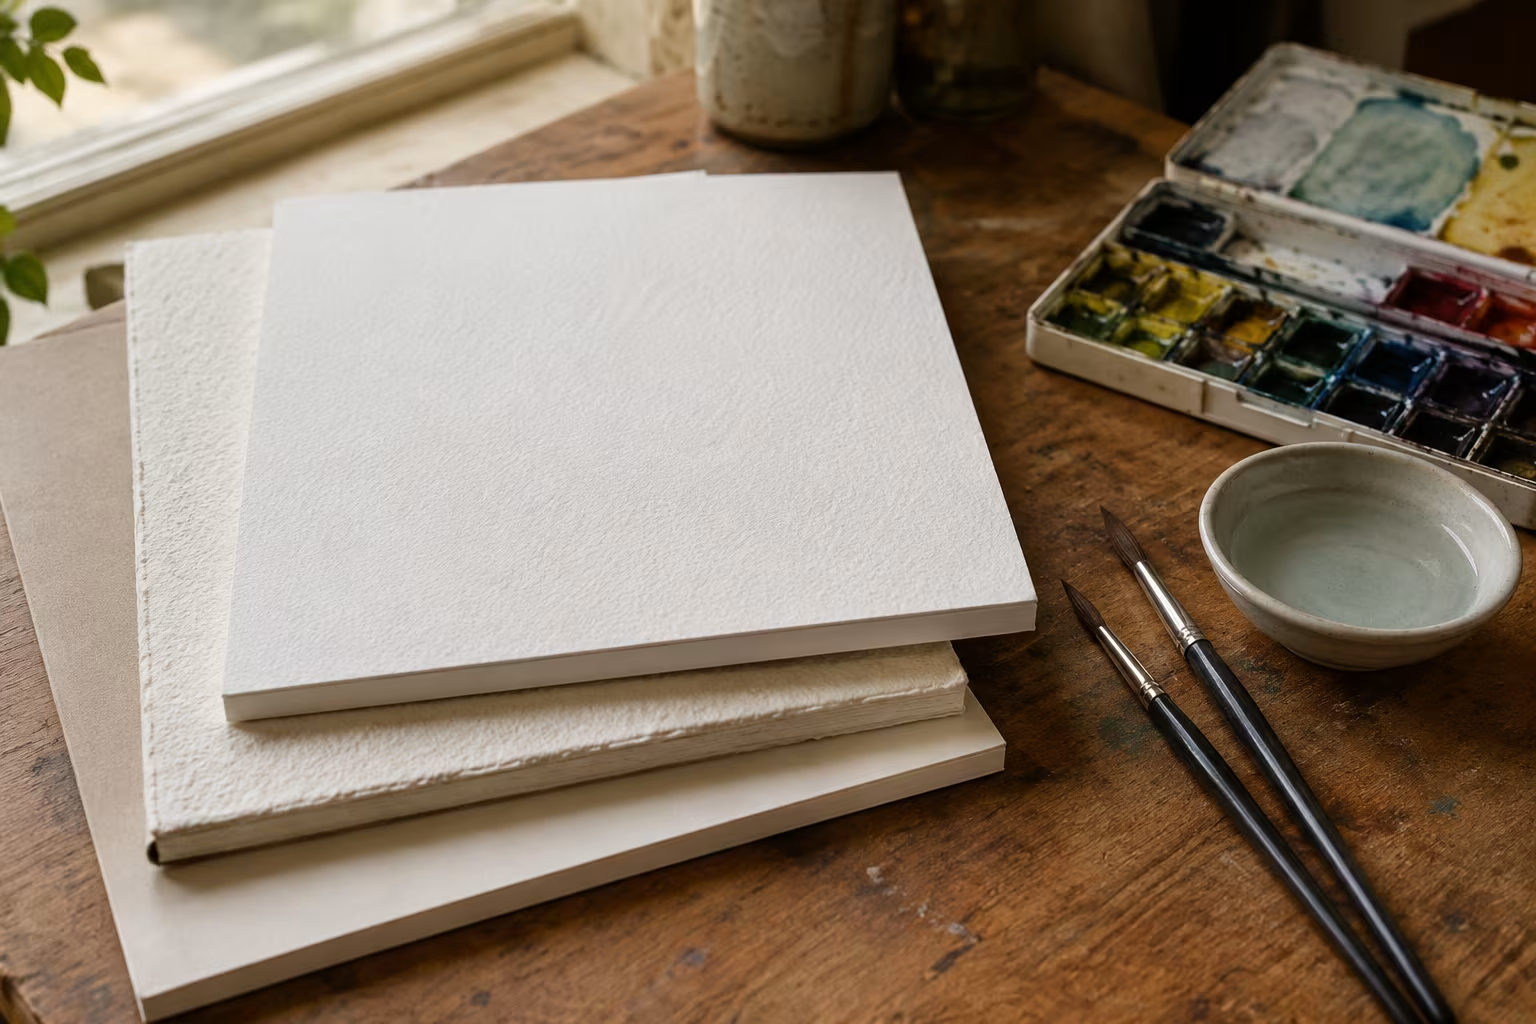
Beginner Watercolor Paper Choice for Textured Washes
Watercolor paper is the single biggest gear decision a beginner makes. Weight, surface texture...
Comments
No comments yet. Be the first to share your thoughts!