
The Best Ways to Display Meaningful Souvenirs Without Creating Mess
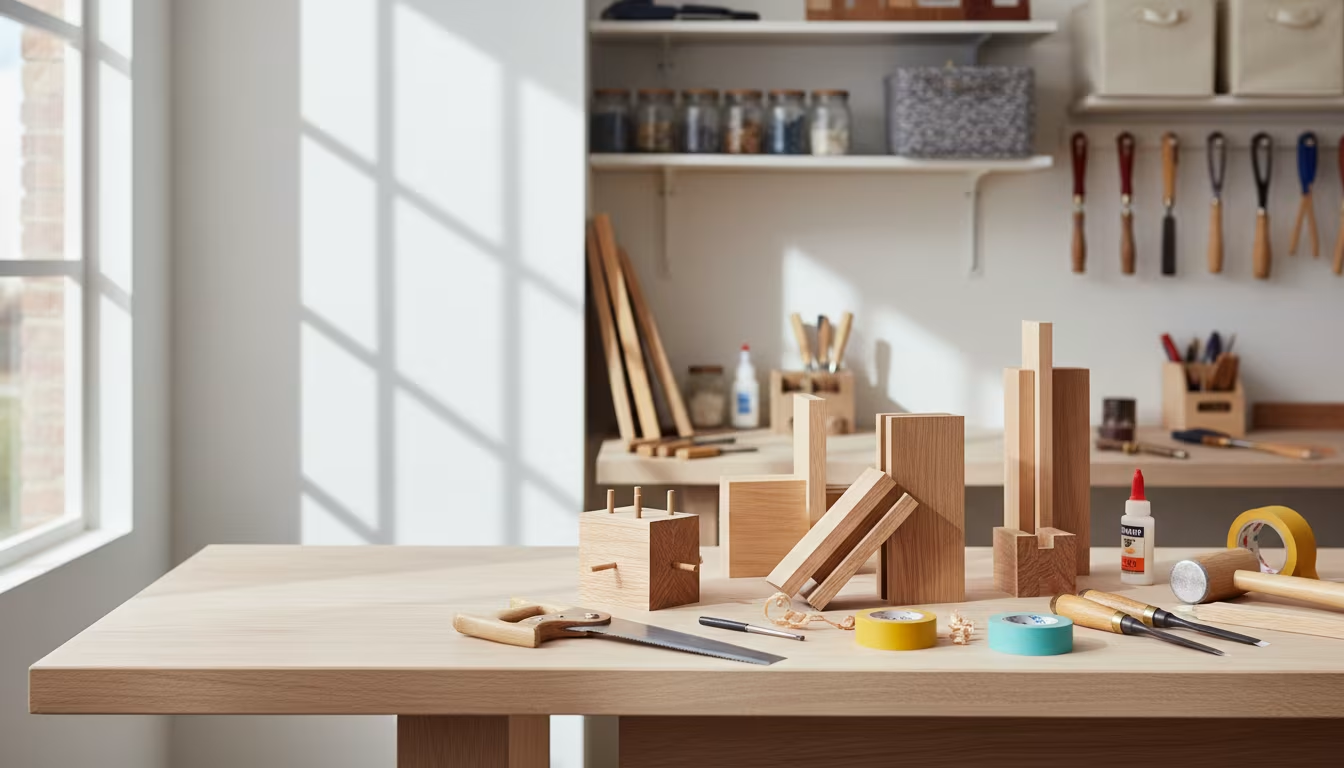
Souvenirs slide from keepsake to clutter fast: a shelf of unrelated trinkets—a mini Eiffel Tower, loose sea glass, old postcards, a ceramic owl—reads as visual noise rather than memory. The fix is not more storage but editing and arrangement. A curated few pieces, grouped and given room, carry more feeling than a crowded surface, and they are far easier to keep dusted.
Start by choosing keepers
In the moment of a trip, everything feels special. Back home, most items lose that charge. Sort honestly against three questions:
- Does it trigger a specific memory? A stone from a particular beach beats a generic mug that could have come from anywhere.
- Does it fit the room? A rustic carving in a bright modern room needs deliberate placement, or a better home in another room.
- Is it unique? Mass-produced items can still matter if they mark an event, but handmade or one-off pieces usually carry a stronger story.
Anything that fails all three can be stored for a later rotation or let go. Clearing a "cute but meaningless" piece frees space for one that earns its spot, and the collection reads stronger for the edit rather than weaker. If a decision is hard, box the maybes for a month; the ones you never think about answer the question themselves.
Group, then arrange
Grouping like with like is the fastest way to make a collection look intentional. Shells in one bowl, postcards framed together, small ceramics on a single shelf—individual clutter becomes a deliberate display. A handful of hiking stones scattered across a desk looks like mess; the same stones in a shallow $5 wooden bowl reads as a collection, and the change takes under a minute.
For arrangements on a surface, build a vignette: a small, intentional grouping that tells one story. Odd numbers work better than even—three or five items rather than two or four. Vary height and texture, place the tallest piece at the back, and layer smaller items in front. Adding one natural element, a plant or a stone, softens the group. A vignette of a flat beach stone, a framed photo from that same beach, and a small succulent takes about ten minutes and looks cohesive. Give the arrangement a base too—a book stack, a small tray, or a runner—so the pieces read as one unit rather than scattered objects.
Use vertical space and shadow boxes
Surfaces fill up; walls do not. Floating shelves add display room with clean lines, and wall grids with clips hold postcards and flat souvenirs. This matters most in small apartments where counter space is scarce.
A shadow box is the strongest tool for small, flat, or fragile mementos—ticket stubs, pressed flowers, shells, bottle caps, small figurines. Arrange the items inside with a dab of hot glue or mounting putty, and a jumble becomes framed art that stays dust-free behind glass. Craft-store shadow boxes run about $10 on sale and come in a range of depths, so pick one deep enough for your bulkiest piece.
Small loose items are the worst offenders for looking like junk. Trays, decorative bowls, and shadow boxes corral them into one intentional statement instead of a dozen scattered pieces. A simple wooden tray under a group of trinkets, or a clear glass bowl holding a single type of item, reads as deliberate rather than forgotten, and it makes the whole surface faster to dust.
Repurpose everyday objects for display
Display solutions do not have to be bought. Wooden crates on their sides stack into rustic shelves. Clean spaghetti or pickle jars hold sand, shells, or pebbles. An old picture frame, sanded and repainted, can frame postcards or ticket stubs. A beat-up $3 garage-sale shadow box needs only sanding, a coat of paint, and new backing paper to display pressed flowers or a dried leaf.
Photography extends the idea further: an object too big to bring home—a mural, a large piece of driftwood—can be printed on matte paper and framed, keeping the memory without the bulk and blending more easily into existing decor. Souvenirs also feel deliberate when tied to what you already own: a colored ceramic plate echoing the blues in your throw pillows, a brass figurine resting on a stack of travel books. Connecting each piece by color, material, or theme makes it look placed, not dropped.
Create dedicated memory zones
Sprinkling souvenirs across every room tends to read as clutter. Concentrating them into one or two "memory zones" gives them impact without overwhelming the whole house. A single travel bookshelf, a hallway gallery wall, or one cabinet can hold related items together with a clear purpose. An inexpensive world map on the wall, ringed with pinned postcards, small photos, and collected pins, turns a scattered pile into one focal point that tells the whole travel story from a single wall. Concentrating the collection this way also confines the dusting and rearranging to one spot instead of every shelf in the house.
Common display mistakes
Even a well-chosen collection slips back into clutter through a few repeatable errors. Watching for these keeps a display looking curated over the long run rather than drifting back into a pile:
Showing too much. When every surface is covered, the eye has nowhere to rest. Be selective and give each piece room.
No unifying thread. A random spread feels jarring. Tie each display area together by color, material, or a single trip.
Ignoring function. Do not place fragile items in walkways or where dusting means moving ten things; a display that is hard to clean stops getting cleaned.
Never rotating. Store some pieces and swap them seasonally. It keeps the space fresh and prevents the display from fading into background you stop noticing.
Ignoring scale. A thimble alone on a wide mantel looks lost; a bulky piece on a small shelf overpowers it. Match item size to the space and vary heights within a group for balance.
Neglecting upkeep. Dust makes a display look forgotten rather than cherished. Keep displays where regular cleaning reaches them, and use enclosed shadow boxes for the pieces you do not want to dust often.
Display containers and their price tags:
| Container | Cost | Effect |
|---|---|---|
| Shallow wooden bowl | about $5 | scattered stones become a collection |
| Craft-store shadow box | about $10 on sale | pick the depth for your bulkiest piece |
| Garage-sale shadow box | about $3 + paint and backing paper | good enough for pressed flowers and tickets |
Related Posts
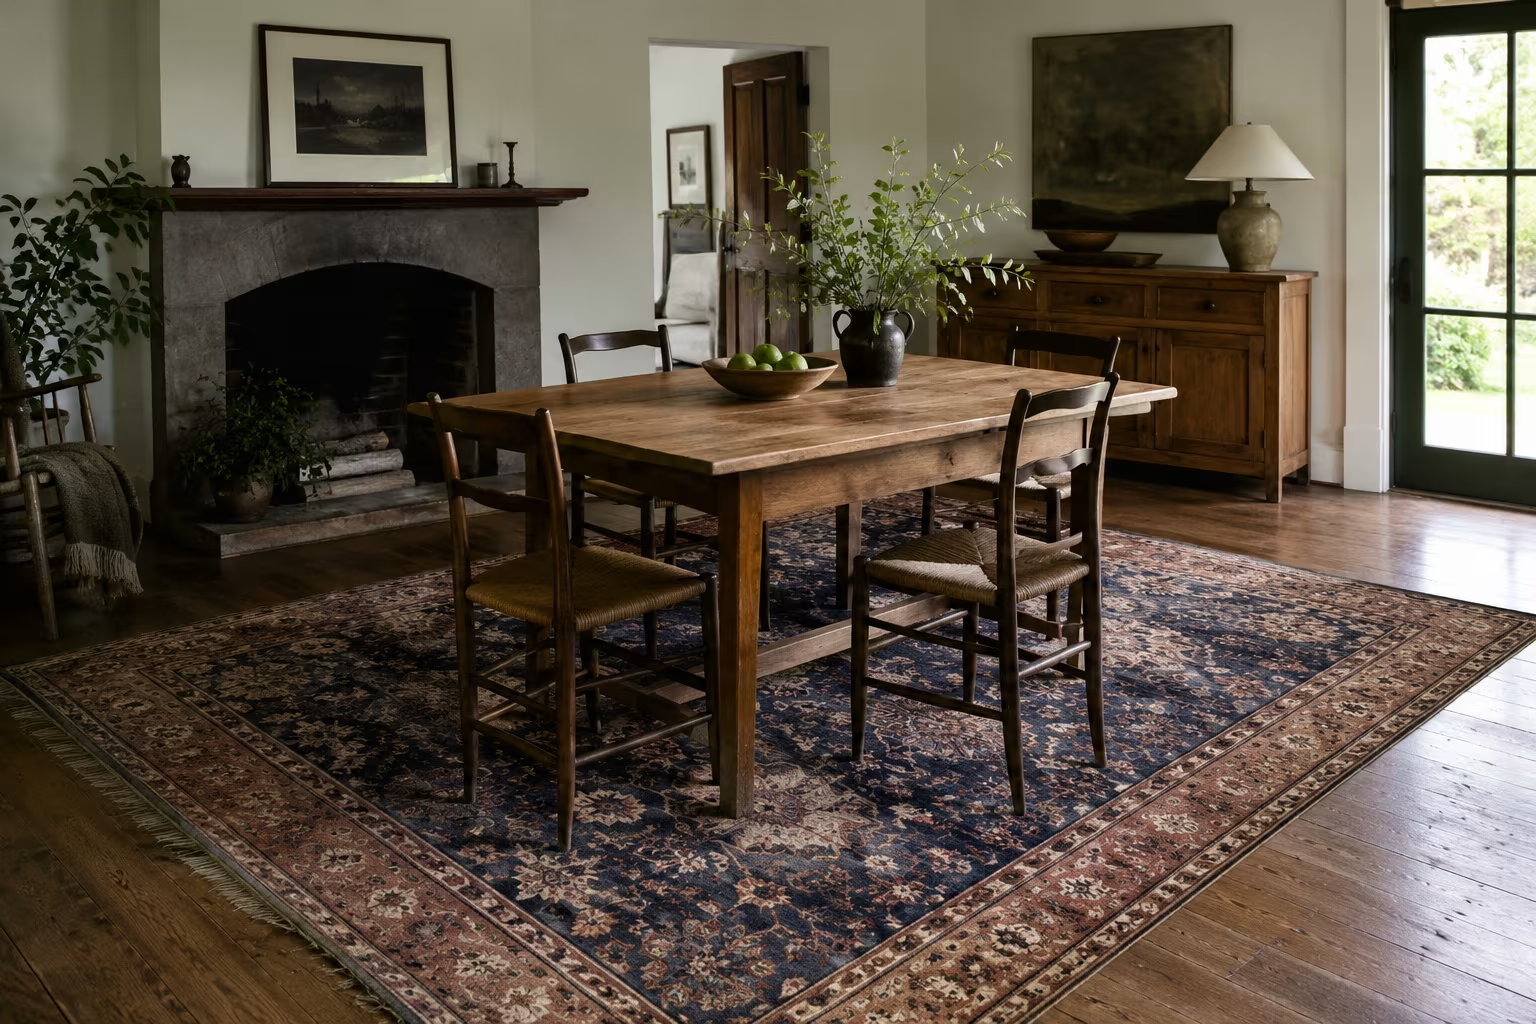
Area Rug Size Under Dining Table
A rug too small under dining table looks like a mistake. Chairs must stay on rug when pulled out.


Sofa Pillow Combinations That Don't Fight
Throw pillows pile up over years. Rules for color, texture, pattern, and size.
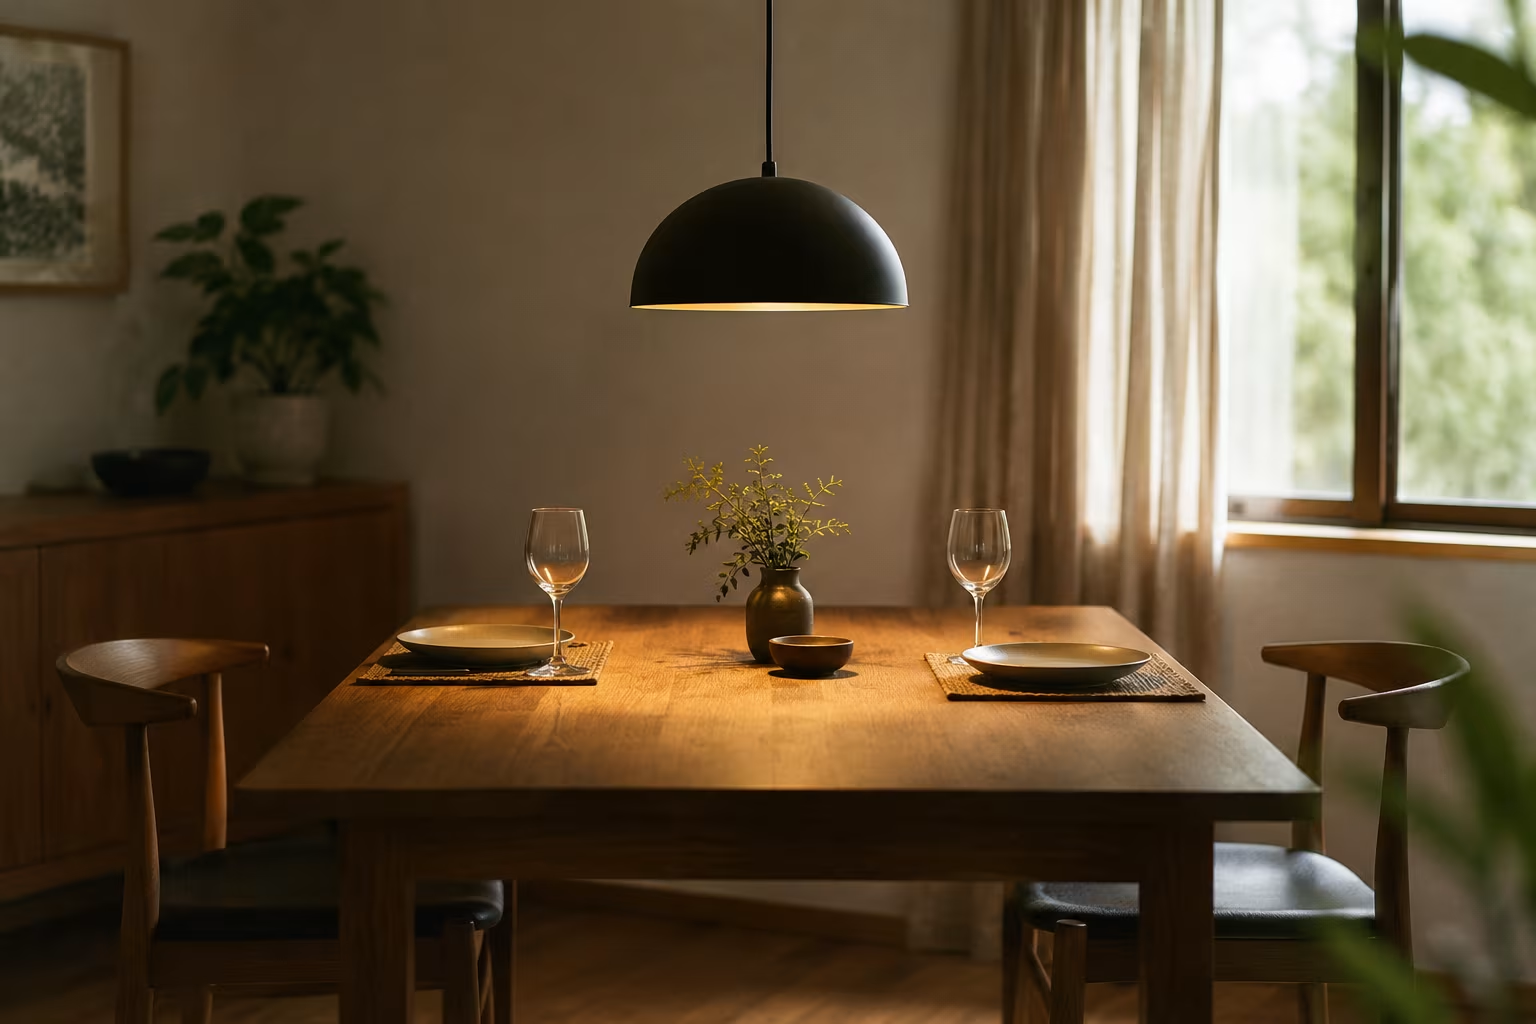
Light Fixture Height Over Dining Table: The Rule
The right pendant light height over a dining table is calculated, not guessed. The standard...
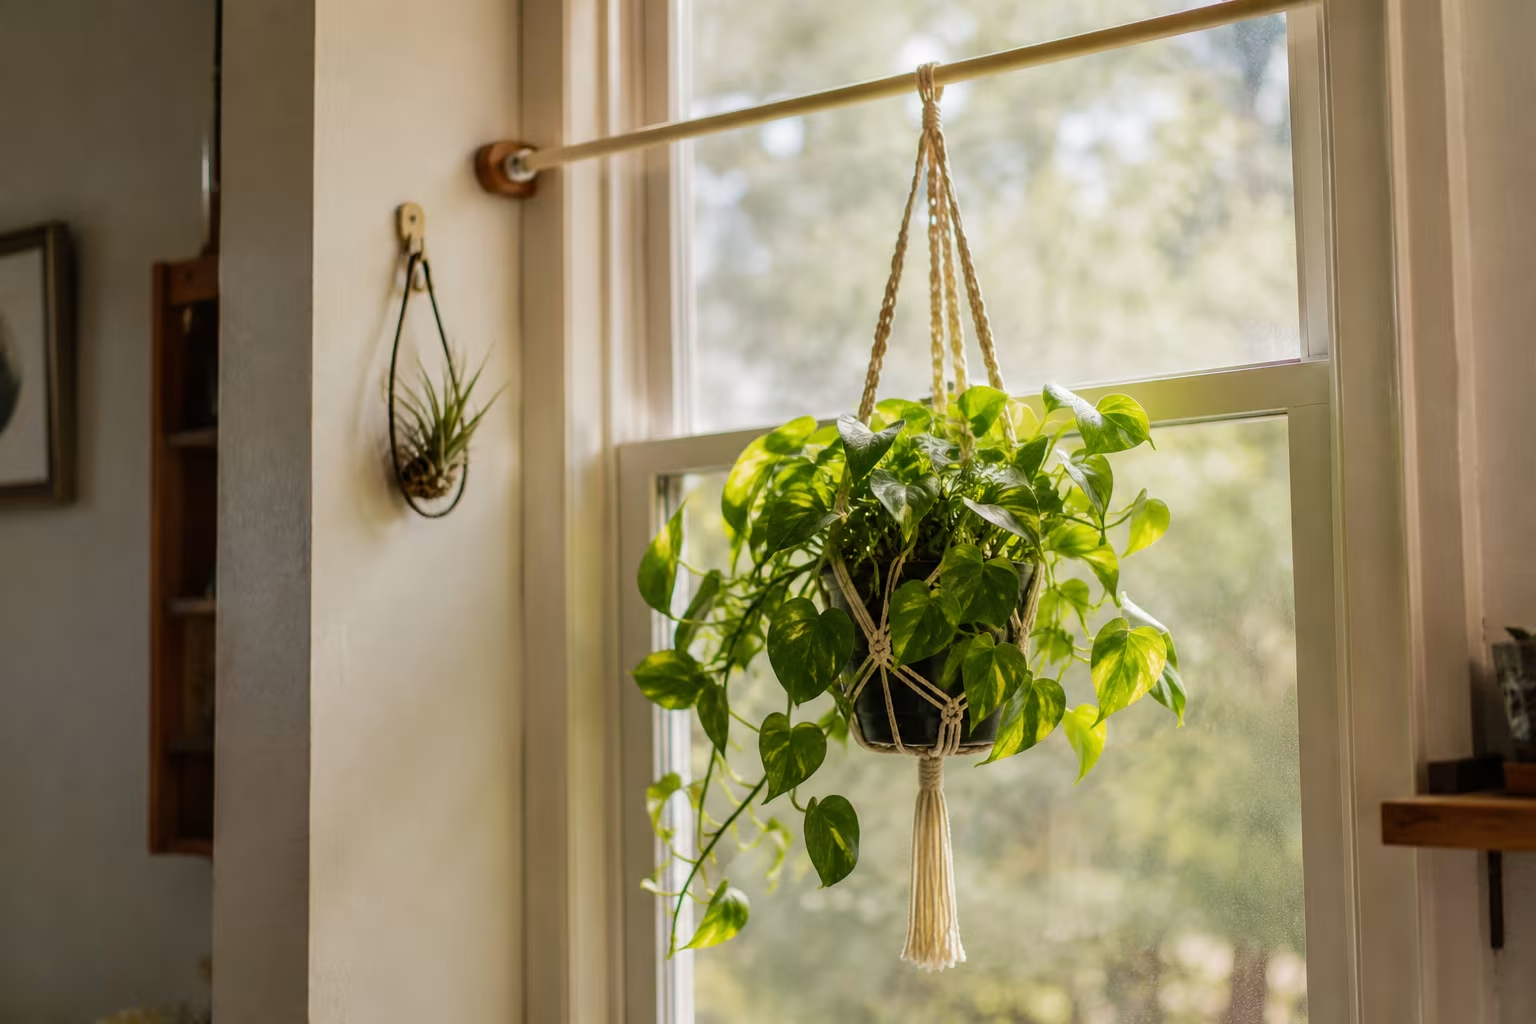
Hanging Plants Without Ceiling Hooks for Renters
Hanging plants brighten any room but drilling into the ceiling isn't always an option....
Comments
No comments yet. Be the first to share your thoughts!