Resin Doming Without Bubbles: A Calm, Reliable Method
The short answer
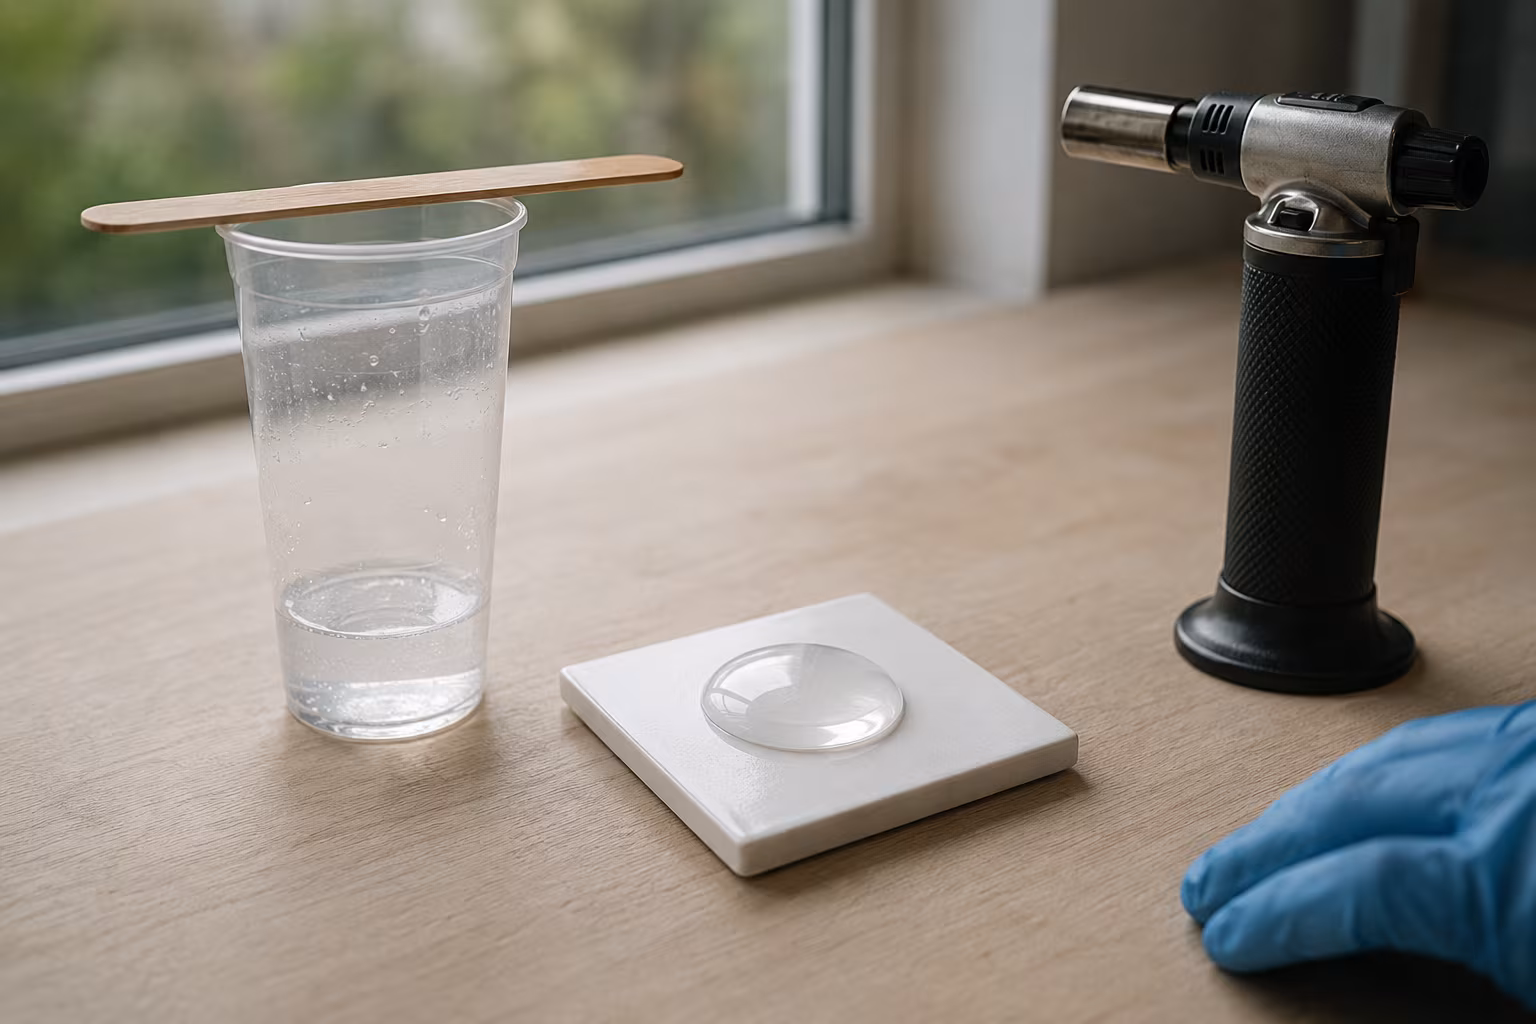
Most bubbles never have to be removed because they were never introduced. The simplest doming routine that gives consistent results is this: warm the unmixed bottles in a bowl of hot tap water for ten minutes, measure carefully by volume (or weight if the brand specifies it), stir slowly with a flat stir stick for three full minutes scraping sides and bottom, let the mixed cup sit five to ten minutes so the air rises out, then pour in one slow continuous stream from a low height onto a perfectly level surface. Pass a small butane torch quickly across the dome from about six inches away, no more than two passes. That is the entire method.
The single biggest controllable variable is air-in. Whisk-stirring, fast pouring, and scraping a high-friction stick all introduce more air than the torch can pull back out. If you slow the input down, you will almost never need to chase bubbles aggressively.
What actually causes the bubbles
Three distinct mechanisms put bubbles in cured resin and each has a different fix.
Mixing-introduced air. The act of stirring two viscous liquids together drags air down with the stick. This is the bulk of bubbles in most pieces. Slow circular stirring with a flat stick (not a round chopstick, not a kitchen whisk) and a longer stir time gets you a homogeneous mix with far less entrained air than fast stirring for a shorter time.
Surface outgassing from the substrate. Wood, plaster, painted MDF, polymer clay, dried air-dry clay, and ceramic all hold air in their pores. When warm resin meets a cold porous surface, that air rises through the resin as it sits. Seal porous surfaces with a thin sealer coat first (a wash of Mod Podge, a thin spritz of acrylic spray sealer, or a thin flood coat of the same resin allowed to cure), and the outgassing problem disappears.
Cold resin off-gassing. If the resin is cold when poured, it warms up after the pour, and that warming expands trapped microbubbles into visible ones. Pre-warming the bottles solves this — not warming the mix after it is combined, which can accelerate the cure too early.
If you keep seeing bubbles after a torch sweep, work the diagnosis in that order: stirring, surface, temperature.
Pour technique: less air in, easier release out
Mix in a tall, narrow cup rather than a wide shallow one. The taller column lets bubbles rise out before pouring; the narrower opening also lets you pour in a smaller, more controlled stream.
Let the mixed cup rest after stirring. Five to ten minutes is enough for most one-to-one and two-to-one consumer epoxies. The cup will visibly clarify — you can watch microbubbles march to the top. If the pot life of your resin is short (some are only fifteen minutes total), shorten the rest and accept slightly more torch work.
Pour in one continuous, slow stream from a low height — roughly an inch above the surface for thin doming, never more than two or three. A high pour traps air on impact; a stop-start pour creates folded layers. Move the stream methodically from one corner to the other so the resin self-levels rather than chasing it with a stick.
Leave a tiny rim of unwet surface around the edge for the first thirty seconds, then guide the resin to the edge with a toothpick or wooden skewer rather than dragging it with the cup. Surface tension does the doming work; your job is to let it.
Heat: torch vs heat gun vs hair dryer
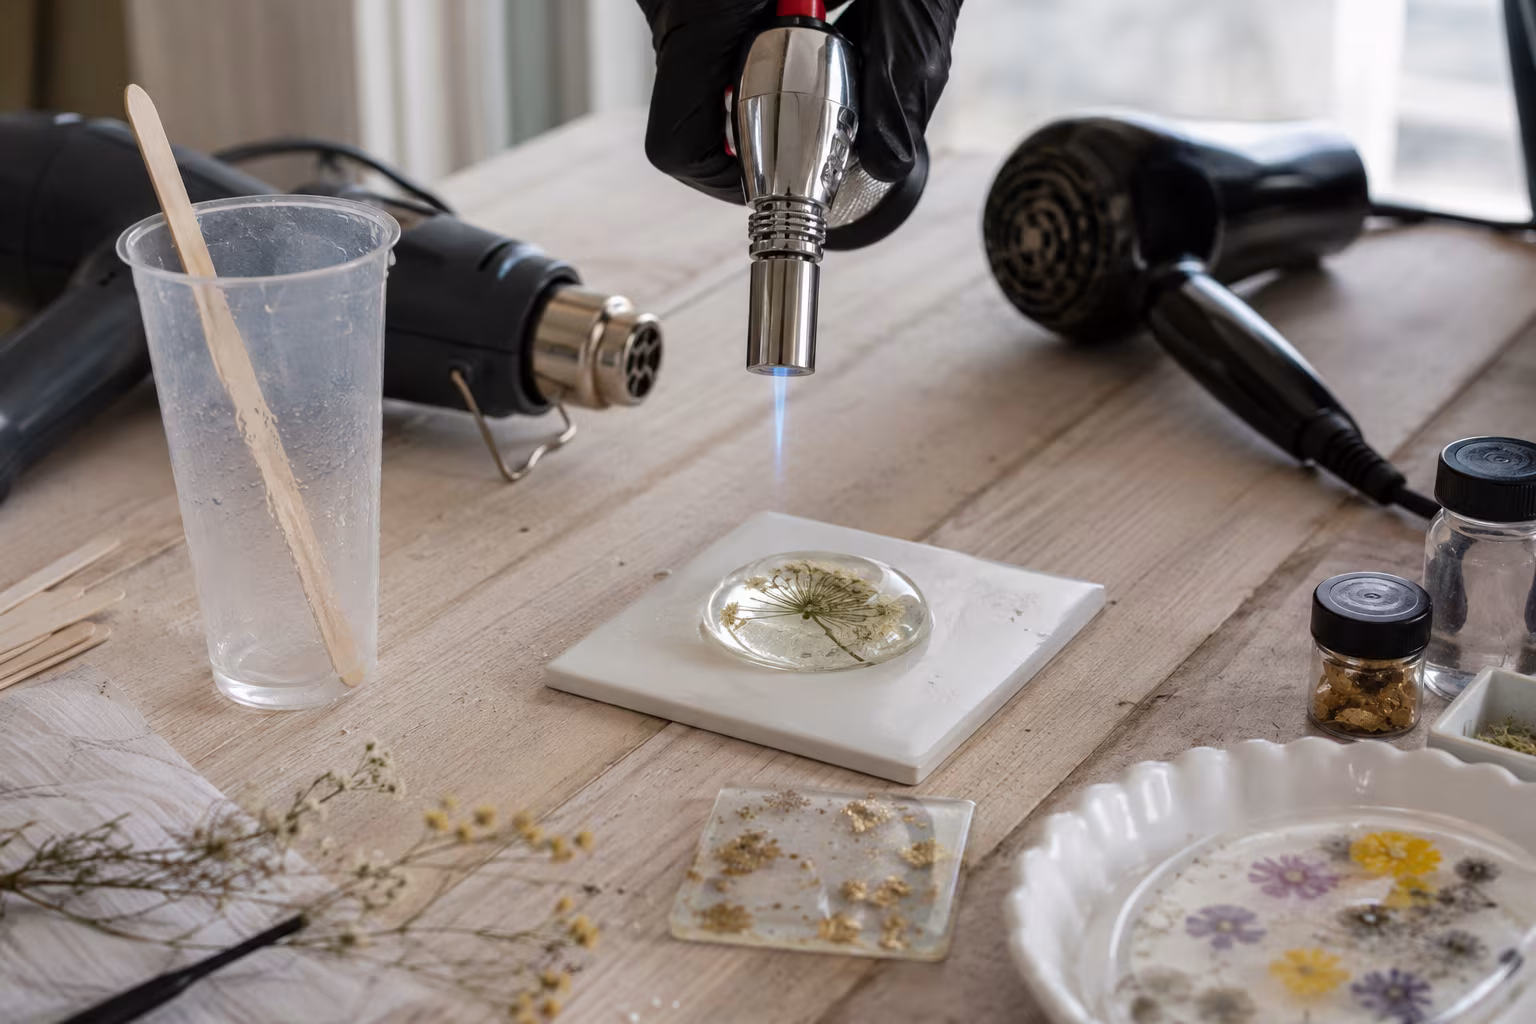
A small butane torch is the most controllable bubble remover and the most-recommended tool in the doming guides. The flame should kiss the surface, not point at it; hold the torch four to six inches above the dome and keep it moving constantly in a back-and-forth sweep like ironing. Two full passes is usually enough. The bubbles rise to within a quarter-inch of the surface during the rest period; the torch just opens the last skin of resin so they can pop.
Heat guns work but are less surgical. They run cooler and wider, which means longer dwell time per spot and a real risk of blowing dust onto the wet dome. If you use one, hold it at six to eight inches and move continuously; never park it.
Hair dryers are not hot enough to reliably pop epoxy bubbles and they push a much larger volume of air, which means more dust, more wind-rippled dome surfaces, and limited bubble release. Skip them.
Whatever heat source you use, three errors cause visible damage: lingering in one spot (creates a divot or yellow scorch), waving the heat after the resin has skinned over (rips the surface), and starting before the resin has rested (you are popping the wrong layer of bubbles).
How high you can dome before it spills
Doming relies on surface tension to keep the resin domed above the edge. The amount of doming you can achieve depends on three things: the viscosity of the resin, the smoothness and cleanliness of the edge, and how level the surface is.
High-viscosity doming-specific resins (typically advertised in the 1,500-5,000 cps range) hold a clear convex dome that can rise three to six millimetres above a one-inch substrate. Thinner casting or coating resins (often 500-1,200 cps) dome less and slump faster. Pick the right product for the job — a casting resin will not dome well no matter how careful your pour.
The edge is the failure point. A rough, splintered, or dusty edge breaks surface tension and the resin runs off. Sand the edge clean, wipe it with isopropyl alcohol, and let it dry fully before pouring. Some makers add a thin painted line of resin or a strip of clear packing tape just below the edge to give the dome a clean stop line.
Level is non-negotiable. Use a small spirit level on the work surface itself, not just the bench. A 1-degree slope across a 5cm pendant pushes the entire dome to one side and creates a fat edge and a thin edge instead of an even crown.
If you want a dome above what surface tension can hold, the answer is two pours: a flood coat first, fully cured, then a second smaller central pour for the dome.
Cure environment: temperature and humidity
Most consumer epoxies cure best at room temperature in the 22-24°C (72-75°F) range and below 60% relative humidity. Cold rooms slow the cure and cause hazing on the surface; humid air can cause a slightly waxy or cloudy finish on some brands; very hot rooms can cure-shock the resin and create heat-rippled surfaces.
The practical setup is a covered box (a plastic storage tote inverted over the piece, or a dedicated dust cover) sitting in a heated, dry room for the full cure window the manufacturer states. The cover keeps dust off; the room handles the temperature. Resist the urge to leave the piece next to a radiator — that creates a temperature gradient through the dome and can deform it.
If the cured surface is slightly tacky and your stirring and ratio were correct, the cure environment is the usual culprit. Move the piece to a warmer, drier spot and give it another 24-48 hours before assuming the resin failed.
UV resin as an alternative for small pieces

For pieces under about four centimetres across, UV resin avoids the doming bubble problem in a different way. It is pre-mixed, so there is no stirring to introduce air; it cures in seconds under a UV lamp, so bubbles do not have time to migrate and become problems; and a single small bottle goes far for pendants and earrings.
The trade-offs are real. UV resin per millilitre is significantly more expensive than two-part epoxy. It cures harder and slightly more brittle. UV light cannot penetrate opaque inclusions or thick (over about 5mm) pours, so it is poor for deep castings or pieces with metal foil. Many jewellery makers build the body in epoxy and add a final UV-resin top dome for the gloss layer.
If you are making one-offs and the dome is small, UV is the simpler tool. If you are batching a dozen pendants at a time, epoxy is cheaper and gives you a window where you can fix problems.
When bubbles still appear: rescuing a piece
If the dome is still wet and you spot a bubble, work it to the surface with the tip of a toothpick rather than a sweep of heat — heat at this stage chases other bubbles around as well. Lift, do not stir.
If the bubble appears after the resin has started to skin (about 30-45 minutes in for most consumer epoxies), leave it. Trying to pop it through the skin tears the surface. Let the piece fully cure, then sand the area carefully with 400 grit wet-and-dry sandpaper around the visible bubble, drill it out gently with a small bit, and patch with a second tiny pour of the same resin. The fix is invisible on transparent doming and only barely visible on coloured.
If the entire surface cured cloudy or with a haze of microbubbles, sand the whole face flat with 400 then 800 grit, clean thoroughly with isopropyl alcohol, and pour a thin re-coat. Most rescues take the piece from unusable to acceptable in one extra evening of work.
Workspace setup that prevents most problems
Dust is the second enemy after bubbles. Set up the doming work in a room you can leave undisturbed for the full cure window — not a kitchen counter where you also cook, not a workshop where you sand wood, not a garage with traffic in and out. Particles that settle on a wet dome are visible forever once the resin cures, and removing them requires sanding back and re-pouring.
A simple dust shield: a cardboard box turned upside down over the piece, with one corner propped open for airflow if the resin is exotherming hot. A clear plastic storage tote works the same way and lets you see the surface without lifting the cover. Both options run almost free and prevent the most common visible defect in cured domed pieces.
Keep all tools and pour cups on a separate tray from the curing piece. The act of cleaning up after a pour is when most dust gets stirred up; if the cleanup happens beside the wet piece, that dust will land on it.
Keep gloves on through the whole session. Skin oils transfer to substrates and cause fish-eyeing in the resin around the contaminated spot. A new pair of nitrile gloves at the start of each piece is cheap insurance.
Common mistakes worth naming
Mixing too small a batch in a wide flat cup. The cup geometry matters; tall narrow cups release bubbles before pouring. A wide shallow cup traps bubbles and pours an aerated stream.
Torching too soon. The mixed resin needs five to ten minutes of rest before the torch sweep, otherwise you are popping bubbles that have not yet risen.
Torching too late. After 30-45 minutes most consumer epoxies have skinned over and torching tears the surface. Set a timer if you tend to wander off after a pour.
Pouring on a substrate that has not been sealed. Wood, MDF, plaster, dried clay, and ceramic outgas trapped air for hours. The bubbles you see are coming from the substrate, not the resin. Seal first, then pour.
Using the wrong resin for doming. Casting resin is too low-viscosity to hold a dome; table-top resin is also too thin in many cases. Buy resin specifically labelled for doming or coating, and check the viscosity rating on the bottle.
Forgetting to level the surface. A piece that tilts a single degree pours unevenly. A small bubble level on the actual work surface — not the bench — is the cheapest doming upgrade.
Related Posts
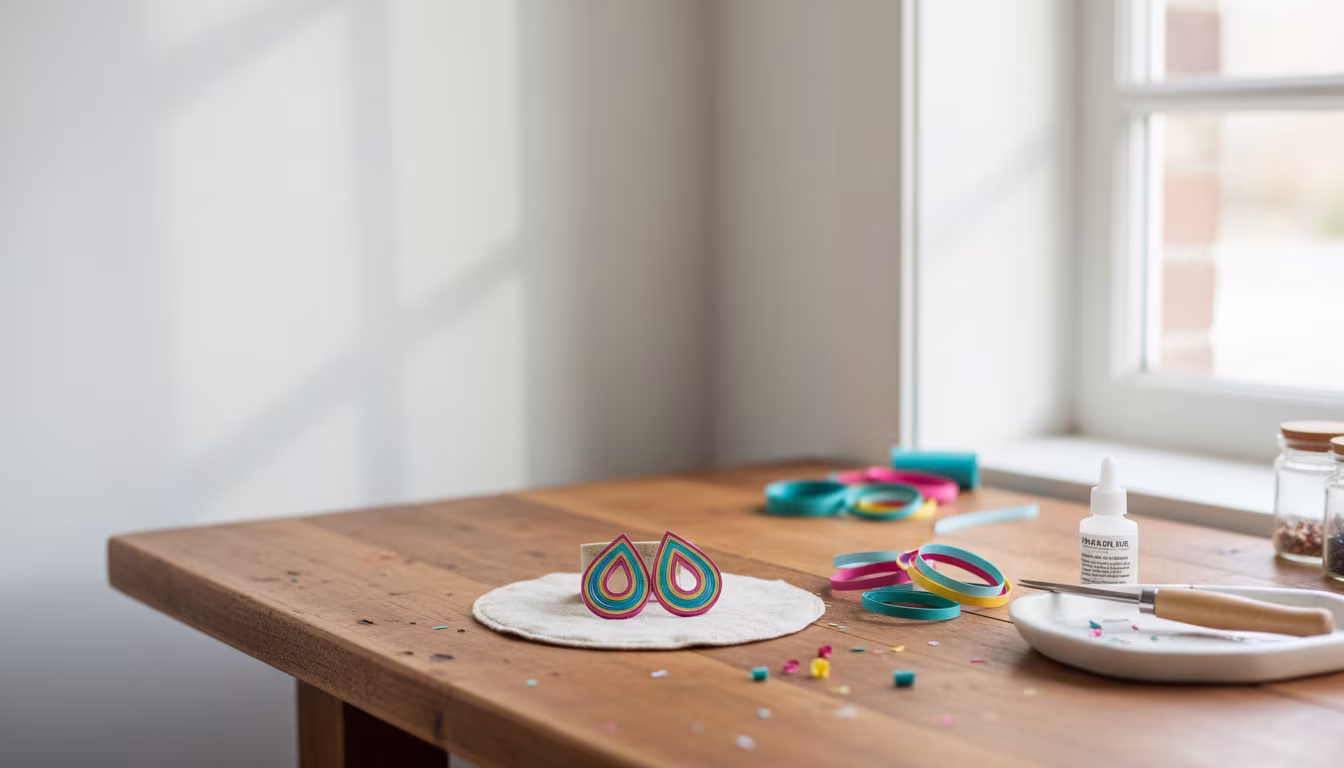
Why Quilling Earrings Are the Most Profitable Craft to Sell Online
Thinking about starting a craft business? You might be surprised to learn that delicate, colorful...
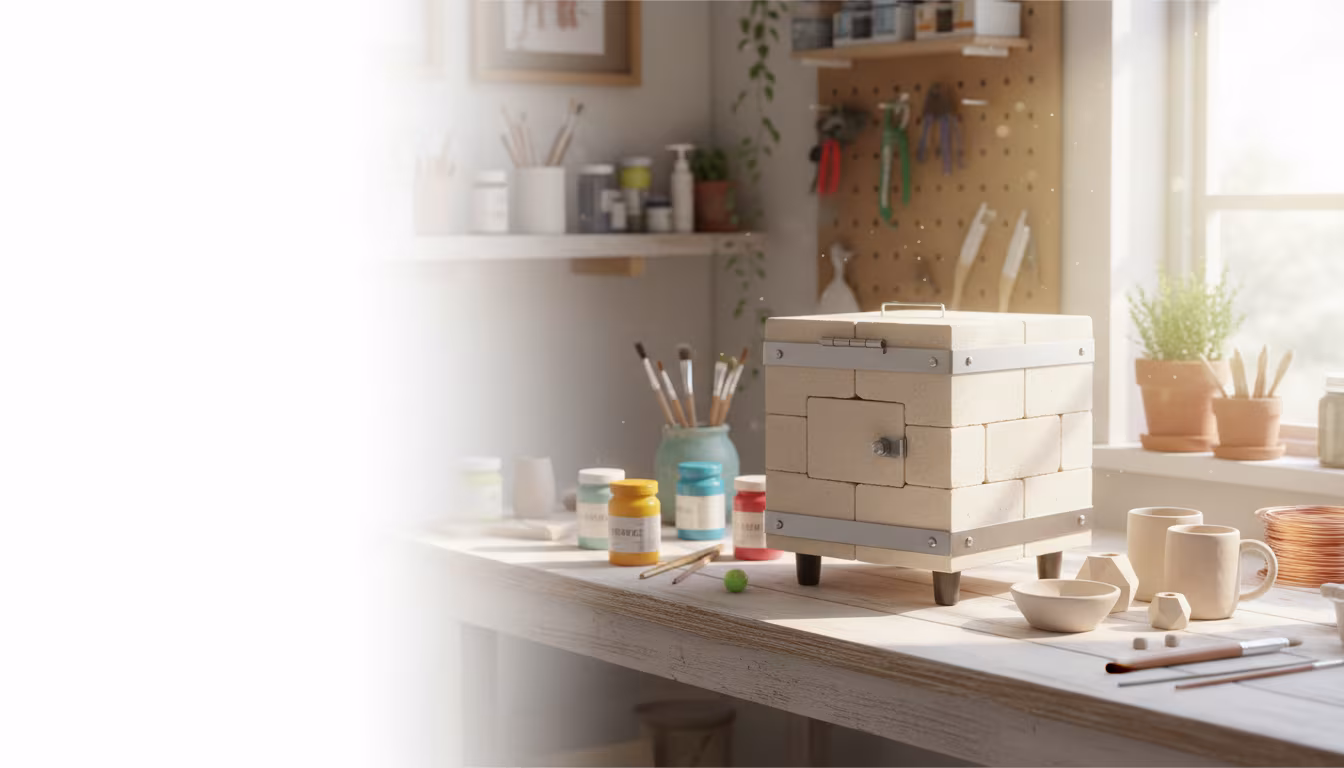
How to Build a Tabletop Kiln for Small Ceramic Projects
Dreaming of firing your own small ceramic creations at home? This beginner-friendly guide shows y...
How to Make Custom Wax Seal Stamps for Wedding Invitations
Dreaming of a truly unique touch for your wedding invitations? Craft your own custom wax seal sta...

Why Batik Dyeing Creates the Most Unique Patterns on Cotton
Ever wondered how those intricate, one-of-a-kind designs appear on batik fabric? It's all in the ...