Why Curating a "Landing Strip" Entryway Will Organize Your Life
Why Curating a "landing Strip" Entryway Will Organize Your Life
Hey there, fellow makers and chaos wranglers! 👋 Does this sound familiar: you walk in the door after a long day, keys in one hand, mail in the other, maybe a bag slung over your shoulder?
Before you even realize it, everything lands on the nearest flat surface. Suddenly, your dining table is buried, your counter is a minefield, and you can never find your sunglasses when you're rushing out the door the next morning. Yep, I've been there, a thousand times.
For years, my entryway (or lack thereof) was a black hole for anything that entered my apartment. I just couldn't get a handle on the daily clutter until I started thinking about it like a "landing strip." It sounds fancy, but it's really just a dedicated, thought-out space for all your coming-and-going essentials.
Today, I want to share why this tiny bit of intentional organization can have a surprisingly big impact on your whole home. We'll talk about what a landing strip actually is, how to set one up even if you don't have a grand foyer, and how to keep it from becoming just another pile of stuff. Let's dig in!
Why This Actually Matters
You might be thinking, "Laura, it's just a space by the door. How life-changing can it be?" And I totally get that thought. For the longest time, I brushed it off, too.
But here's the thing: those small, daily moments of friction, like hunting for your keys or tripping over shoes, really add up. They create tiny pockets of stress that chip away at your calm. Imagine starting your day feeling like you're already behind, just because you can't find your wallet.
For me, the real game-changer was when I realized how much mental energy I was expending just trying to keep track of my everyday items. It wasn't about being tidy; it was about saving my brainpower for creative projects, not for playing hide-and-seek with my car keys. When my entryway was a mess, my workshop often felt like one too – the chaos just spread.
Once I finally built a small, wall-mounted organizer from some scrap wood and painted it a cheerful yellow, I started noticing a difference. That small $10 investment in materials and two hours of my time saved me so much frustration. It meant fewer frantic searches, less lost mail, and a smoother transition from "outside world" to "home."
What Even Is an Entryway Landing Strip?
Okay, so "landing strip" might sound a bit like something out of an airport manual, but it's really just a fancy name for a functional, organized spot near your door. It's the designated place where all your "on-the-go" items naturally land and reside when you're home.
Think of it as the ultimate command center for your comings and goings. It's where your keys, wallet, phone, mail, and other daily essentials live. The goal is to create a spot so intuitive that you don't even have to think about where to put something down or pick something up.
Before I committed to this, my "landing strip" was literally any flat surface I could find – the edge of a bookcase, the top of a shoe pile, or sometimes just the floor. That wasn't working, obviously.
The beauty of a landing strip is that it doesn't have to be big or elaborate. It can be a tiny corner, a small shelf, or even just a few hooks. What matters is its intentionality and its ability to serve its purpose without becoming a catch-all for everything.
More Than Just a Coat Rack
When I first heard about this idea, I pictured a huge, custom-built mudroom. But that's not what we're aiming for here, unless you happen to have one! For most of us, especially in smaller homes or apartments like mine, it’s about making the most of what you've got.
It's about identifying the specific items that constantly enter and leave your home, and then creating a dedicated spot for each of them. It's a system that works for you, not against you, and it cuts down on decision fatigue.
- Keys, Wallet, Phone: These are the "big three" for most people. Having a designated tray or hook prevents those frantic "where are my keys?!" moments before you leave. I used to just toss mine anywhere, and finding them always added an extra five minutes to my commute.
- Mail and Papers: My old "system" was a towering stack on the kitchen counter. Now, a simple wall file keeps things contained. Sorting mail right away helps avoid those intimidating piles that are so easy to ignore.
- Bags and Outerwear: A few sturdy hooks or a small bench can make a huge difference. I built a simple bench from some reclaimed pallet wood for about $20. It's great for taking off shoes and provides some hidden storage too.
It's about anticipating your daily needs and designing a space that supports them. And honestly, it feels good to walk into a calm, ordered space after a busy day, rather than one that immediately adds to your mental load.
Setting up Your Own Entryway Command Center
Okay, so you're on board. You're tired of the clutter and ready for some smooth departures and calm arrivals. Here's how I went about setting up my own entryway landing strip, even in a small Portland apartment that doesn't really have an entryway.
You don't need a huge budget or a complete home renovation. I've done most of my setup with thrift store finds, scrap wood, and a little bit of elbow grease. The key is starting small and being mindful about what you truly need.
Step 1: Assess Your "drop Zone" Habits
Before you buy a single hook or build anything, spend a few days observing yourself. Where do you actually put things when you walk in the door? Be honest. Is it the kitchen counter? A chair in the living room? The floor?
My biggest offender was my kitchen island, which quickly became home to keys, sunglasses, random receipts, and even a rogue garden tool or two. Identifying this "natural" drop zone helped me see where my landing strip needed to be, even if it wasn't a traditional entryway.
This assessment is crucial because it tells you where the pain points are. You can design the prettiest entryway in the world, but if it's not convenient to where you naturally drop things, you won't use it. You're looking for patterns here, not perfection.
Step 2: Declutter Ruthlessly (but Smartly!)
Once you know where your stuff is landing, it's time to tackle the existing clutter. This isn't just about clearing a space; it's about deciding what needs to be in your entryway and what absolutely does not. This step can feel a little overwhelming, I know.
Go through everything currently cluttering your entryway or "drop zone." Ask yourself: "Does this item regularly leave or enter the house with me?" If the answer is no, it probably belongs somewhere else. That stack of magazines from 2021? Definitely not entryway material.
I found old shopping bags, empty coffee cups, and even a half-finished knitting project near my door. It was eye-opening to see how much random stuff had migrated there. Get rid of trash, put away things that belong elsewhere, and be firm with yourself. Less stuff means less to organize.
Step 3: Choose Your Core Furniture Pieces
Now that you've cleared the decks, it's time to think about the main components. This could be a small console table, a narrow shelf, a floating shelf, or even just a set of wall hooks. The size and type depend entirely on your space and needs.
For my small space, a narrow console table wasn't going to work. Instead, I built a simple, shallow floating shelf out of a piece of pine. It's about 24 inches long and 8 inches deep, perfect for holding a small tray and a couple of decorative items. It took me an afternoon to cut, sand, and paint.
If you have more room, a small bench with shoe storage underneath is a fantastic idea. I found a vintage wooden bench at a thrift store for $15, cleaned it up, and added some new hardware. It's now perfect for sitting down to tie shoes and keeps footwear off the floor.
Step 4: Smart Storage Solutions for Everything else
This is where the magic happens and where your crafty side can really shine! Once you have your main surface or piece of furniture, you need to add specific containers for specific items. This is how you prevent new clutter from forming.
Think about what you need to contain: keys, wallet, sunglasses, mail, masks, reusable bags, dog leash, etc. For keys and my wallet, I use a small wooden tray I painted with some abstract designs – a five-minute craft that made a big difference. For sunglasses, a small dish works great.
I also mounted a couple of decorative hooks I found at a craft store. One is for my purse, another for my reusable shopping bags, and a third for a light jacket. For mail, I crafted a simple wall-mounted mail slot from a piece of cardboard covered in patterned paper. It's a quick DIY that looks cute and keeps mail from piling up.
Consider small baskets for things like gloves, hats, or pet supplies. The goal is "a place for everything, and everything in its place" – a classic for a reason. Labeling baskets, especially if you have a family, can be really helpful too.
Step 5: Add Personal Touches (keep It Minimal)
Just because it's functional doesn't mean it can't be beautiful! This is your entryway, the first impression of your home. A little personalization goes a long way, but remember to keep it minimal to avoid reintroducing clutter.
I have a small framed print that I thrifted and repainted the frame for, along with a tiny succulent in a handmade pottery planter. These elements add warmth and personality without taking up too much precious surface area. A small mirror is also super practical for a quick check before heading out.
A simple piece of DIY art, a plant, or a scented candle can make the space feel more inviting. Just pick one or two items. Remember, the primary function of this space is organization, so aesthetics should support that, not overwhelm it.
Step 6: the "maintenance" Mindset
Setting up your landing strip is the first step, but keeping it organized is the real long-term win. This isn't a one-and-done project; it requires a little bit of ongoing attention. You know how quickly things can revert to their old ways.
My trick is a quick "reset" every evening. Before I head to bed, I take five minutes to put anything away that's ended up in the entryway but doesn't belong there. This means taking mail that needs to be filed to my office, putting shoes away in their basket, or hanging up a jacket.
This tiny daily habit prevents clutter from building up again. It's like doing the dishes after dinner – if you let it pile up, it becomes a much bigger, more daunting task. A few minutes each day keeps the landing strip ready for its next mission.
Common Entryway Woes (and How to Fix Them)
Even with the best intentions, a landing strip can still become a bit of a challenge. I've certainly had my moments where I walk in, tired, and just drop everything. It happens!
One common issue is letting "temporary" items become permanent. That package you need to return? It sits there for days. That jacket you wore once? It never makes it back to the closet. The key is to have a dedicated "temporary holding zone" if needed, but with a strict time limit.
"Your entryway isn't a storage unit; it's a launchpad. Every item should either be ready for departure or have a clear destination elsewhere in your home."
Another problem is overstuffing. You find a cool basket, then you fill it with everything. Remember the purpose: essential, frequently used items. If it's not those things, it needs to find a home somewhere else. Being selective is important.
Lastly, people sometimes forget to involve everyone in the household. If you live with others, communicate the new system. Show them where their keys, mail, and bags go. Consistency from everyone makes it so much easier to maintain.
Frequently Asked Questions
What if I Don't have a Formal Entryway?
You absolutely don't need a grand foyer! I don't have one either. Look for the wall space closest to your main entrance, even if it's in the living room or kitchen. A narrow floating shelf and some hooks can work wonders in even the smallest corner.
How Much Should I Spend on Entryway Organizers?
Honestly, as little as possible to start! My initial setup cost me less than $30 because I used scrap wood for a shelf and painted an old tray. Thrift stores are amazing for finding baskets, small tables, or unique hooks. You can absolutely DIY most of this stuff.
What are the Absolute Essentials for a Landing Strip?
At minimum, you need a spot for keys/wallet, and a spot for mail/papers. That could be a single hook and a small wall-mounted file. If you have space, a place for shoes and outerwear (like a small bench or some coat hooks) makes a huge difference too.
How do I Keep It from Becoming a Junk Pile Again?
The trick is consistency. Try to do a quick 5-minute tidy-up every evening. Put things away that don't belong, deal with mail immediately, and remind family members about the system. It's a habit you build over time, like any other.
Can This Really Make a Difference Beyond My Entryway?
Yes, totally! I found that once my entryway was organized, I felt less stressed and more capable of tackling other areas of my home. It creates a domino effect of calm. That initial feeling of control often motivates you to keep that feeling going in other spaces, too.
The Bottom Line
Creating an entryway landing strip isn't about achieving Pinterest perfection or having the most expensive organizers. It's about designing a small, functional space that makes your daily life a little smoother, a little calmer, and a lot less frustrating. It's about giving everything a home so you can spend less time searching and more time doing things you love, like making stuff! ❤️
Start small, observe your habits, and don't be afraid to experiment. You might be surprised at the big impact this little change can have on your whole outlook. Go ahead, give it a try!
Related Posts

The Secret to Making Your Home Smell Amazing Without Artificial Sprays
Tired of chemical-laden air fresheners? Learn how to fill your home with beautiful, natural scent...
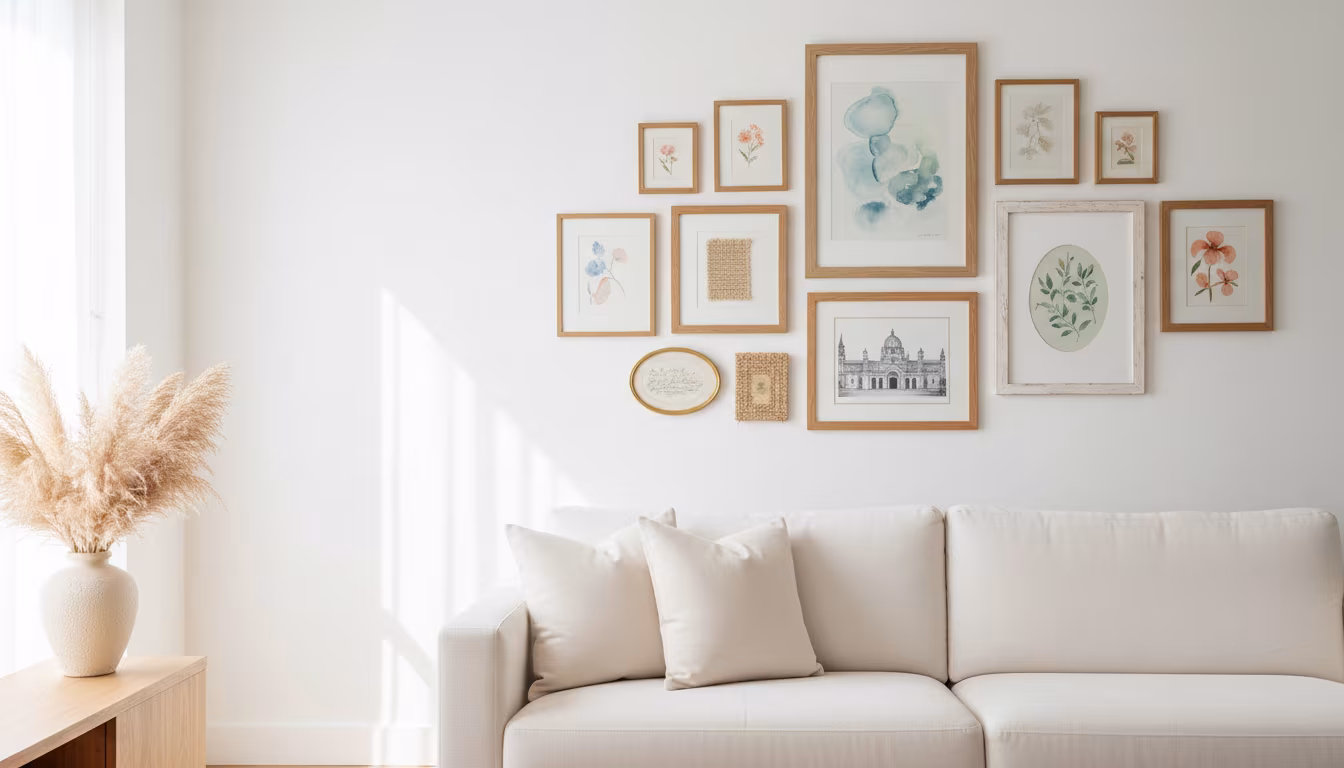
How to Arrange Art Above a Sofa Using the Right Proportions
Tired of staring at a blank wall above your couch? We'll show you exactly how to choose and arran...
How to Decorate a Rental Apartment Without Damaging Any Walls
Dreaming of a stylish rental pad but worried about losing your deposit? We've got you covered wit...
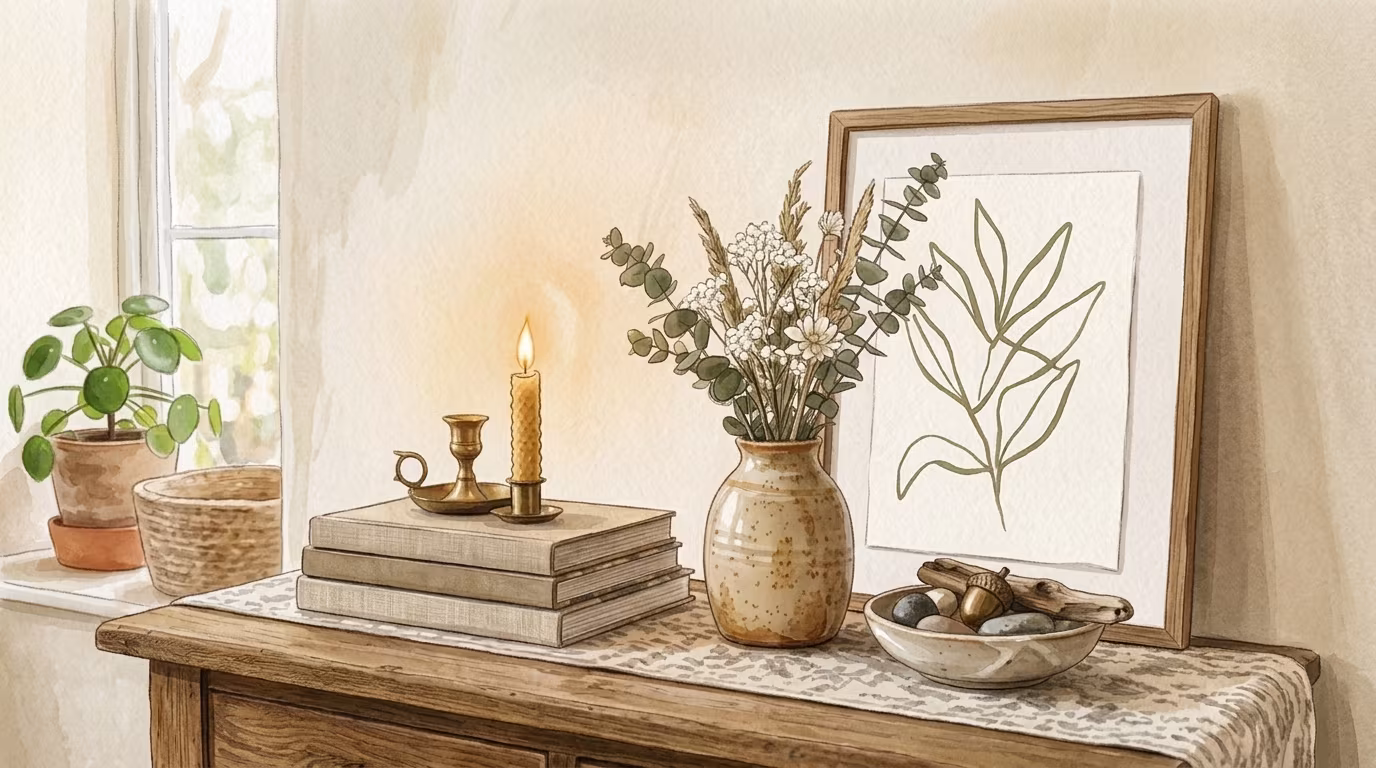
The Art of Creating a Curated Vignette on Any Flat Surface
Ever wonder how some people just effortlessly style shelves and tables? It's all about the art of...