Why Indoor Herb Gardens are the Most Functional Kitchen Decor
Why Indoor Herb Gardens are the Most Functional Kitchen Decor
Hey there, fellow makers! 👋 You know that feeling when you're cooking, the recipe calls for fresh basil, and you realize you totally forgot to grab it at the store? Yeah, I've been there countless times. It's usually when I'm already halfway through dinner prep, and a quick run to the market is definitely not happening.
That's exactly why I dove headfirst into the world of indoor herb gardening. It's not just about pretty pots on the windowsill; it's about having those fragrant, fresh ingredients right at your fingertips. Today, I want to share why I think a small kitchen herb garden is honestly the best decor you can add, both for your space and your cooking.
Why This Actually Matters
Think about it: how many times have you bought a bunch of cilantro or parsley, used a tiny bit, and then watched the rest sadly wilt in your fridge? It's a waste of food and money, and it's a frustration I know all too well.
An indoor herb garden changes all of that. You snip off exactly what you need, when you need it, and the rest of the plant just keeps growing. I started my first little setup with a few $5 pots and some seeds I bought at the farmers market, and it quickly became one of my most useful DIY projects.
Picking Your Green Buddies: Herbs for Every Kitchen
Okay, so you're thinking about adding some green to your kitchen, but where do you even start? There are so many herbs out there, and some are definitely easier to keep alive than others, especially when you're just getting started.
I've had my share of plant casualties, believe me. My first attempt at growing rosemary indoors was a complete flop, but I learned a lot from it. It's all part of the process, and picking the right herbs for your initial setup can make a huge difference in your success and confidence.
Easy-going Herbs for Beginners
If you're new to this, like I was, starting with resilient herbs is key. They're more forgiving of slightly inconsistent watering or less-than-perfect light conditions. This lets you build up your green thumb without getting discouraged.
These are the herbs that I've found to be the most beginner-friendly and incredibly rewarding to grow. You'll feel like a gardening pro in no time, even if you're just starting your journey.
- Basil: This one is a staple for a reason! Basil loves warmth and sunlight, but it also tells you pretty clearly when it's thirsty by getting a little droopy. It bounces back quickly after a good drink, making it a great teacher for watering cues. I always have a pot of it for my homemade pesto and pasta sauces.
- Mint: Mint is incredibly vigorous, sometimes almost aggressively so. This makes it perfect for beginners because it's hard to kill! Just be aware that it can spread rapidly, so I usually grow mine in its own pot to keep it contained. It's amazing for tea, cocktails, or just a fresh garnish.
- Chives: These oniony little guys are super low-maintenance and grow back quickly after harvesting. They don't need a ton of light compared to some other herbs, making them a good choice for slightly less sunny windowsills. I love snipping them over scrambled eggs or baked potatoes.
- Oregano: Hardy and robust, oregano can tolerate a bit of neglect, which is great for busy schedules. It prefers to dry out between waterings and doesn't need intense direct sun all day. It's my go-to for adding Mediterranean flavor to pizzas and roasted vegetables.
- Thyme: Another very forgiving herb, thyme enjoys drier conditions and lots of light but can handle a little less. It's pretty drought-tolerant once established. I always have some fresh thyme on hand for roasting chicken or potatoes; it adds such a lovely earthy flavor.
Beyond the Basics: a Bit More Challenge
Once you've got a few successful easy-going herbs under your belt, you might feel ready to tackle some others. These require a little more attention or specific conditions, but they're totally worth the effort for the flavors they bring to your cooking.
Don't be afraid to experiment, even if you've had a few failures like my rosemary saga. Every plant teaches you something new about gardening and your specific home environment. It's all about learning what works best for you and your space.
- Cilantro: Cilantro is famously fickle indoors. It tends to "bolt" (go to seed) quickly in warm temperatures and needs consistent moisture without being waterlogged. I've found success by planting a small batch every few weeks for a continuous supply and keeping it in a cooler spot in my kitchen.
- Parsley: Both flat-leaf and curly parsley can be grown indoors, but they need good light and consistent moisture. They're not as dramatic as basil when thirsty, so you have to be a bit more vigilant. I sometimes use a moisture meter to check the soil if I'm unsure.
- Rosemary: Ah, rosemary, my nemesis turned friend. This herb loves bright light, good air circulation, and to dry out completely between waterings. Overwatering is its arch-enemy indoors. I finally had success with a larger pot and a very sunny south-facing window.
- Dill: Dill needs plenty of light and prefers cooler temperatures, similar to cilantro. It's a bit delicate and can flop if not supported, especially as it gets taller. I usually plant several seeds at once to ensure a decent harvest for my homemade pickles or salmon dishes.
- Sage: Sage is fairly hardy once established, preferring plenty of sun and well-draining soil. It doesn't like being overwatered, so err on the side of letting it dry out. It's slower growing than some other herbs, so be patient with it.
Setting up Your Mini Farm: How to Actually do It
Alright, you've got your herbs in mind; now let's talk about getting them set up. This isn't some complicated scientific experiment; it's mostly about creating a good home for your plants. You don't need fancy equipment, just a few basics.
I started with stuff I mostly had lying around or found cheaply at my local hardware store. My first herb garden was literally mismatched mugs and old food containers with holes poked in the bottom. Function over form, always, especially when you're figuring things out.
Step 1: Choose Your Spot Wisely
This is probably the most critical step for success, and it’s something I learned the hard way. Herbs need light, usually a lot of it, to thrive indoors. Not all windows are created equal, and figuring out what kind of light your windows actually get is key.
A south-facing window usually provides the most direct, bright light for the longest duration, which is perfect for most herbs like basil and rosemary. East-facing windows get good morning sun, which is gentler, while west-facing windows get strong afternoon sun. North-facing windows usually offer softer, indirect light, which might work for chives or mint but less so for sun-lovers. Observe your space for a day or two; it makes a huge difference.
Step 2: Containers & Drainage: Don't Skip This!
Herbs are usually pretty chill, but there's one thing they absolutely can't stand: wet feet. This means your containers need drainage holes, full stop. If you're using cute pots without holes, you'll need to put a smaller, draining pot inside, or carefully drill some yourself.
I’ve definitely killed plants by just putting them in pretty containers without proper drainage. It's tempting to use a beautiful ceramic pot, but if it doesn't have holes, the water just sits at the bottom, rotting the roots. Any pot material works – terracotta, plastic, ceramic – as long as it drains. Terracotta is great because it's porous and helps soil dry out faster, which many herbs prefer.
Step 3: Potting Mix Matters More Than You Think
Don't just grab dirt from your backyard; indoor plants need a specific kind of soil. A good quality potting mix designed for containers is essential because it's light, airy, and drains well, preventing compaction and root rot. It’s not just dirt; it’s a carefully formulated blend of materials like peat moss, perlite, and vermiculite.
I once tried to save a few bucks using some old garden soil I had, and my herbs looked so sad and stunted. They just weren't getting the right aeration or drainage. Invest a little in a good bag of potting mix; your herbs will thank you, and it lasts a long time for small projects.
Step 4: Planting Your Seeds (or Starter Plants)
You can start from seeds, which is super satisfying, but it definitely takes more time and patience. I usually pick up small starter plants from a nursery or grocery store because I'm impatient, and I want fresh herbs now.
If you're planting seeds, follow the package directions for depth and spacing. If you're potting up starter plants, gently loosen the roots a bit before placing them in their new home. Make sure the plant is at the same soil level as it was in its original container. Give it a good drink of water right after planting to help settle the soil around the roots.
Step 5: Watering Wisdom: Less is Often More
This is where most people, including past-me, go wrong. We often overwater out of kindness, thinking plants are always thirsty. But most herbs prefer their soil to dry out a bit between waterings. Sticking your finger an inch or two into the soil is the best way to check if it's dry.
If the soil feels dry, give it a good soak until water drains from the bottom of the pot. If it still feels moist, hold off. Learning your plants' watering needs is a journey, and different herbs have different preferences. Basil likes consistent moisture, while rosemary loves to dry out a lot.
Step 6: Feeding Your Herbs: when and How
Just like us, plants need nutrients to grow big and strong. The potting mix comes with some nutrients, but they'll eventually get used up. I usually start feeding my herbs with a diluted liquid fertilizer about a month after planting, following the package directions.
Don't over-fertilize; it can actually burn the roots. I typically feed mine once a month during their active growing season (spring and summer) and hold back in the fall and winter when growth slows. A balanced organic liquid fertilizer works great for most herbs.
Step 7: Harvesting & Pruning for Bigger Yields
This might sound counter-intuitive, but harvesting your herbs actually encourages them to grow bushier and produce more. Don't be shy! When you cut off the top part of a stem, the plant sends energy to the side shoots, making it fuller instead of tall and leggy.
For most herbs, I snip off the top few sets of leaves, just above a leaf node (where leaves emerge from the stem). For basil, I always pinch off any flower buds I see forming, because once it flowers, the leaves can become bitter. Regular harvesting means a steady supply of fresh herbs and a healthier plant.
Keeping Them Alive: Making It Stick & Common Mistakes
Okay, you've got them planted and looking good. Now, how do you keep them that way? It's easy to get excited, plant everything, and then forget about them for a week. I've been there, staring at a sad, crispy basil plant wondering what went wrong.
"An indoor garden isn't just about growing plants; it's about growing patience and observation skills too. Every droopy leaf is a lesson."
Maintaining an indoor herb garden is a consistent practice, not a one-time setup. A little attention regularly goes a long way. Here are some of the most common pitfalls I've encountered, and how to steer clear of them.
Mistake #1: Overwatering is the Silent Killer
Seriously, this is probably the number one reason indoor plants kick the bucket. It's so tempting to give them a drink every day, especially if you love them. But soggy soil suffocates roots, leading to root rot, and once that sets in, it's really hard to recover.
Always check the soil moisture before watering. Stick your finger in, or better yet, use a moisture meter (they're like $10 on Amazon and totally worth it). If the top inch or two is still moist, wait. When in doubt, it's almost always better to underwater slightly than to overwater.
Mistake #2: Not Enough Light (or Too Much Direct Sun)
Most herbs want lots of bright light, but sometimes "lots of light" gets misinterpreted. Direct, intense afternoon sun streaming through a window can actually scorch delicate leaves, especially if the plant isn't used to it. On the flip side, too little light makes plants leggy and weak, reaching desperately for the sun.
Observe your plants. Are the leaves turning yellow or brown and crispy? Too much sun. Are the stems long and sparse with small leaves? Not enough light. Adjust their position on the windowsill or consider a small grow light if your natural light is insufficient, especially in winter. I use a simple LED strip grow light for a few hours a day in the darker months, and it helps immensely.
Mistake #3: Neglecting Pest Patrol
It sounds gross, but tiny bugs can find their way indoors and wreak havoc on your herbs. Aphids, spider mites, and fungus gnats are common culprits. I’ve definitely opened my kitchen blinds to find a small infestation, which is never a fun surprise.
Inspect your plants regularly, especially the undersides of leaves. If you spot anything, act fast. A simple solution of dish soap and water in a spray bottle can often take care of minor infestations. Neem oil is also a great organic option for more persistent pests. Catching them early is key; a full-blown invasion is a nightmare.
Mistake #4: Skipping the Harvest (yes, Really!)
This one always surprises people. You might think, "I want my plant to grow big, so I shouldn't cut it!" But as I mentioned, harvesting actually encourages bushier growth. If you let herbs just grow untouched, they can get tall and spindly, and sometimes focus their energy on flowering and producing seeds instead of delicious leaves.
Regular trimming keeps the plant healthy, productive, and looking good. Plus, the whole point of growing them is to use them, right? Don't be afraid to snip away. It feels a little scary at first, but your herbs will bounce back stronger and fuller.
Mistake #5: Expecting Instant Results
Gardening teaches patience, and growing herbs indoors is no exception. If you start from seeds, it could take weeks for sprouts to appear, and even longer for them to be big enough to harvest. Starter plants will give you quicker gratification, but they still need time to adjust and grow.
Don't get discouraged if your basil isn't giant in a week. Enjoy the process, watch them slowly unfurl new leaves, and celebrate the small victories. It took me a full month before I felt confident enough to really start harvesting from my first sage plant. The slow growth is part of the charm, watching life unfold on your windowsill.
Frequently Asked Questions
What Kind of Containers are Best for Indoor Herbs?
Honestly, any container with good drainage will work! Terracotta pots are fantastic because they're porous and help prevent overwatering, but plastic or ceramic pots are fine too. Just make sure they have a hole at the bottom for water to escape; otherwise, you're setting your herbs up for root rot. My favorite thrift store find was a set of vintage teacups that I drilled drainage holes into, and they make super cute herb planters.
How Much Sun do My Herbs Really Need Indoors?
Most culinary herbs need at least 4-6 hours of direct sunlight per day to really thrive indoors. A south-facing window is usually ideal, but an east or west-facing window can work if the light isn't too harsh. If you don't have enough natural light, consider a small, inexpensive LED grow light. I picked one up for about $20 online, and it saved my basil through a very cloudy Portland winter.
How Often Should I Water My Indoor Herb Garden?
This really depends on the herb, your pot size, and the humidity in your home, so there's no single schedule. The best way is to check the soil: stick your finger about an inch or two into the soil. If it feels dry, it's time to water thoroughly until water drains from the bottom. If it's still moist, wait another day or two. Overwatering is a plant killer!
My Herbs are Getting Leggy and Stretched Out. What's Wrong?
Leggy growth, where stems are long and sparse with small leaves, is usually a sign that your herbs aren't getting enough light. They're literally stretching to try and reach a light source. Try moving them to a brighter spot, adding a grow light, or giving them a good pruning to encourage bushier growth. Sometimes, even rotating them every few days helps them get light on all sides.
Can I Use Regular Garden Soil for My Indoor Herbs?
Please don't! Regular garden soil is too heavy and dense for potted plants. It compacts easily, which can suffocate roots and doesn't drain well, leading to root rot. Always use a high-quality potting mix that's specifically designed for containers; it's lighter, drains better, and often contains amendments like perlite for aeration. It's a small investment that makes a huge difference in your plants' health.
What's the Best Way to Harvest Herbs Without Killing the Plant?
For most herbs like basil, mint, and oregano, you want to pinch or snip just above a leaf node (where a set of leaves or another branch emerges from the stem). This encourages the plant to branch out and grow bushier instead of just getting taller. Never take more than about a third of the plant at a time, and avoid pulling whole stems from the base unless you're ready to say goodbye to that section. Regular, light harvesting is key!
My Kitchen is Pretty Small. Can I Still have an Indoor Herb Garden?
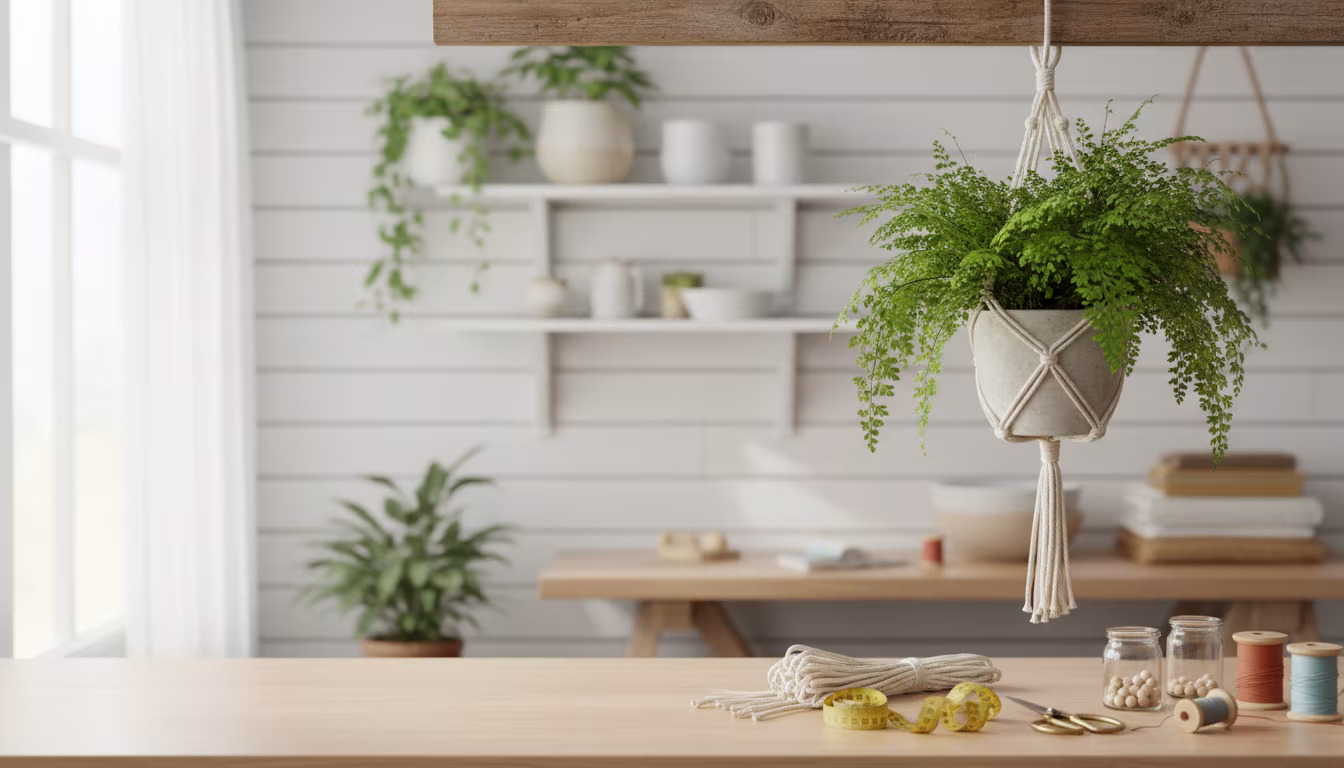
Absolutely! Small kitchens are actually perfect for compact herb gardens. Think vertical: use tiered planters, hang small pots on a sunny wall, or even get magnetic pots for your fridge. I've seen some clever setups using old spice racks or even a ladder shelf. Even just a single pot of basil on a windowsill can make a huge difference. You don't need a lot of space to grow a little bit of green goodness. It’s all about getting creative with the space you have.
The Bottom Line
Starting an indoor herb garden might seem like another item on your to-do list, but I promise it's worth the little bit of effort. It's more than just a pretty decoration; it’s a living, breathing, functional part of your kitchen that gives back so much in fresh flavors and a connection to nature.
You don't need to be a seasoned gardener to start. Just pick one or two easy herbs, find a sunny spot, and give it a try. You'll learn as you go, and soon you'll be snipping fresh basil for your dinner, feeling like the ultimate kitchen wizard. Happy growing! ❤️
Related Posts

The Secret to Making Your Home Smell Amazing Without Artificial Sprays
Tired of chemical-laden air fresheners? Learn how to fill your home with beautiful, natural scent...

How to Arrange Art Above a Sofa Using the Right Proportions
Tired of staring at a blank wall above your couch? We'll show you exactly how to choose and arran...

How to Decorate a Rental Apartment Without Damaging Any Walls
Dreaming of a stylish rental pad but worried about losing your deposit? We've got you covered wit...
The Art of Creating a Curated Vignette on Any Flat Surface
Ever wonder how some people just effortlessly style shelves and tables? It's all about the art of...